9
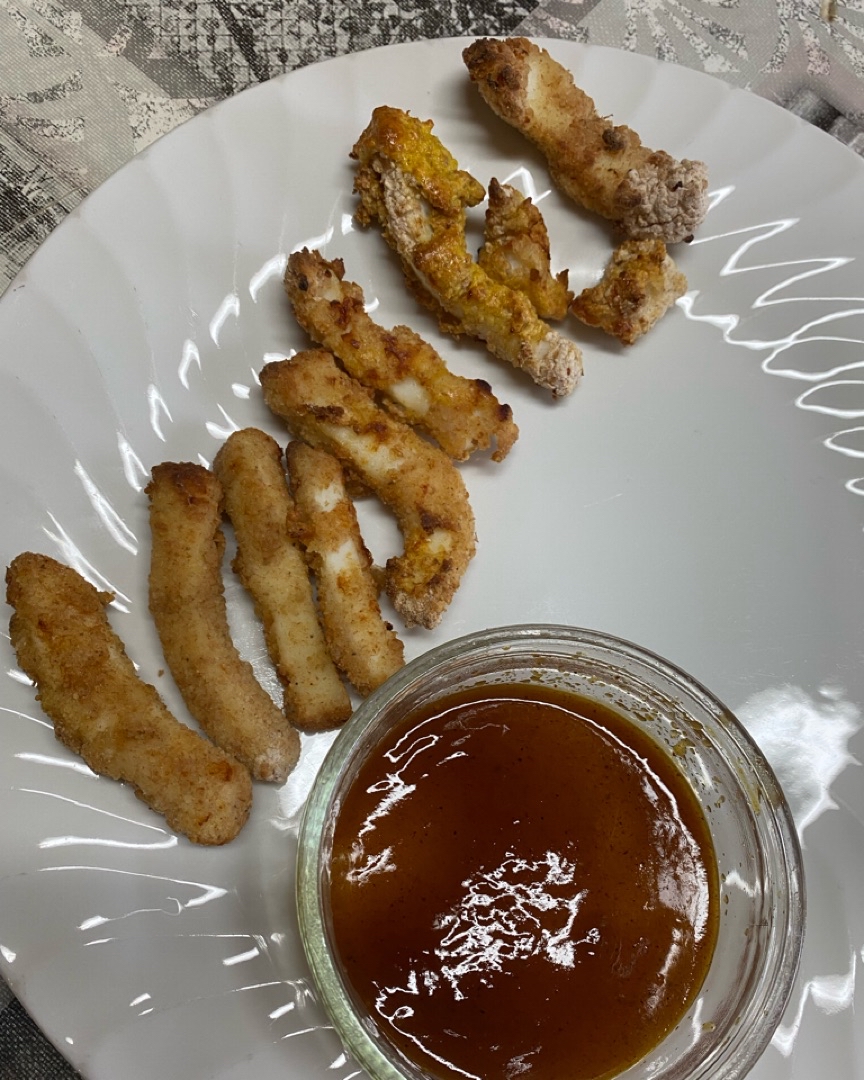
Pota a la romana in Airfryer
3
(10)
17 min
0 kcal
Preparación de la receta
1
This recipe is to be made in Airfryer. The capacity of mine is 1.5 liters but if you have more you will finish sooner.
2
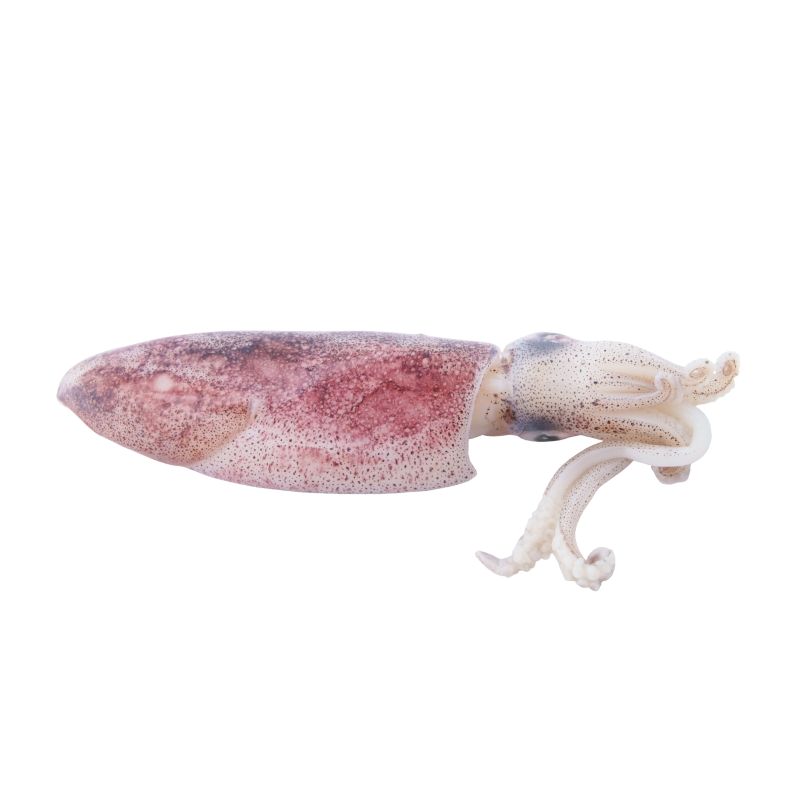
First let the squid defrost. We wash it in a pasta strainer and dry it with kitchen paper.
3
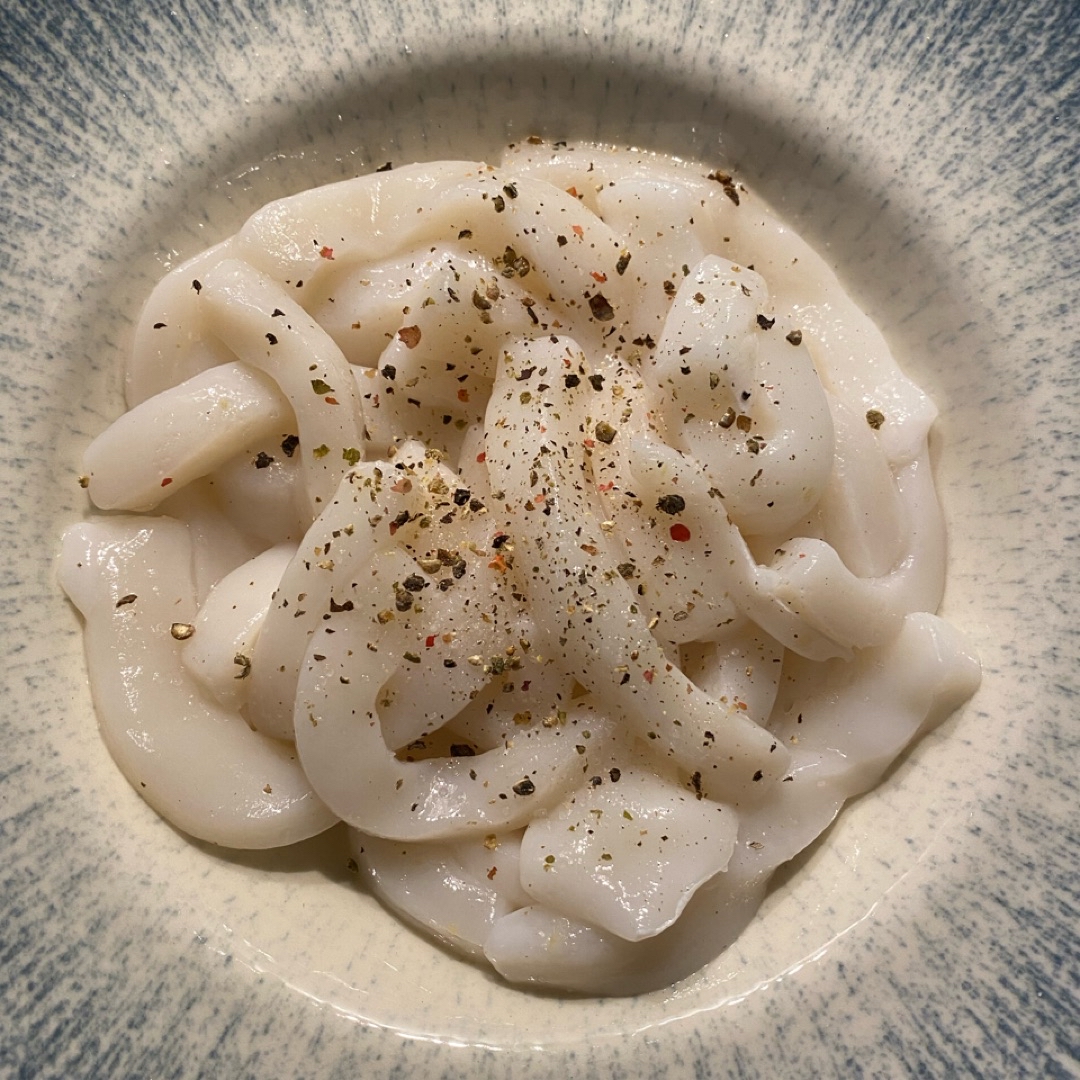
We put it in a bowl with the juice of half a lemon, salt and pepper. We give a couple of turns so that it is integrated throughout.
4
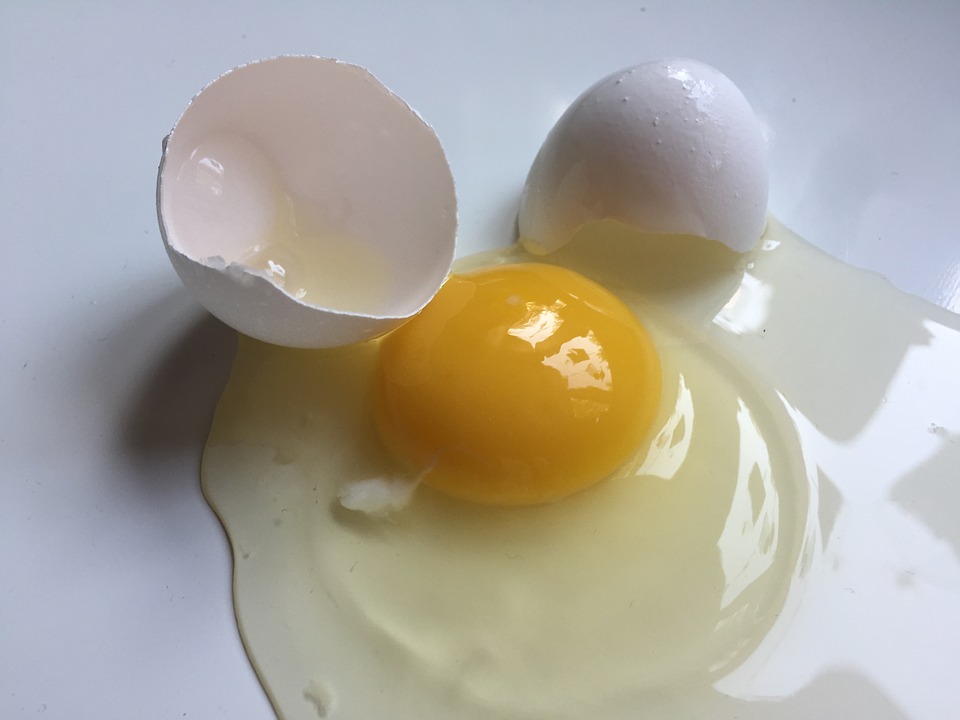
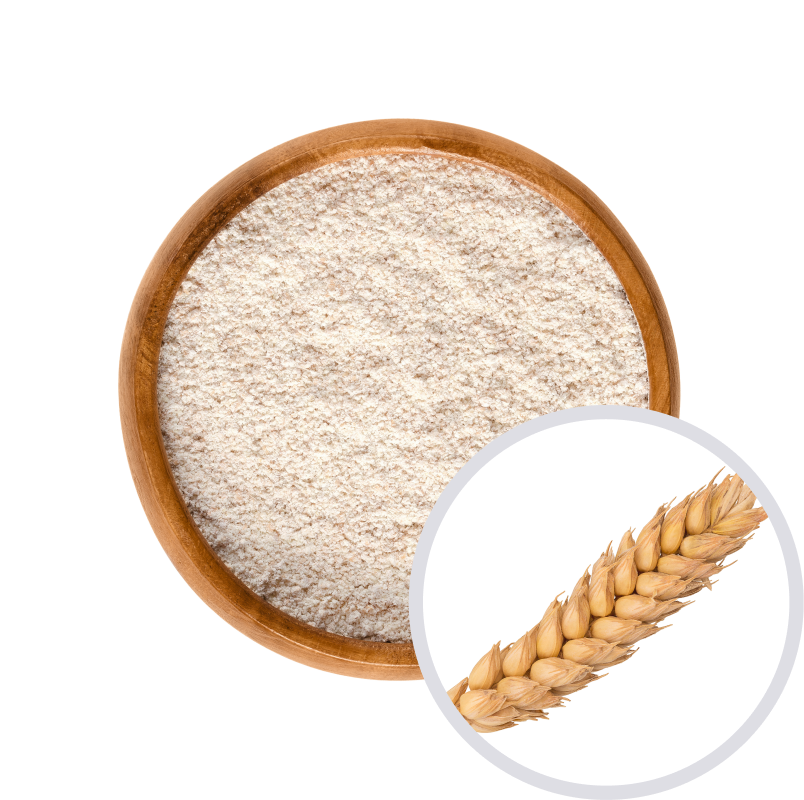
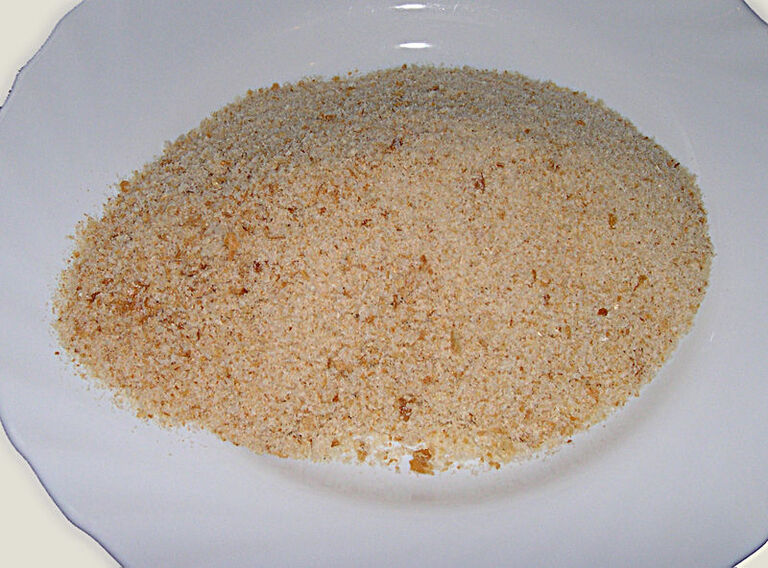
Take out a freezer bag and add the flour and breadcrumbs inside. In a deep dish beat the eggs.
5
Preheat the air fryer to 200 degrees for 5 minutes.
6
We put the squid in the freezer bag and move it like a maraca. You will see how well it is battered without doing anything else!
7
Remove the squid from the bag and spread it on a flat plate or tray.
8
With oil spray we coat the fryer box. Take a small piece of the pot, dip it in the egg and leave it in the fryer box. Repeat the operation leaving one by one inside the box with space between them.
9
When the bottom of the box is covered, add spray on top and fry for 12 minutes at 200 degrees. When they are about half cooked, remove the box, shake a little and add them back into the fryer. And enjoy!
10
They are crispy and very tasty. I had little capacity, so I made them in 3 batches. Always adding oil on top with a spray and they turned out great.
Ingredientes
1 ración
1 ración
Squid
400 gramos
Chicken egg
100 gramos (aprox. 2 unidades)
Whole wheat flour
75 gramos (aprox. 5 cucharadas)
Bread crumbs
50 gramos (aprox. 5 cucharadas)

Lemon
45 gramos (aprox. ½ unidades)

Extra virgin olive oil
15 gramos (aprox. 1 cucharada)
Salt
5 gramos
Black pepper
3 gramos (aprox. 1 cucharadita)
Ingredients
Steps
Calories
Ingredientes
1 ración
1 ración

Squid
400 gramos

Chicken egg
100 gramos (aprox. 2 unidades)

Whole wheat flour
75 gramos (aprox. 5 cucharadas)

Bread crumbs
50 gramos (aprox. 5 cucharadas)

Lemon
45 gramos (aprox. ½ unidades)

Extra virgin olive oil
15 gramos (aprox. 1 cucharada)

Salt
5 gramos

Black pepper
3 gramos (aprox. 1 cucharadita)
1
This recipe is to be made in Airfryer. The capacity of mine is 1.5 liters but if you have more you will finish sooner.
2
First let the squid defrost. We wash it in a pasta strainer and dry it with kitchen paper.
3
We put it in a bowl with the juice of half a lemon, salt and pepper. We give a couple of turns so that it is integrated throughout.

4
Take out a freezer bag and add the flour and breadcrumbs inside. In a deep dish beat the eggs.
5
Preheat the air fryer to 200 degrees for 5 minutes.
6
We put the squid in the freezer bag and move it like a maraca. You will see how well it is battered without doing anything else!
7
Remove the squid from the bag and spread it on a flat plate or tray.
8
With oil spray we coat the fryer box. Take a small piece of the pot, dip it in the egg and leave it in the fryer box. Repeat the operation leaving one by one inside the box with space between them.
9
When the bottom of the box is covered, add spray on top and fry for 12 minutes at 200 degrees. When they are about half cooked, remove the box, shake a little and add them back into the fryer. And enjoy!
10
They are crispy and very tasty. I had little capacity, so I made them in 3 batches. Always adding oil on top with a spray and they turned out great.
Calories
Per 100g
Calories
carbohydrates
carbohydrates
proteins
proteins
fats
fats
salt
salt
Sugars
Sugars
Saturated fats
Saturated fats
Desbloquear información nutricional
Hazte PLUS para ver la información nutricional de las recetas, y desbloquear muchas más funcionalidades PLUS.
Información nutricional
Calories
Per 100g
Calories
carbohydrates
carbohydrates
proteins
proteins
fats
fats
salt
salt
Sugars
Sugars
Saturated fats
Saturated fats
Desbloquear información nutricional
Hazte PLUS para ver la información nutricional de las recetas, y desbloquear muchas más funcionalidades PLUS.
Valoraciones
Etiquetas
Dinner
Quick
Fish and seafood
Meals
AirFryer
¡Libera todo tu potencial con un Plan nutricional!
Planes nutricionales adaptados a tu objetivo 🎯 ¡Desbloquea todas las funcionalidades PLUS!
Se el primero en valorar esta receta...