5
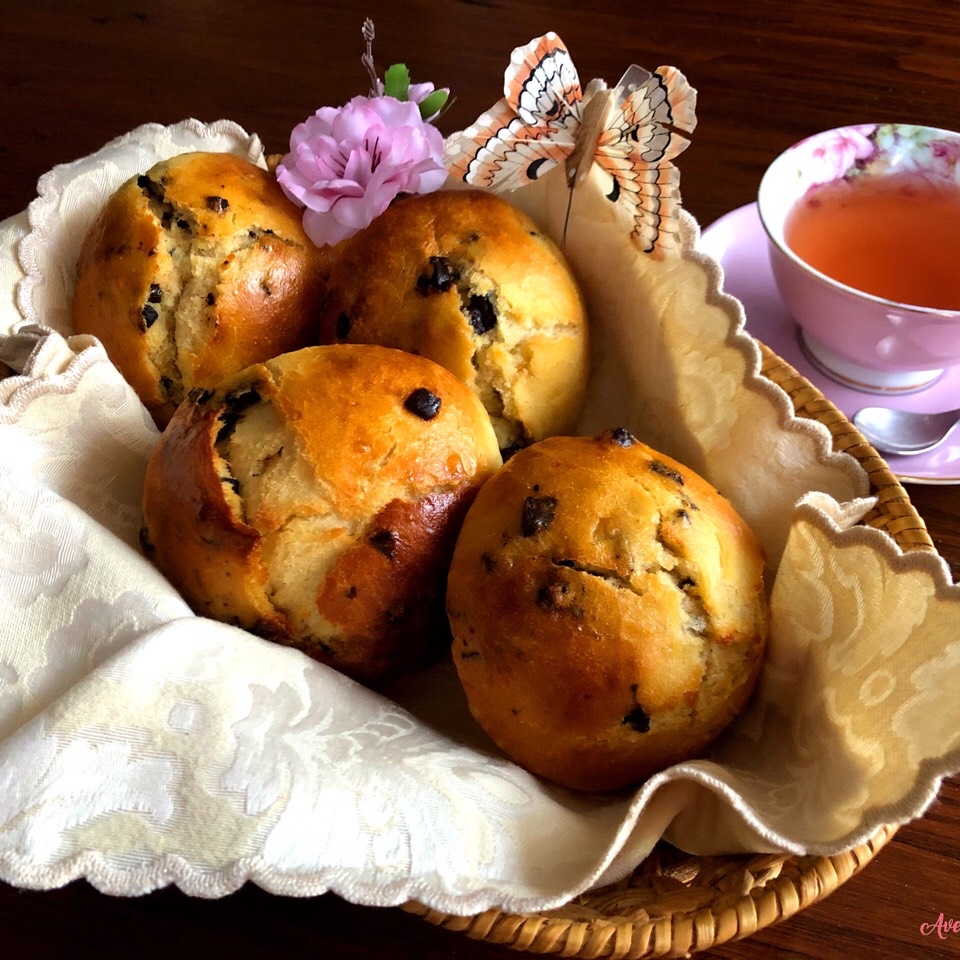
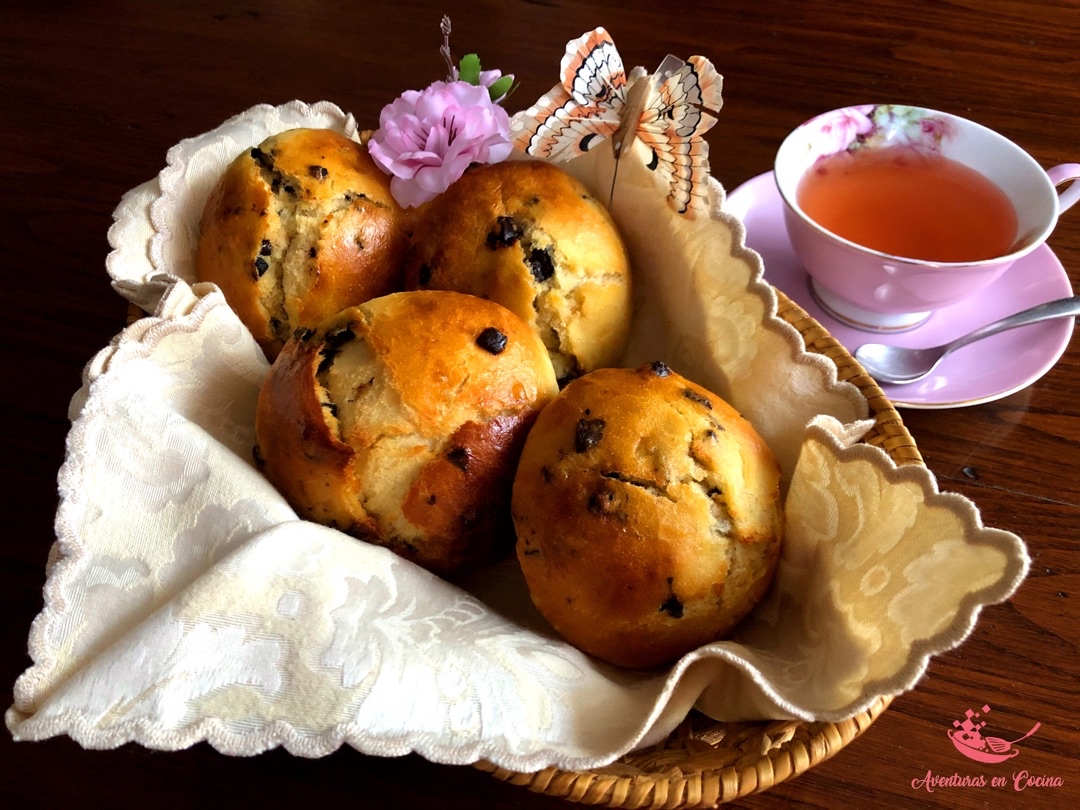
Pangoccioli-Italian milk balls with chocolate chips
3
(6)
150 min
0 kcal
Preparación de la receta
1
Before you start, put your chocolate chips in the fridge or freezer so that they are cold when it's time to incorporate them. [Note: If you do not have chips, you can coarsely chop a chocolate bar, trying to remove the shavings that have been generated so that only nuggets remain😉] Heat the milk a little so that it is warm [Note: the milk should not burn you, if put in contact with the skin, so that the yeast can ferment properly], add the crumbled yeast and stir until it is dissolved. [Note: you can use either fresh yeast, even fresh from the freezer, or dry yeast] In a large bowl put all the ingredients except for the chocolate chips: start by sifting the flours, add the sugar, salt and flavoring and mix. Add the honey, the finely chopped butter [Note: if the consistency allows to spread it, then it is not necessary to chop it finely], the dissolved yeast and break the 3 eggs.
2
Mix everything by hand (in the bowl and continuing on the countertop) or using your food processor until a homogeneous dough is obtained. From this point, mix for about 5-7 minutes more to develop an elastic and smooth dough. Incorporate the chocolate chips and continue to knead so that they are well distributed, but try to do it quickly so that the heat from your hands does not start to melt the chocolate. Try to repeat movements that stretch one end of the dough from different areas (left, right, bottom and top) and "stick" it to the center, so that the distribution is easier. Form a ball, place it in a bowl and cover with a clean cloth. Let it rest in a warm place for 1-1.5 h (the colder it is, the longer it is and the warmer it is, the shorter it is).
3
After that time, take the dough and, depending on the size you prefer, divide it into 8-14 parts, trying to have all of them more or less the same weight. Grease your hands with a little oil and form small balls with the help of the worktop, if necessary. Grease your hands again when needed, so that the dough does not stick. Place the balls on a tray covered with baking paper. If there are any folds, place them underneath and make sure there is enough space between one ball and another (minimum 3 cm), because they will grow a lot in the oven. Cover with a clean cloth and let the dough rise for about 30 minutes. Shortly before the 30 minutes are up, turn the oven on so that it reaches 180ºC.
4
To give the surface of the pangoccioli a glossy finish, in a small bowl crack an egg, add 2 tablespoons of milk and beat well. With a silicone brush or a brush suitable for cooking spread this mixture over the surface of each ball. Bake in a hot oven until golden brown (approx. 10-20 min). Since the time varies depending on the oven, do the wooden toothpick test [stick a toothpick/wooden skewer in the center of a pangoccioli and if it comes out clean (no traces of sticky dough), the dough is fully cooked]. [Tip: if the dough inside is still raw but you find that the surface is getting too dark, you can cover the pan with a sheet of aluminum foil until the cooking is complete😉] If you want the surface of the pangoccioli to be very soft, as soon as you take them out of the oven, spread a little water on each one with the silicone brush. Let them cool for about 30 minutes before serving.
5
Ready! ENJOY YOUR MEAL!
Ingredientes
4 raciones
4 raciones
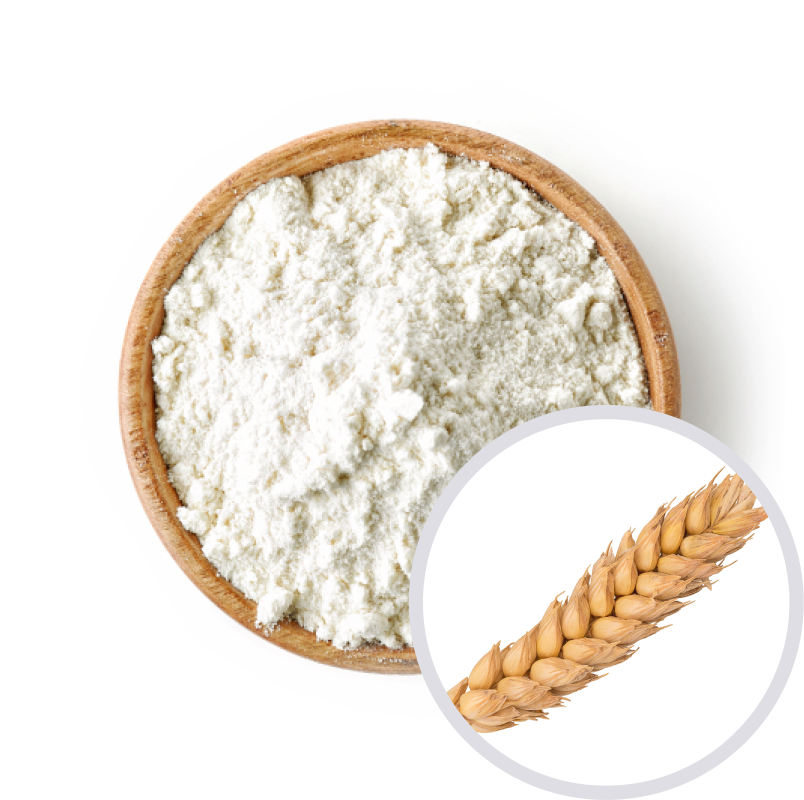
Wheat flour
200 gramos
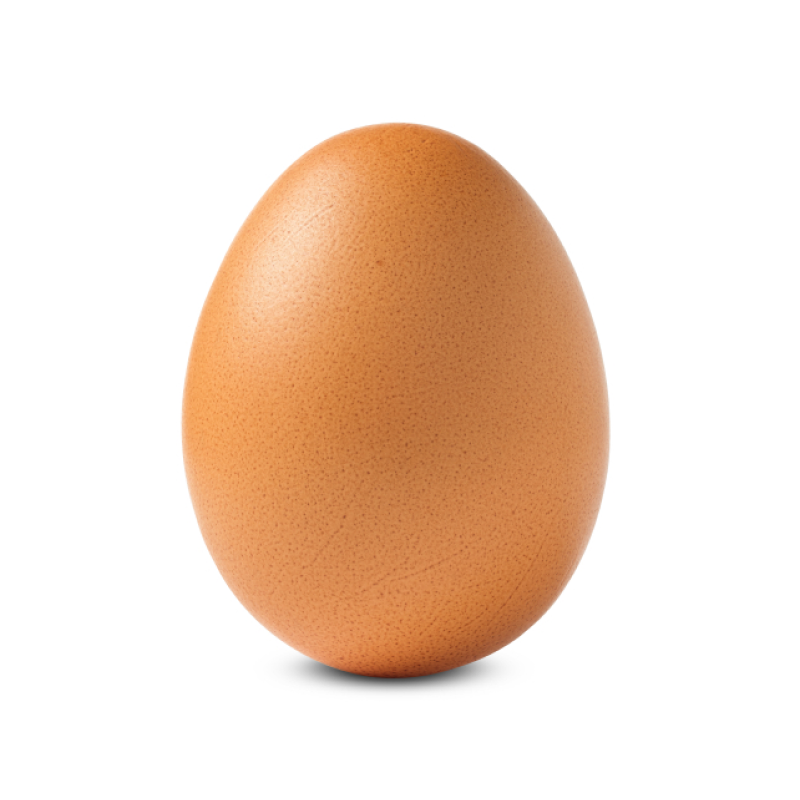
Chicken egg
200 gramos (aprox. 4 unidades)
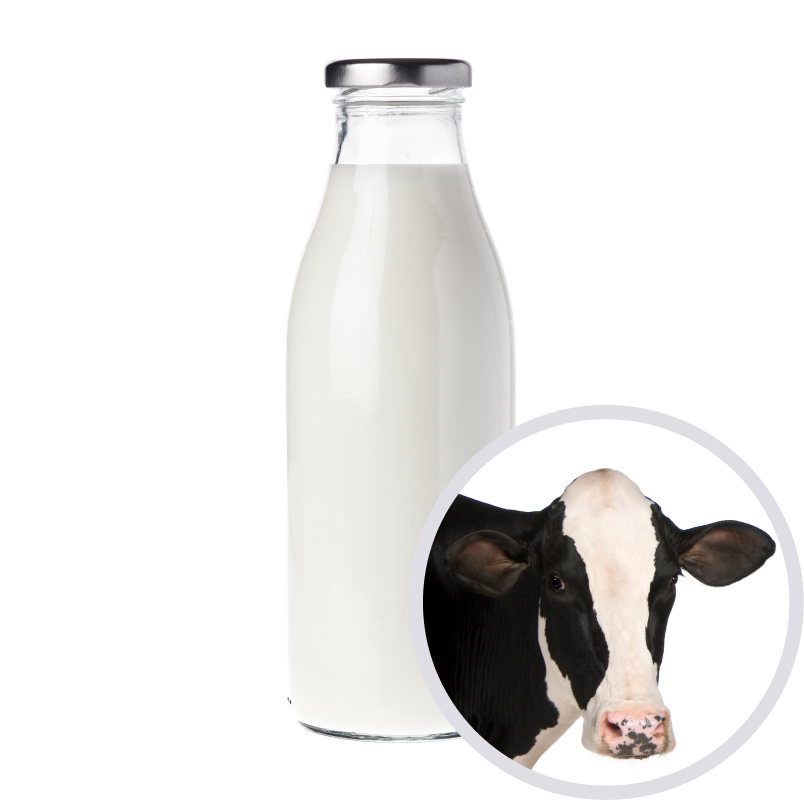
Whole cow's milk
110 gramos
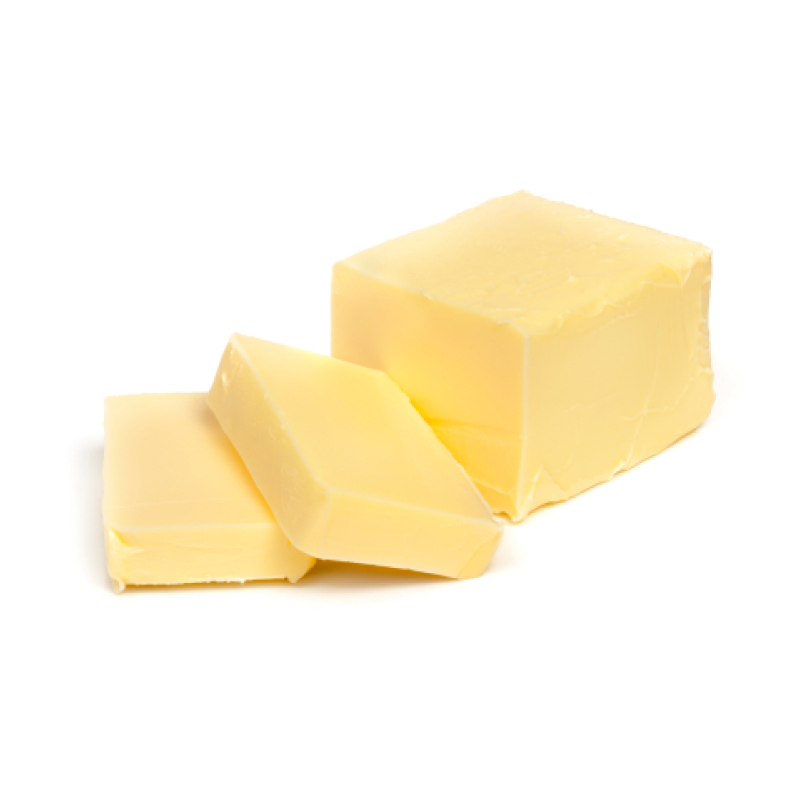
Butter
110 gramos
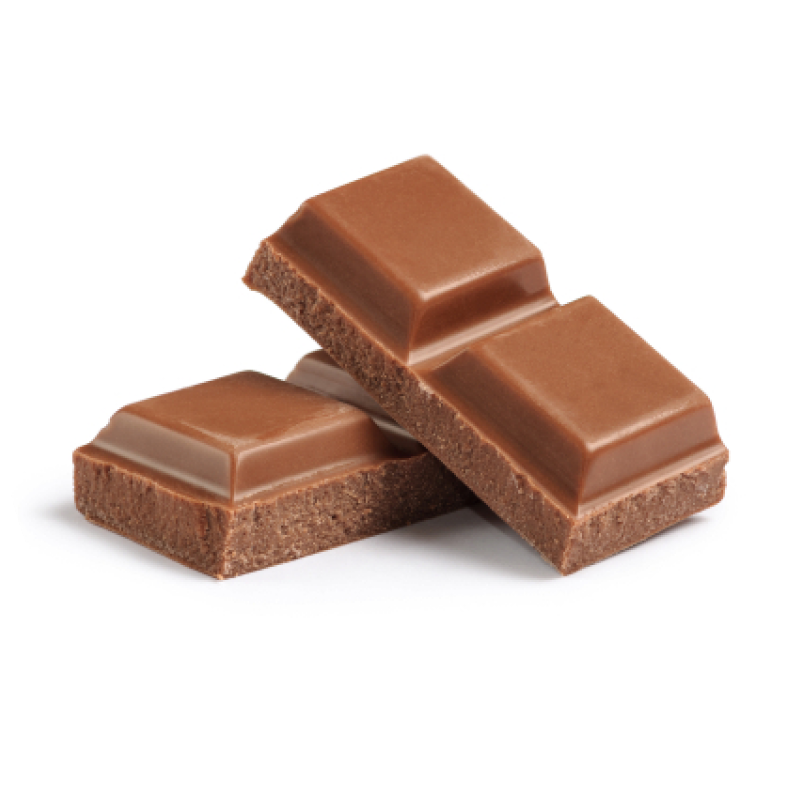
Milk chocolate
100 gramos
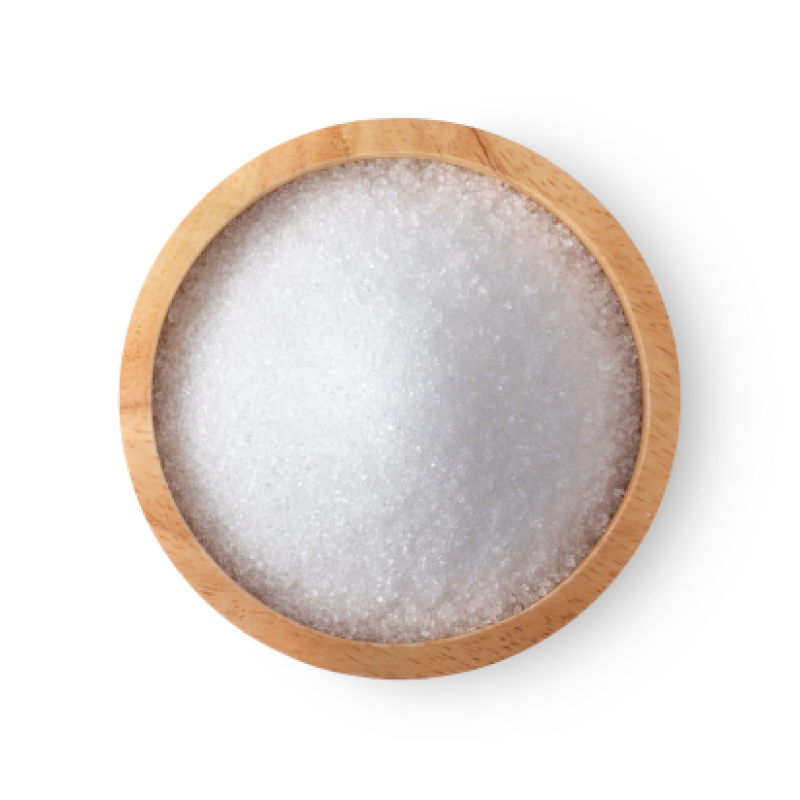
White sugar
90 gramos
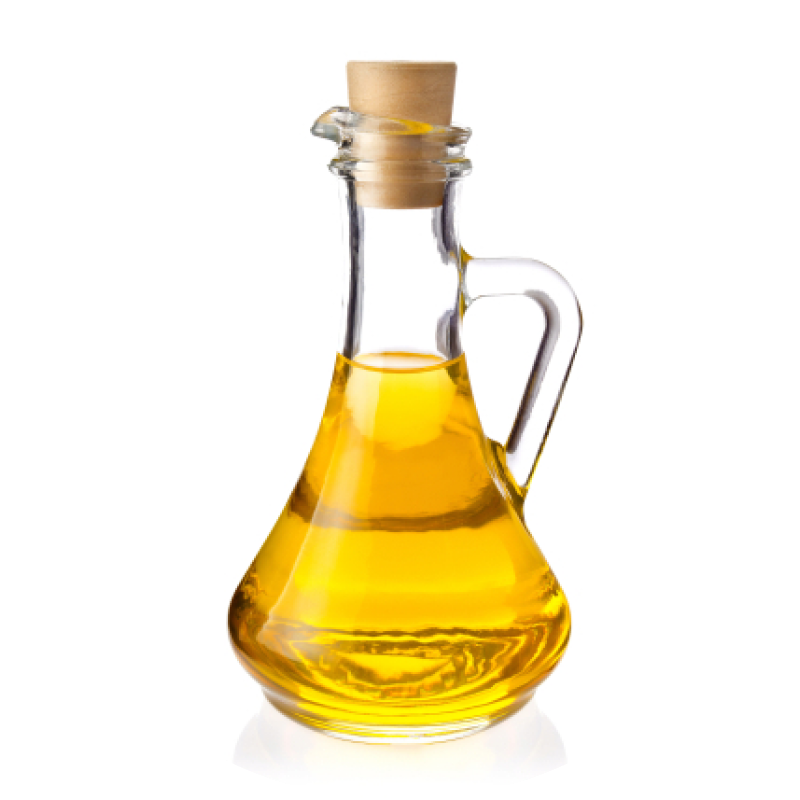
Extra virgin olive oil
30 gramos (aprox. 1 onza)
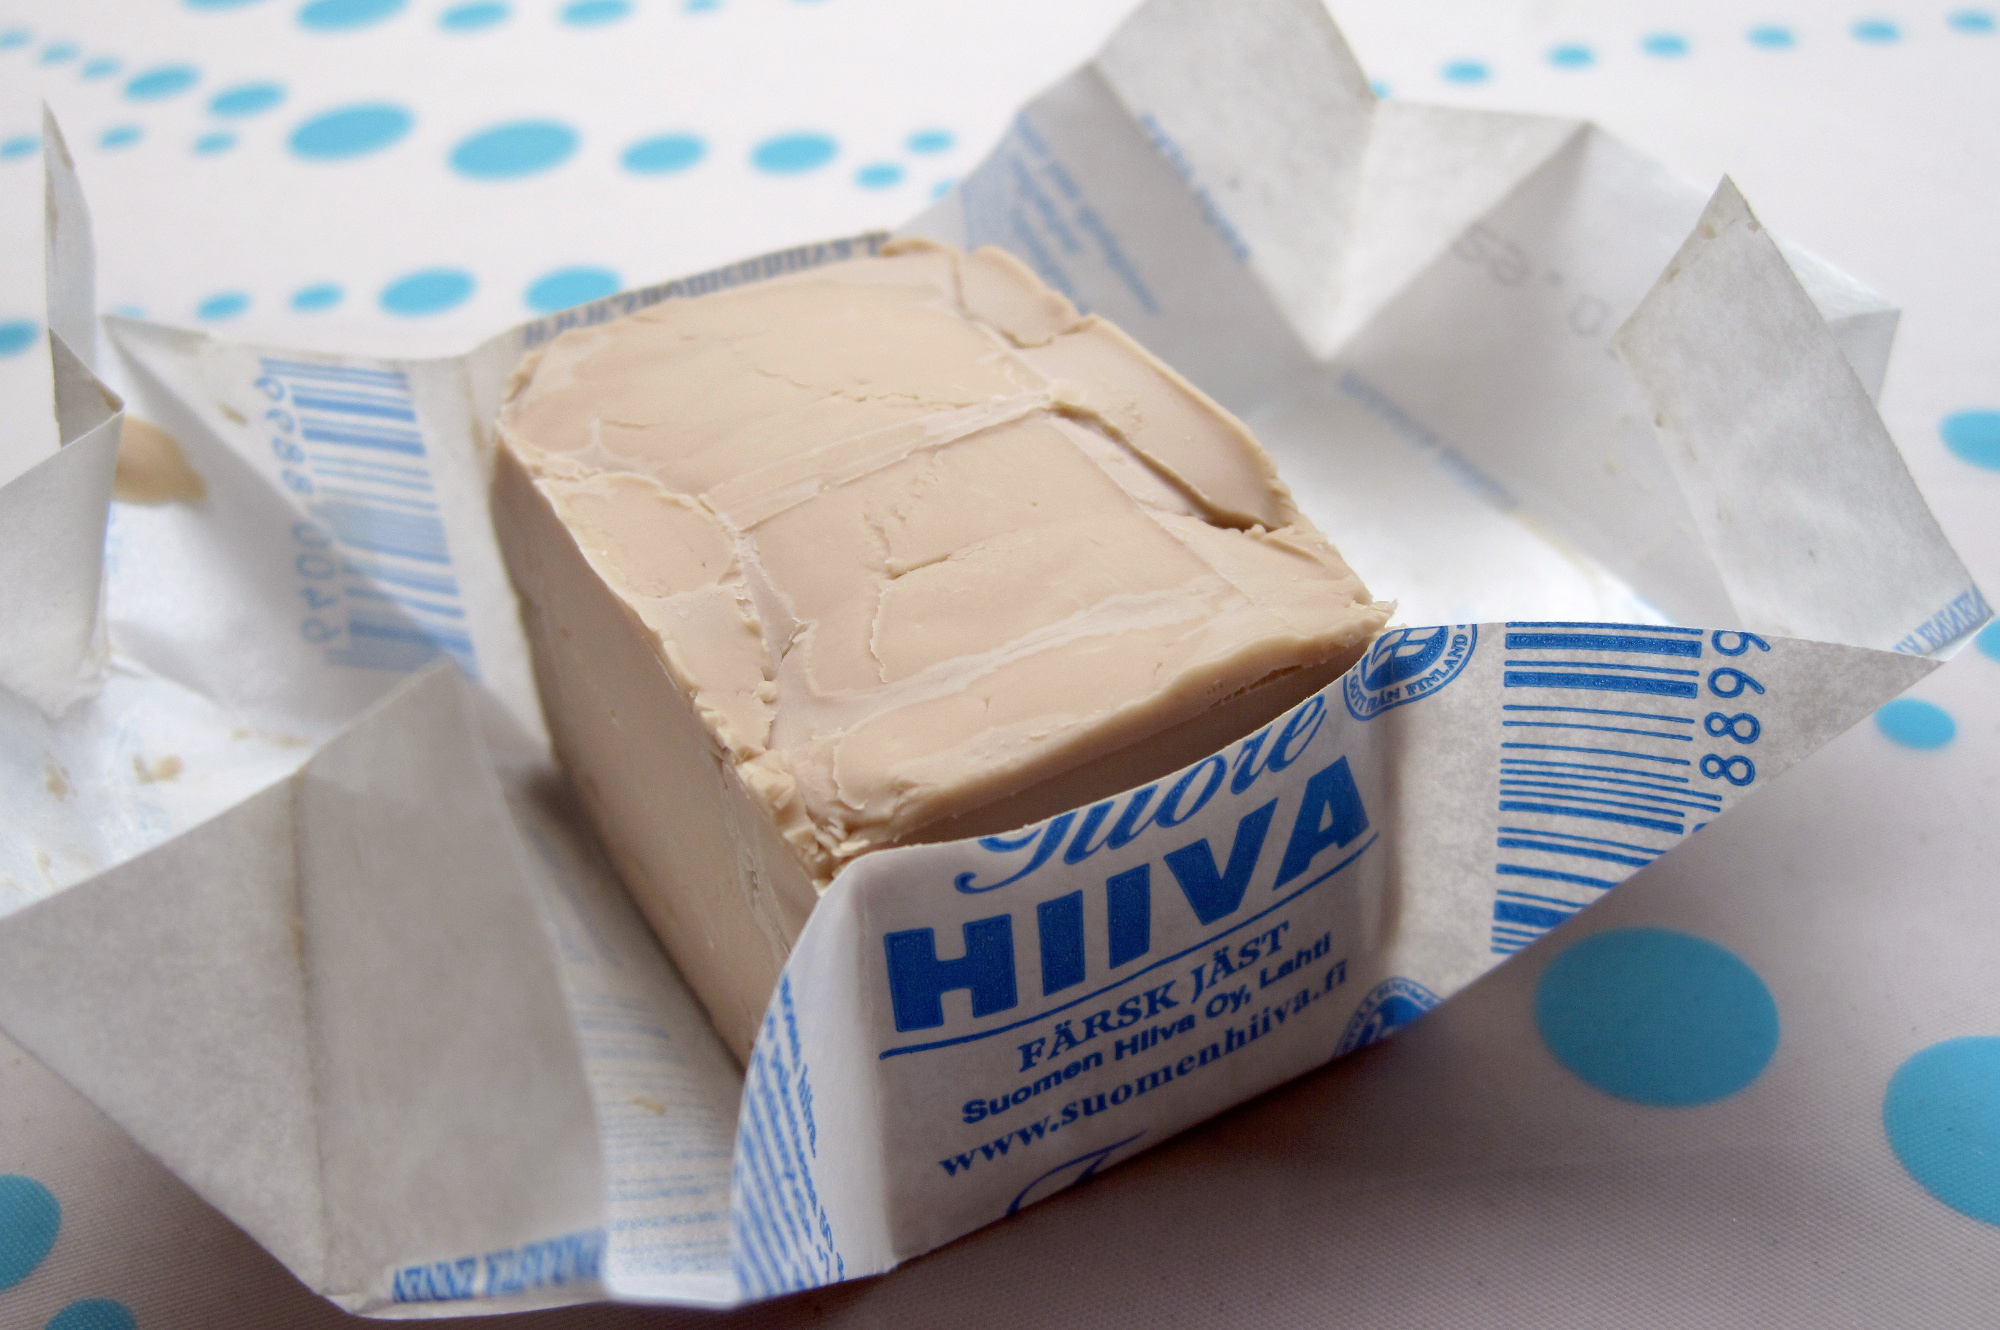
Fresh yeast
15 gramos
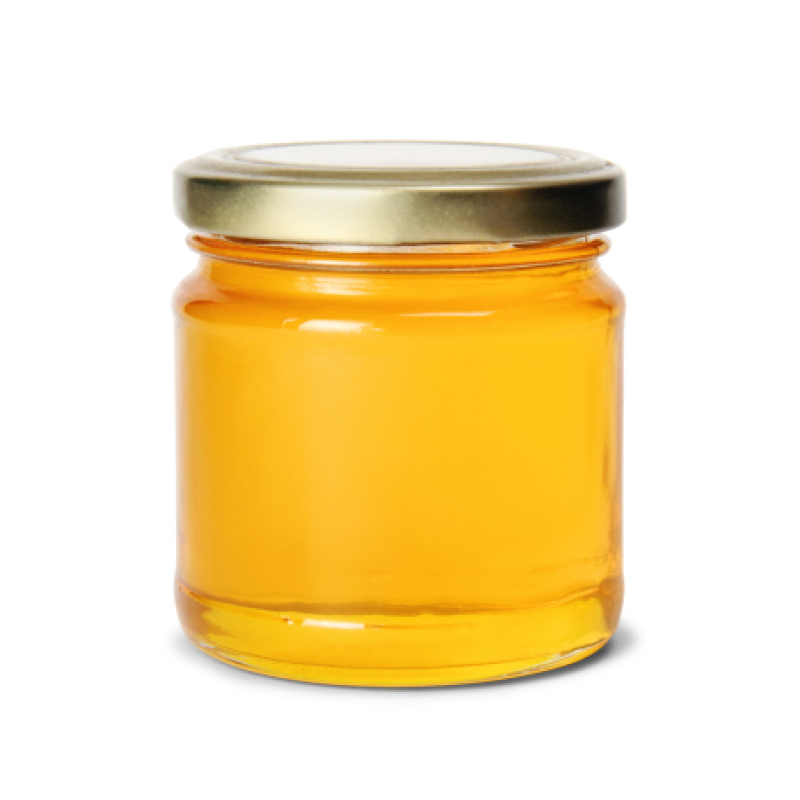
Honey
9 gramos (aprox. 1 cucharada)

Vanilla flavor
2 gramos
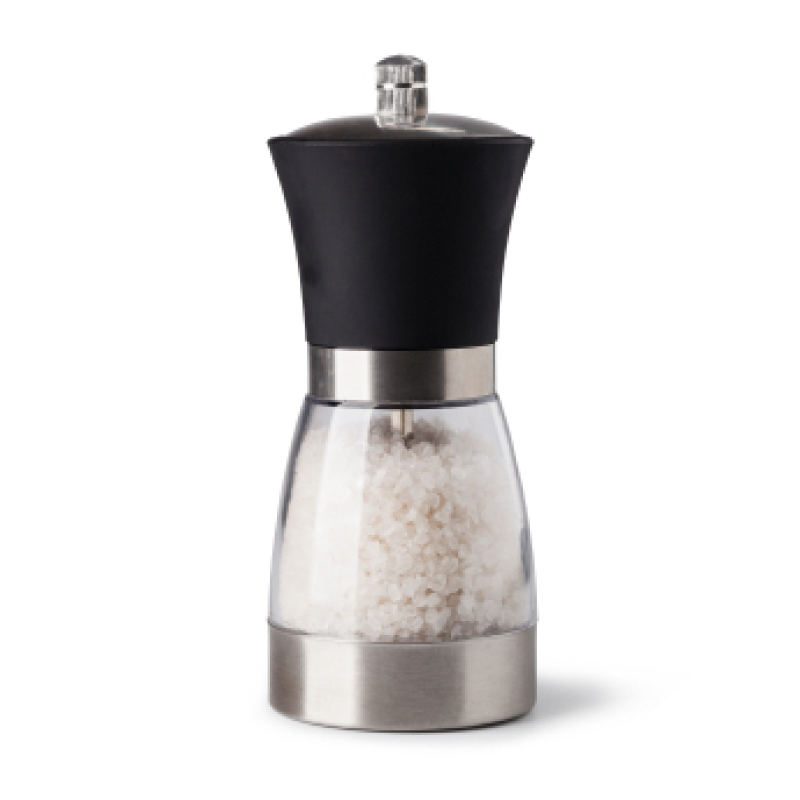
Salt
1 gramo (aprox. 1 cucharadita)
Ingredients
Steps
Calories
Ingredientes
4 raciones
4 raciones

Wheat flour
200 gramos

Chicken egg
200 gramos (aprox. 4 unidades)

Whole cow's milk
110 gramos

Butter
110 gramos

Milk chocolate
100 gramos

White sugar
90 gramos

Extra virgin olive oil
30 gramos (aprox. 1 onza)

Fresh yeast
15 gramos

Honey
9 gramos (aprox. 1 cucharada)

Vanilla flavor
2 gramos

Salt
1 gramo (aprox. 1 cucharadita)
1
Before you start, put your chocolate chips in the fridge or freezer so that they are cold when it's time to incorporate them. [Note: If you do not have chips, you can coarsely chop a chocolate bar, trying to remove the shavings that have been generated so that only nuggets remain😉] Heat the milk a little so that it is warm [Note: the milk should not burn you, if put in contact with the skin, so that the yeast can ferment properly], add the crumbled yeast and stir until it is dissolved. [Note: you can use either fresh yeast, even fresh from the freezer, or dry yeast] In a large bowl put all the ingredients except for the chocolate chips: start by sifting the flours, add the sugar, salt and flavoring and mix. Add the honey, the finely chopped butter [Note: if the consistency allows to spread it, then it is not necessary to chop it finely], the dissolved yeast and break the 3 eggs.
2
Mix everything by hand (in the bowl and continuing on the countertop) or using your food processor until a homogeneous dough is obtained. From this point, mix for about 5-7 minutes more to develop an elastic and smooth dough. Incorporate the chocolate chips and continue to knead so that they are well distributed, but try to do it quickly so that the heat from your hands does not start to melt the chocolate. Try to repeat movements that stretch one end of the dough from different areas (left, right, bottom and top) and "stick" it to the center, so that the distribution is easier. Form a ball, place it in a bowl and cover with a clean cloth. Let it rest in a warm place for 1-1.5 h (the colder it is, the longer it is and the warmer it is, the shorter it is).
3
After that time, take the dough and, depending on the size you prefer, divide it into 8-14 parts, trying to have all of them more or less the same weight. Grease your hands with a little oil and form small balls with the help of the worktop, if necessary. Grease your hands again when needed, so that the dough does not stick. Place the balls on a tray covered with baking paper. If there are any folds, place them underneath and make sure there is enough space between one ball and another (minimum 3 cm), because they will grow a lot in the oven. Cover with a clean cloth and let the dough rise for about 30 minutes. Shortly before the 30 minutes are up, turn the oven on so that it reaches 180ºC.
4
To give the surface of the pangoccioli a glossy finish, in a small bowl crack an egg, add 2 tablespoons of milk and beat well. With a silicone brush or a brush suitable for cooking spread this mixture over the surface of each ball. Bake in a hot oven until golden brown (approx. 10-20 min). Since the time varies depending on the oven, do the wooden toothpick test [stick a toothpick/wooden skewer in the center of a pangoccioli and if it comes out clean (no traces of sticky dough), the dough is fully cooked]. [Tip: if the dough inside is still raw but you find that the surface is getting too dark, you can cover the pan with a sheet of aluminum foil until the cooking is complete😉] If you want the surface of the pangoccioli to be very soft, as soon as you take them out of the oven, spread a little water on each one with the silicone brush. Let them cool for about 30 minutes before serving.
5
Ready! ENJOY YOUR MEAL!

Calories
Per 100g
Calories
carbohydrates
carbohydrates
proteins
proteins
fats
fats
salt
salt
Sugars
Sugars
Saturated fats
Saturated fats
Desbloquear información nutricional
Hazte PLUS para ver la información nutricional de las recetas, y desbloquear muchas más funcionalidades PLUS.
Información nutricional
Calories
Per 100g
Calories
carbohydrates
carbohydrates
proteins
proteins
fats
fats
salt
salt
Sugars
Sugars
Saturated fats
Saturated fats
Desbloquear información nutricional
Hazte PLUS para ver la información nutricional de las recetas, y desbloquear muchas más funcionalidades PLUS.
Valoraciones
Etiquetas
Snack
Dinner
Dairy
Desserts
Vegetarian
Meals
Breakfast
Salads and bowls
Egg
¡Libera todo tu potencial con un Plan nutricional!
Planes nutricionales adaptados a tu objetivo 🎯 ¡Desbloquea todas las funcionalidades PLUS!
Se el primero en valorar esta receta...