20
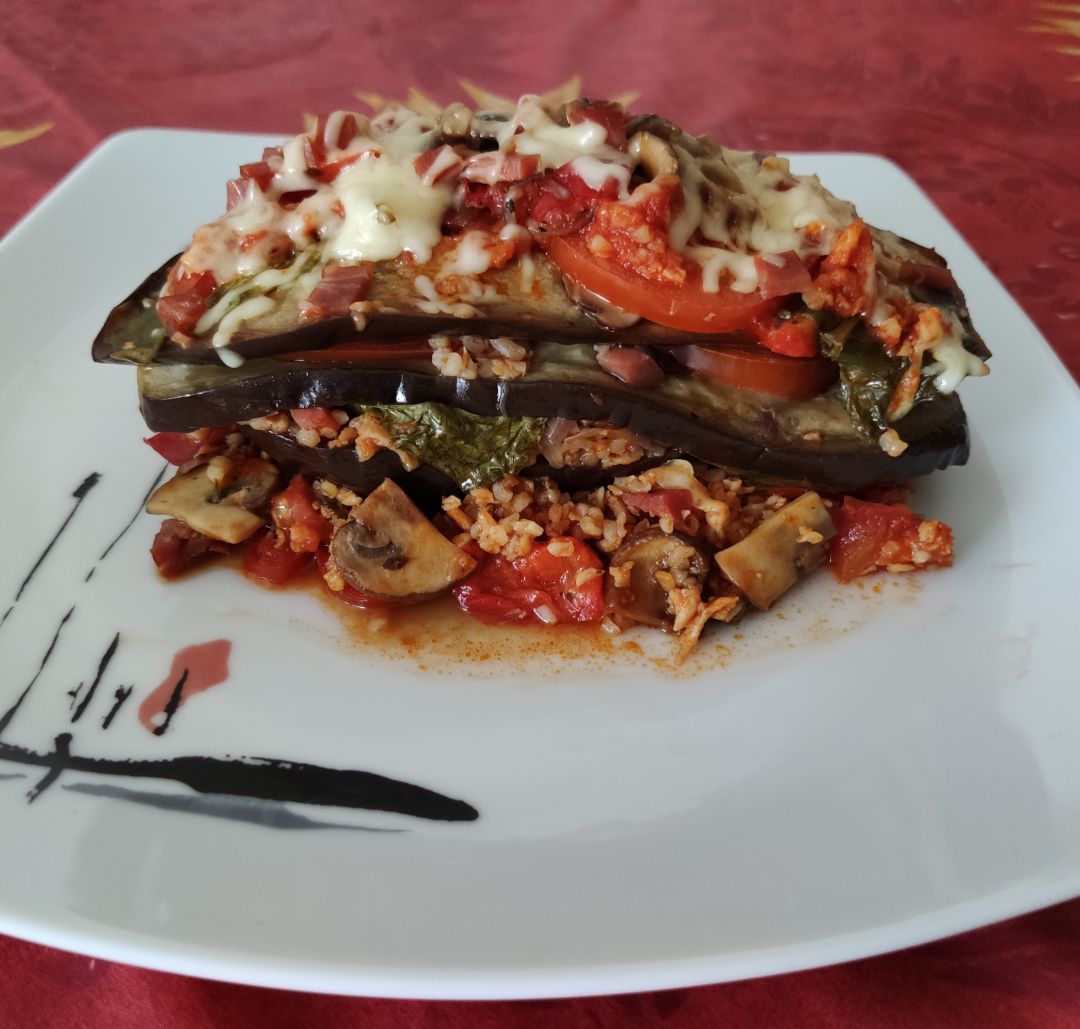
Eggplant Millefeuille
5
(22)
70 min
0 kcal
Preparación de la receta
1
Hydrate the texturized soybeans in hot water while preparing the rest of the ingredients.
2
Cook the bulgur with the amount of water indicated on the package for 20 minutes.
3
While the soy is hydrated and the bulgur is cooking, we sauté the chopped garlic, onion, red bell pepper and mushrooms. Season with salt and pepper and add parsley.
4
Cut the eggplant into slices and sauté them in a frying pan with a little oil for 3 minutes. Set aside.
5
Strain the texturized soy in a strainer when it has been hydrating for a while and rinse it with tap water. Mix it with the bulgur in a bowl when it has finished cooking and with half of the fried tomato.
6
Cut the tomatoes into slices and grate the cheese.
7
We already have everything, now we are going to form layers: - eggplant - bulgur + texturized soy - sautéed - diced ham - eggplant - spinach - tomato slices - bulgur + texturized soybeans - sautéed - diced ham - rest of the fried tomato - cheese I lost count of how many layers I added.... Basically until I put it all in! It came out pretty high 😅
8
Bake in the oven and in 20 minutes at 200 degrees it is ready to eat... Watch out, every oven is different!
9
Enjoy! 😋
Ingredientes
2 raciones
2 raciones
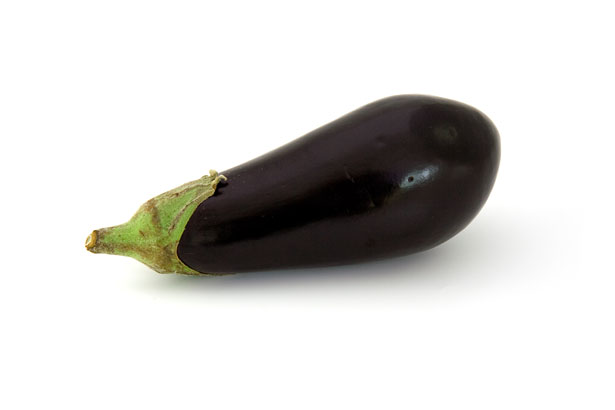
Eggplant
200 gramos (aprox. 1 unidad)
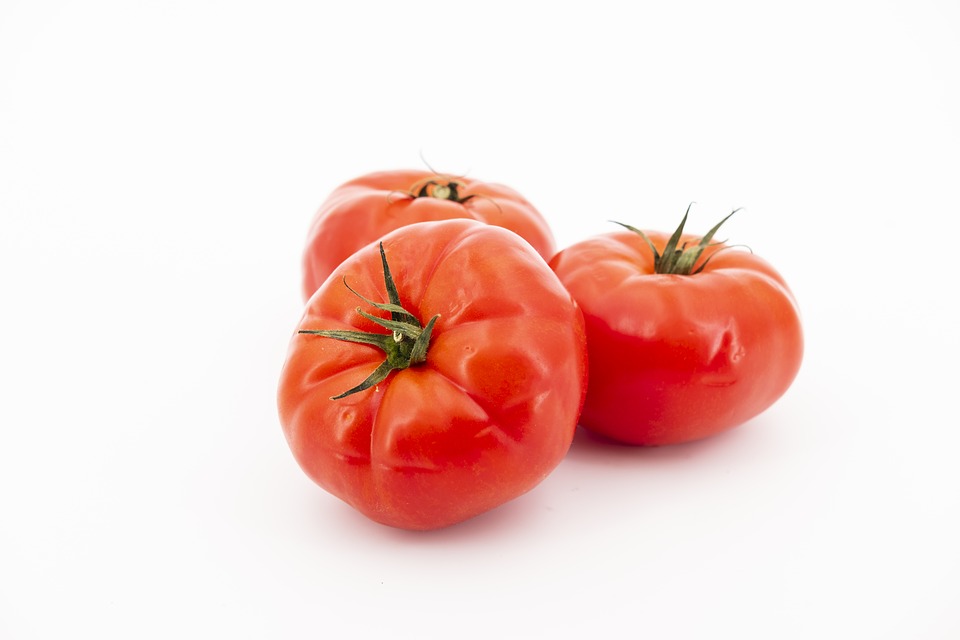
Tomato
80 gramos (aprox. 2 unidades)
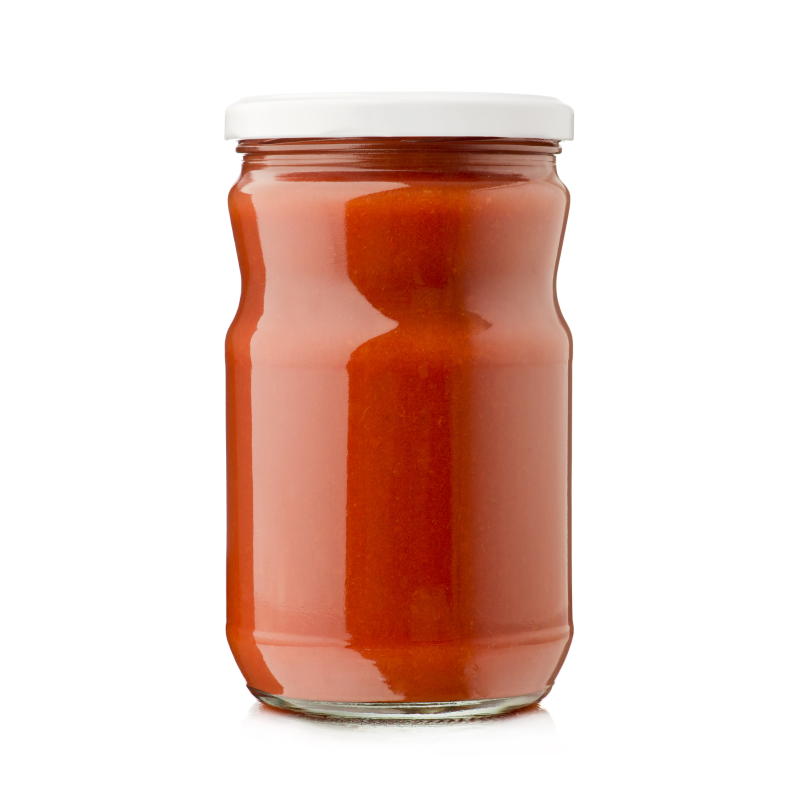
Tomato sauce
60 gramos
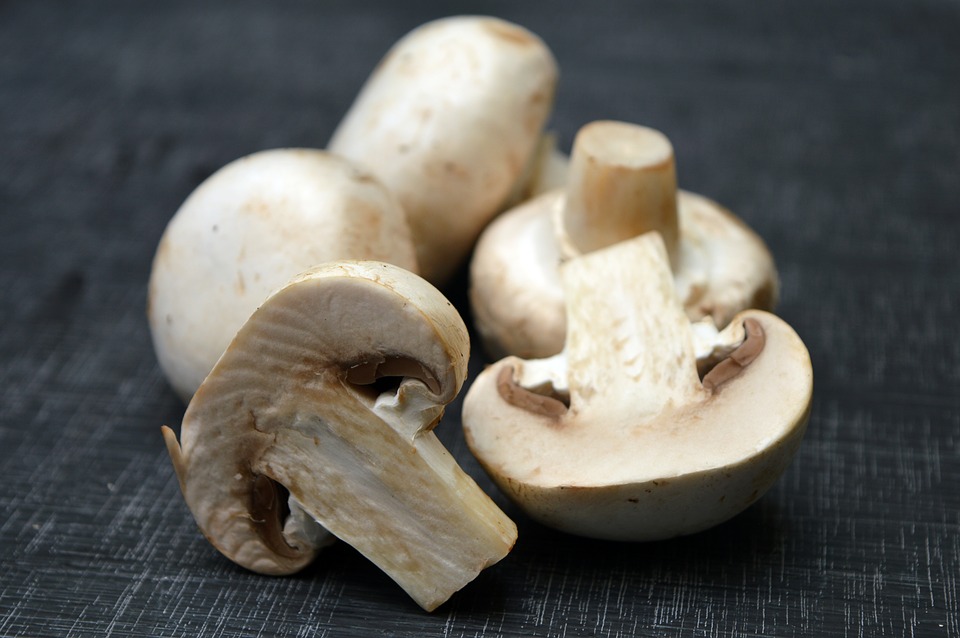
Mushroom
45 gramos (aprox. 3 unidades)
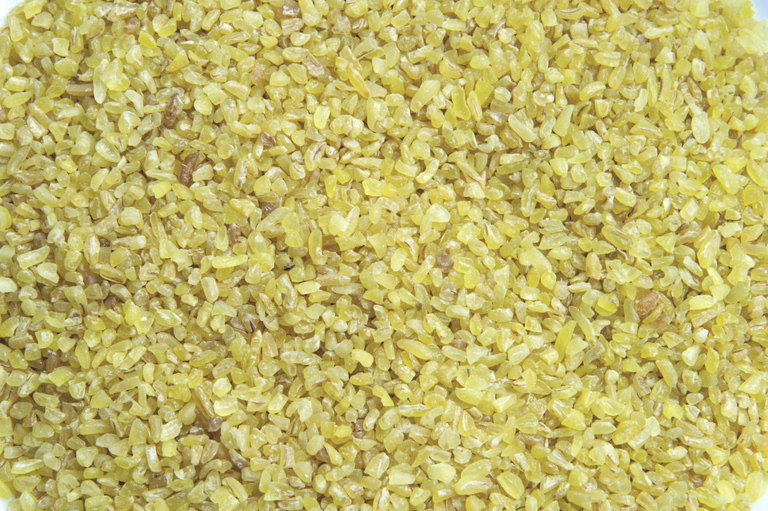
Bulgur
40 gramos
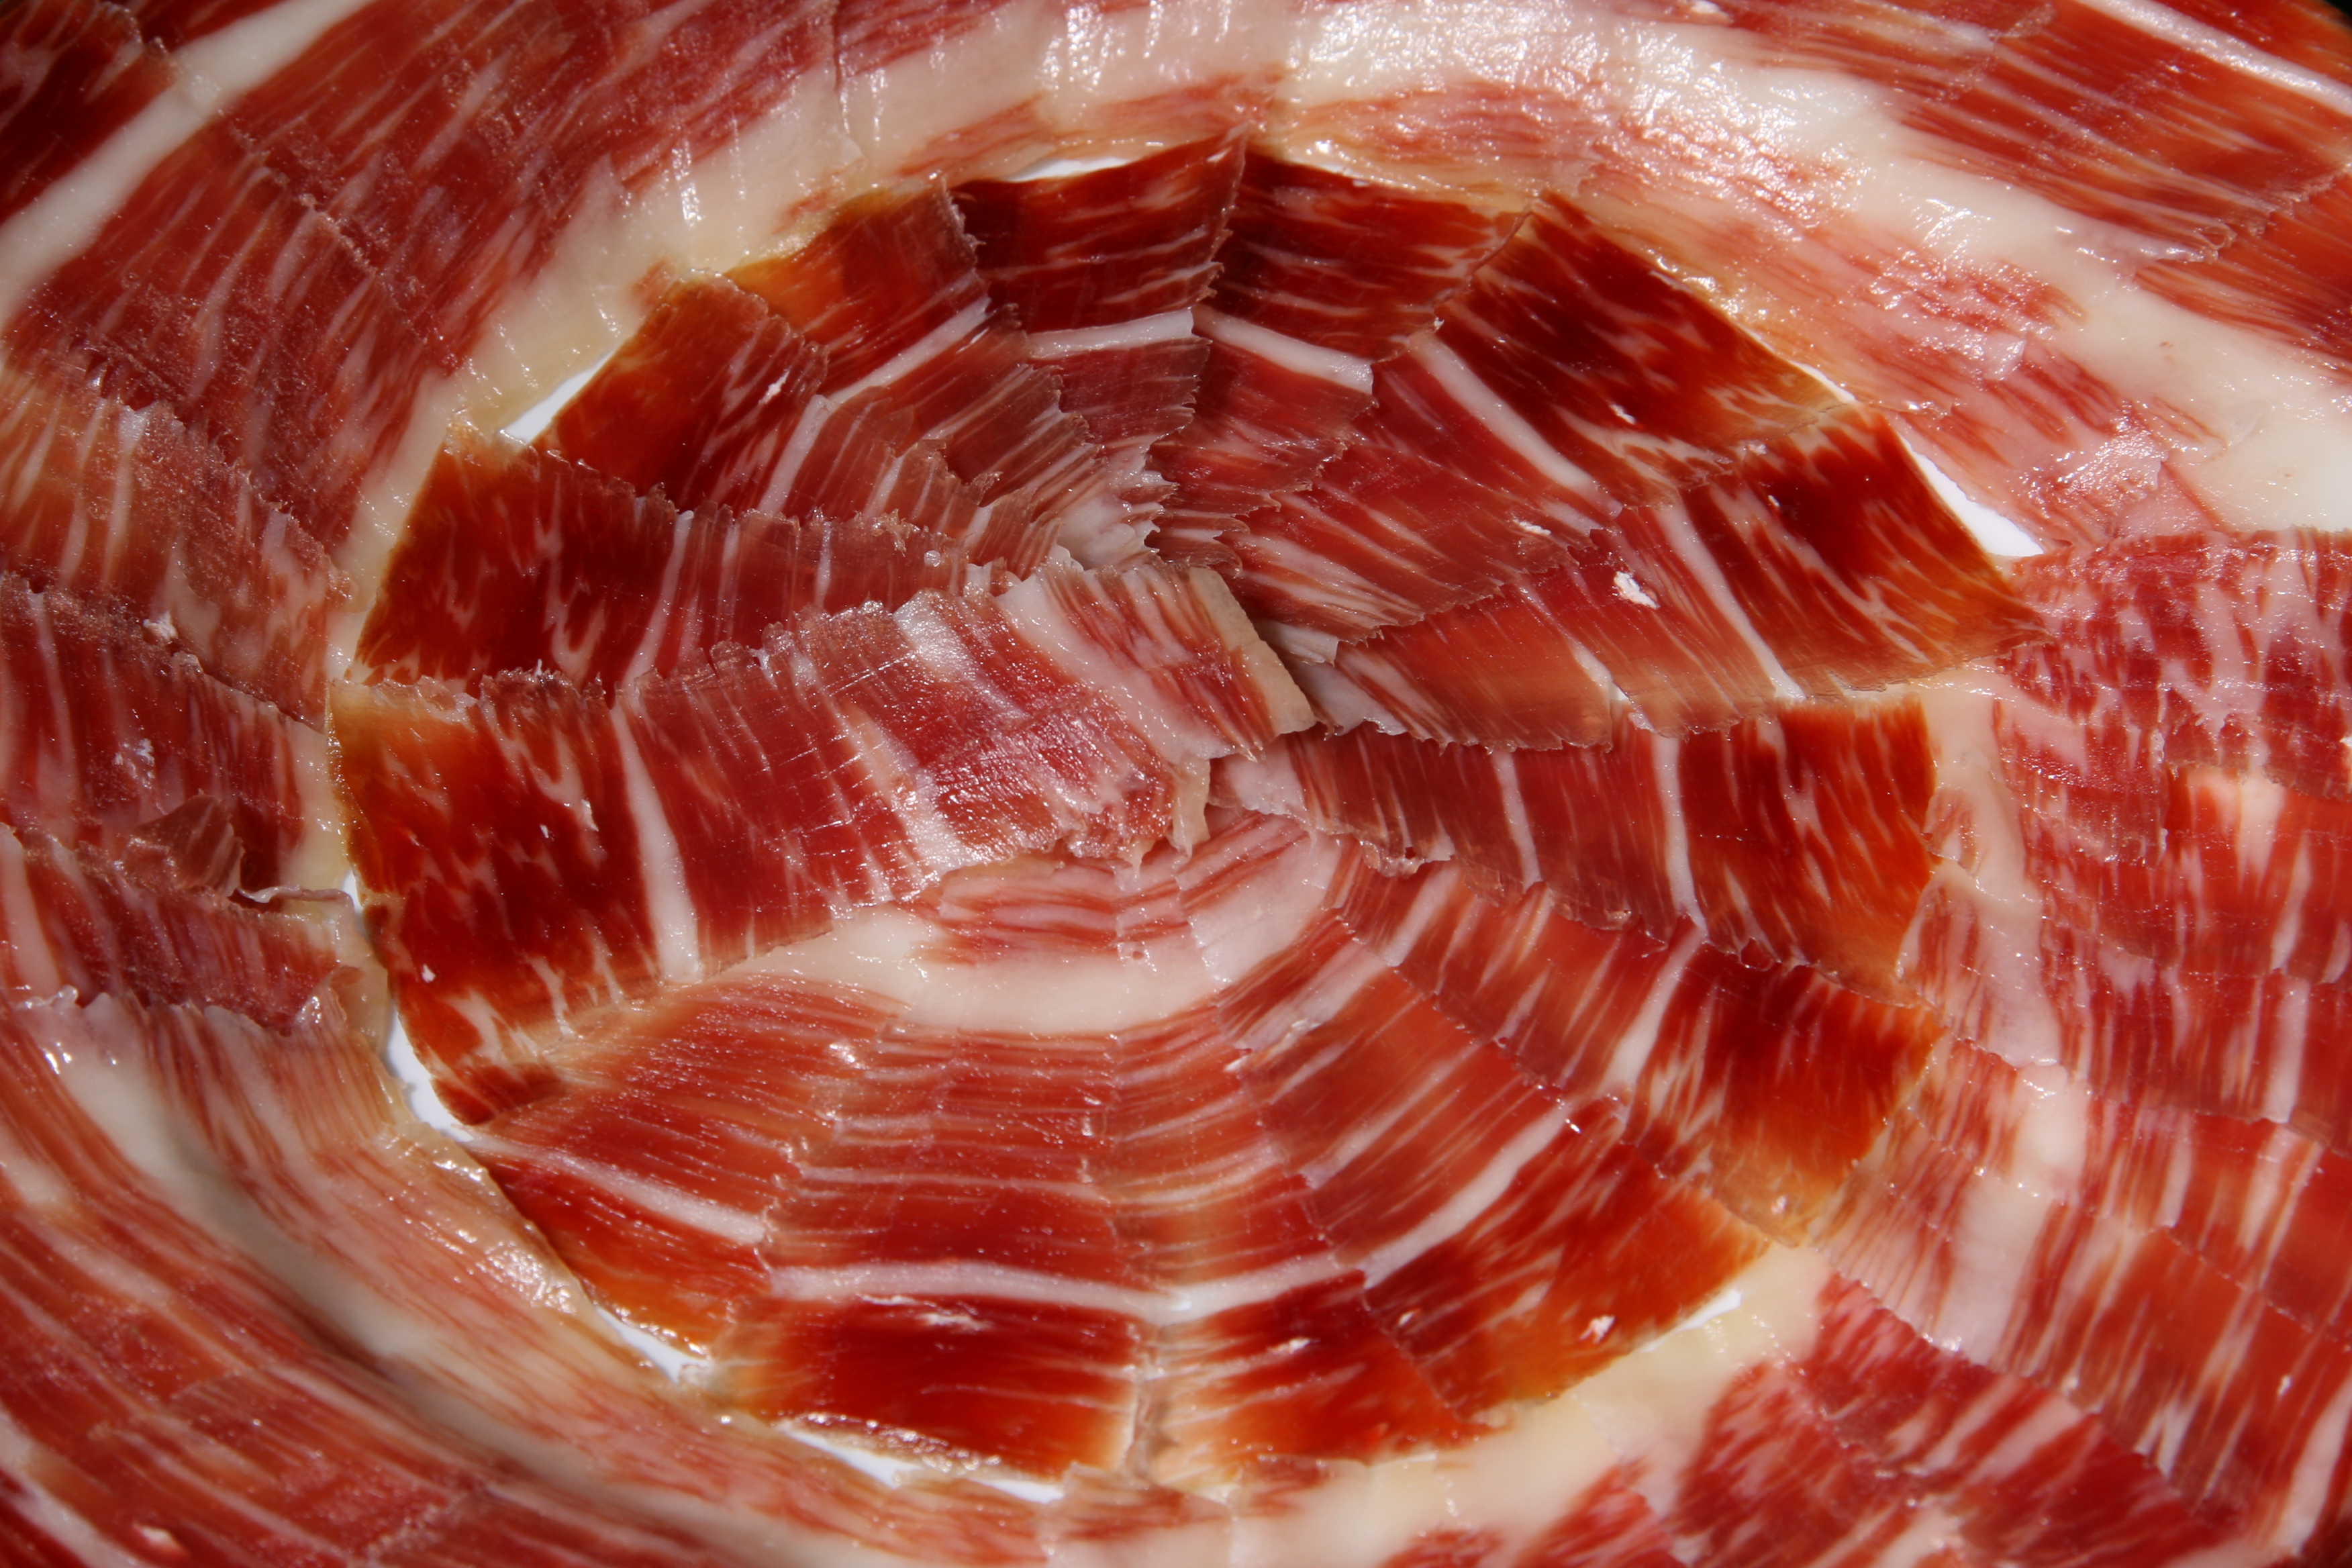
Serrano ham
40 gramos
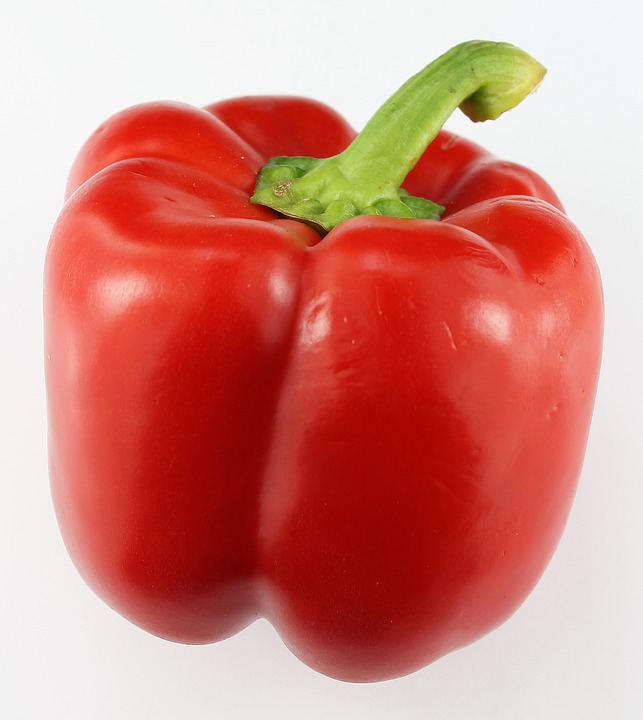
Red bell pepper
40 gramos
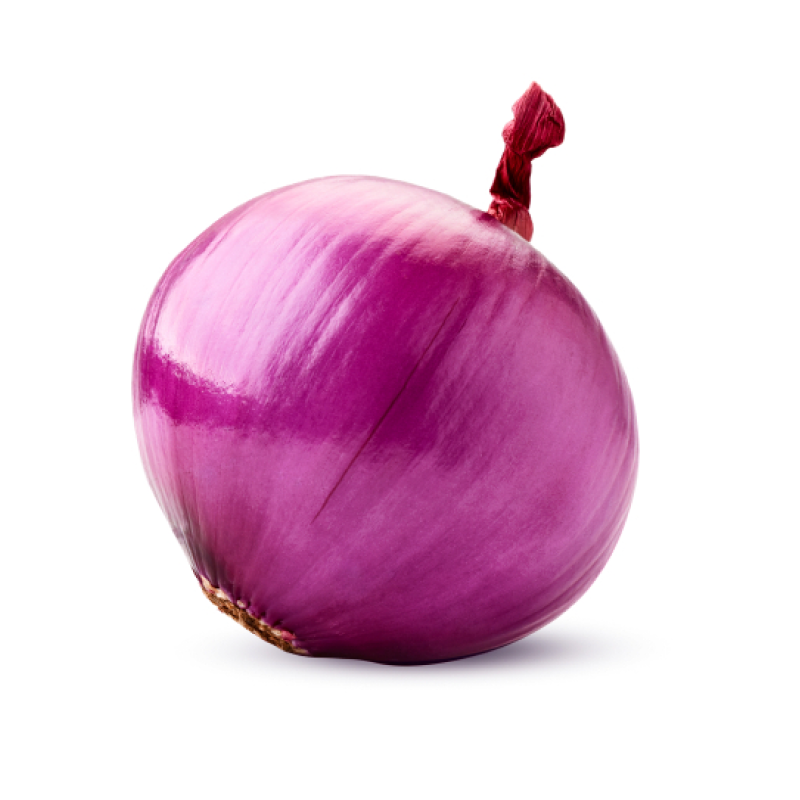
Purple onion
30 gramos
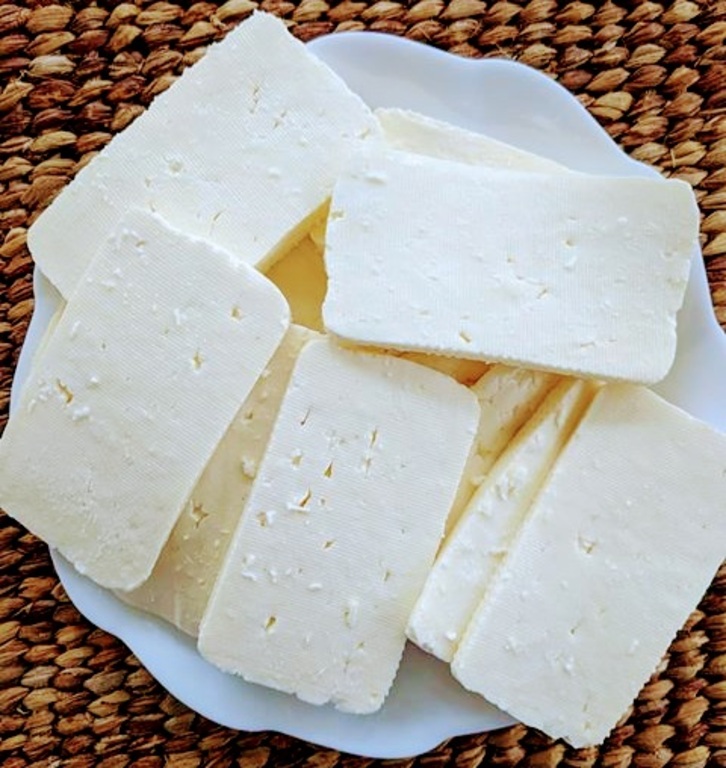
Cheese
30 gramos
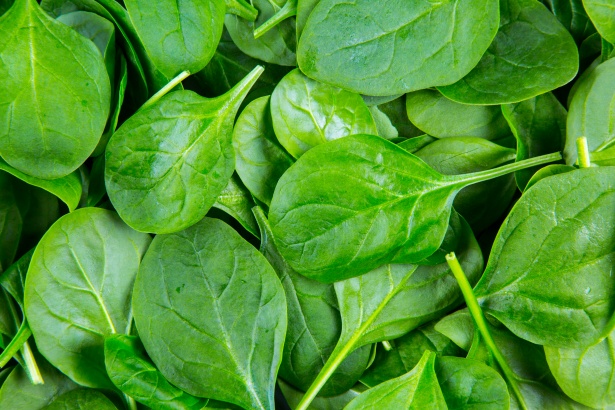
Spinach
20 gramos

Extra virgin olive oil
15 gramos
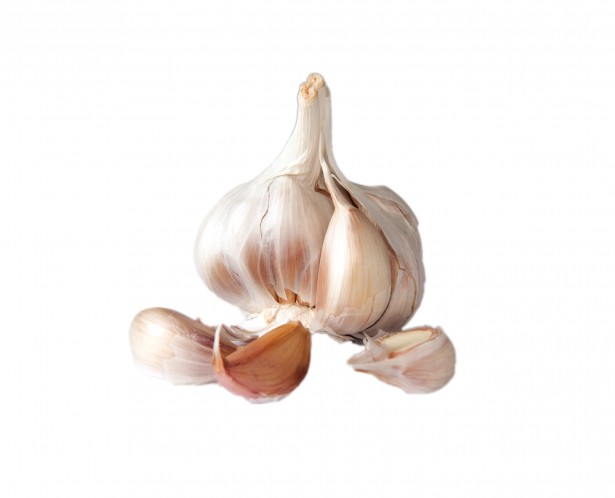
Garlic
10 gramos
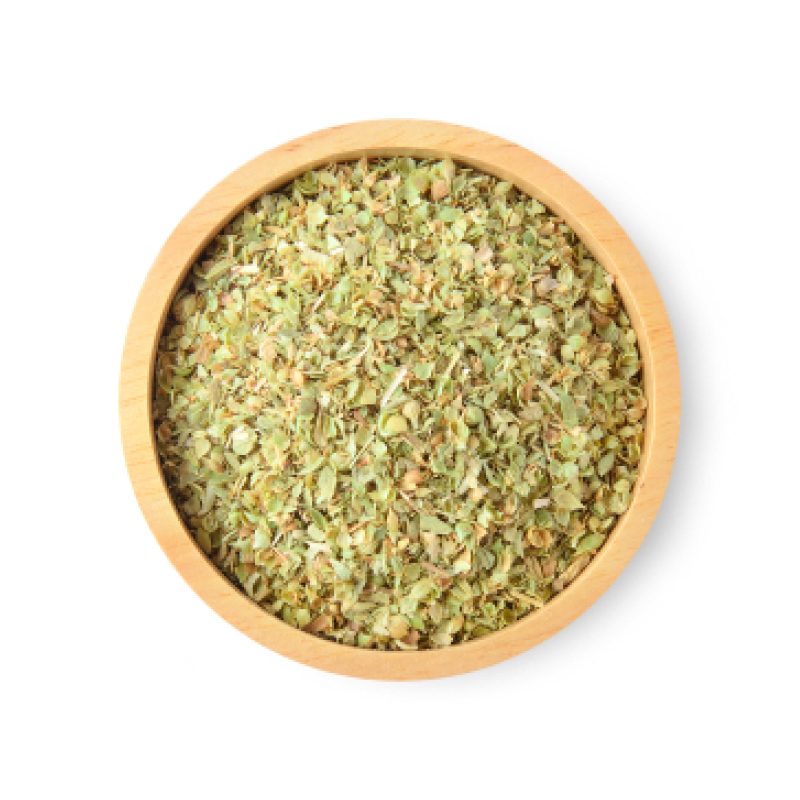
Oregano
5 gramos
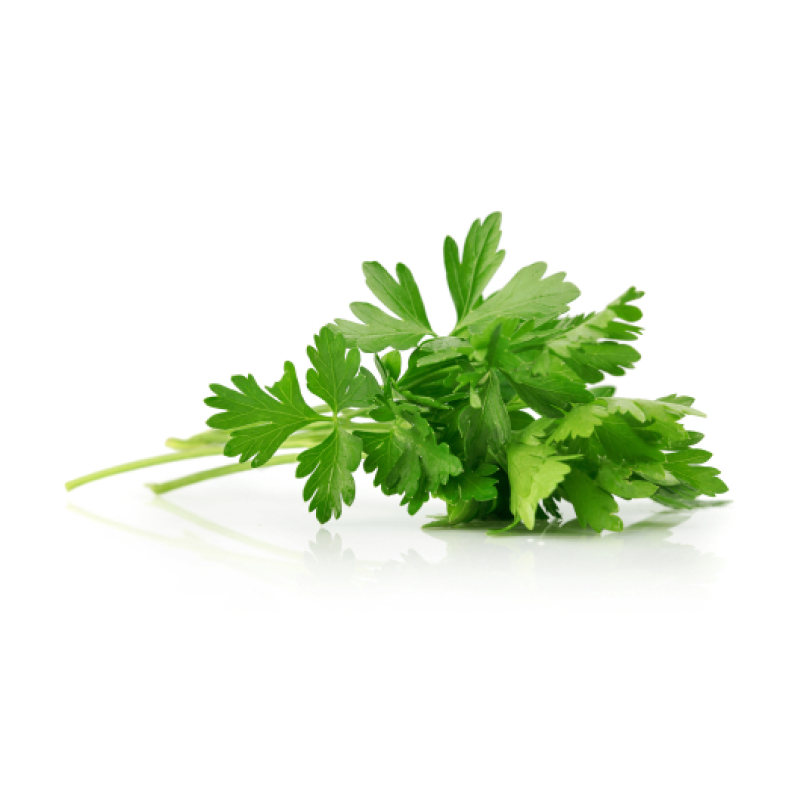
Parsley
5 gramos
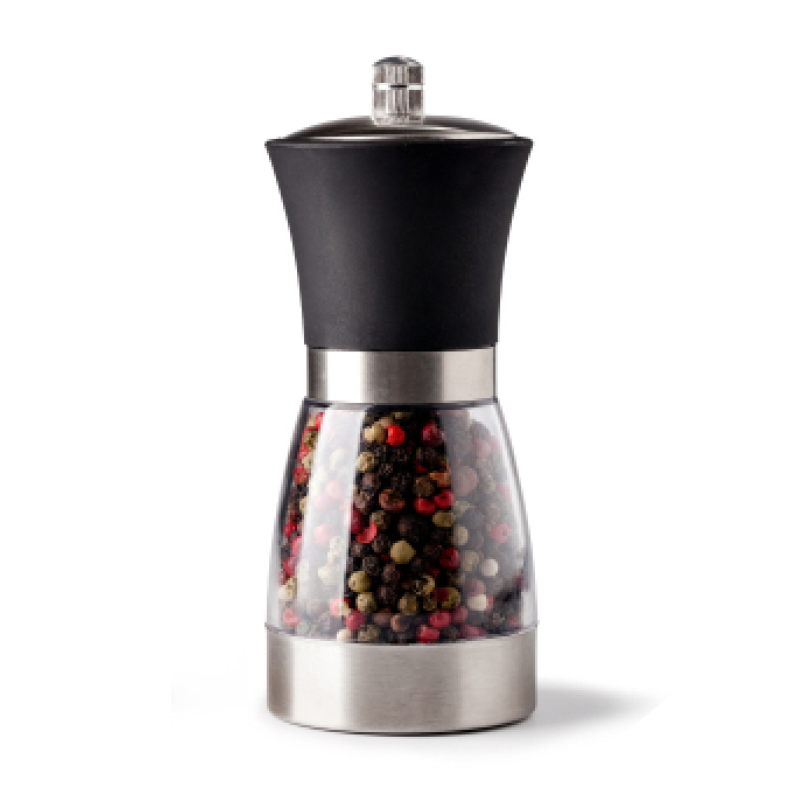
Black pepper
5 gramos

Salt
5 gramos
Ingredients
Steps
Calories
Ingredientes
2 raciones
2 raciones

Eggplant
200 gramos (aprox. 1 unidad)

Tomato
80 gramos (aprox. 2 unidades)

Tomato sauce
60 gramos

Mushroom
45 gramos (aprox. 3 unidades)

Bulgur
40 gramos

Serrano ham
40 gramos

Red bell pepper
40 gramos

Purple onion
30 gramos

Cheese
30 gramos

Spinach
20 gramos

Extra virgin olive oil
15 gramos

Garlic
10 gramos

Oregano
5 gramos

Parsley
5 gramos

Black pepper
5 gramos

Salt
5 gramos
1
Hydrate the texturized soybeans in hot water while preparing the rest of the ingredients.
2
Cook the bulgur with the amount of water indicated on the package for 20 minutes.
3
While the soy is hydrated and the bulgur is cooking, we sauté the chopped garlic, onion, red bell pepper and mushrooms. Season with salt and pepper and add parsley.
4
Cut the eggplant into slices and sauté them in a frying pan with a little oil for 3 minutes. Set aside.
5
Strain the texturized soy in a strainer when it has been hydrating for a while and rinse it with tap water. Mix it with the bulgur in a bowl when it has finished cooking and with half of the fried tomato.
6
Cut the tomatoes into slices and grate the cheese.
7
We already have everything, now we are going to form layers: - eggplant - bulgur + texturized soy - sautéed - diced ham - eggplant - spinach - tomato slices - bulgur + texturized soybeans - sautéed - diced ham - rest of the fried tomato - cheese I lost count of how many layers I added.... Basically until I put it all in! It came out pretty high 😅
8
Bake in the oven and in 20 minutes at 200 degrees it is ready to eat... Watch out, every oven is different!
9
Enjoy! 😋
Calories
Per 100g
Calories
carbohydrates
carbohydrates
proteins
proteins
fats
fats
salt
salt
Sugars
Sugars
Saturated fats
Saturated fats
Desbloquear información nutricional
Hazte PLUS para ver la información nutricional de las recetas, y desbloquear muchas más funcionalidades PLUS.
Información nutricional
Calories
Per 100g
Calories
carbohydrates
carbohydrates
proteins
proteins
fats
fats
salt
salt
Sugars
Sugars
Saturated fats
Saturated fats
Desbloquear información nutricional
Hazte PLUS para ver la información nutricional de las recetas, y desbloquear muchas más funcionalidades PLUS.
Valoraciones
Etiquetas
Tupper
Meals
Use
Vegetables
¡Libera todo tu potencial con un Plan nutricional!
Planes nutricionales adaptados a tu objetivo 🎯 ¡Desbloquea todas las funcionalidades PLUS!


Se el primero en valorar esta receta...