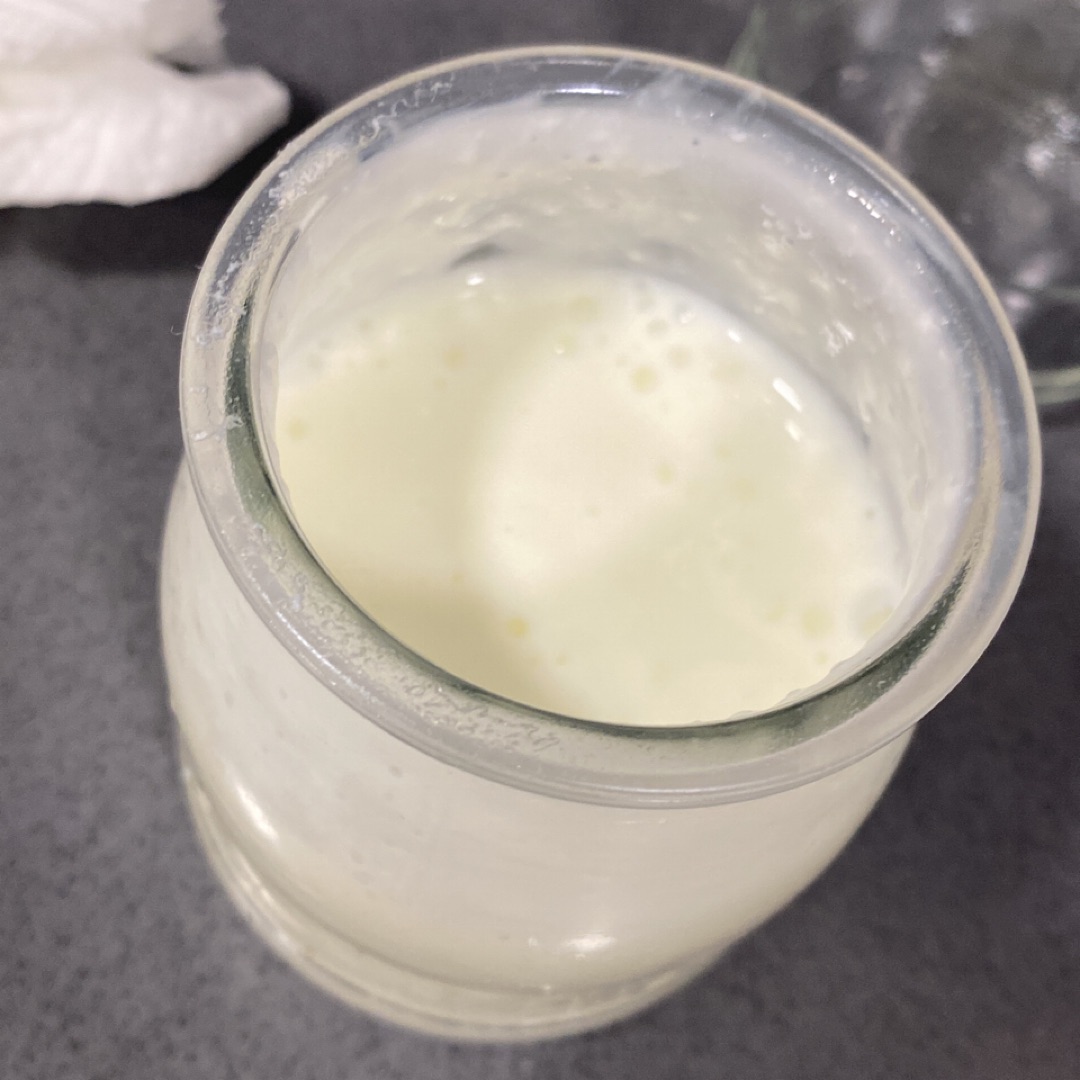
50
Homemade kefir 🍶.
5
(57)
0 kcal
Preparación de la receta
1
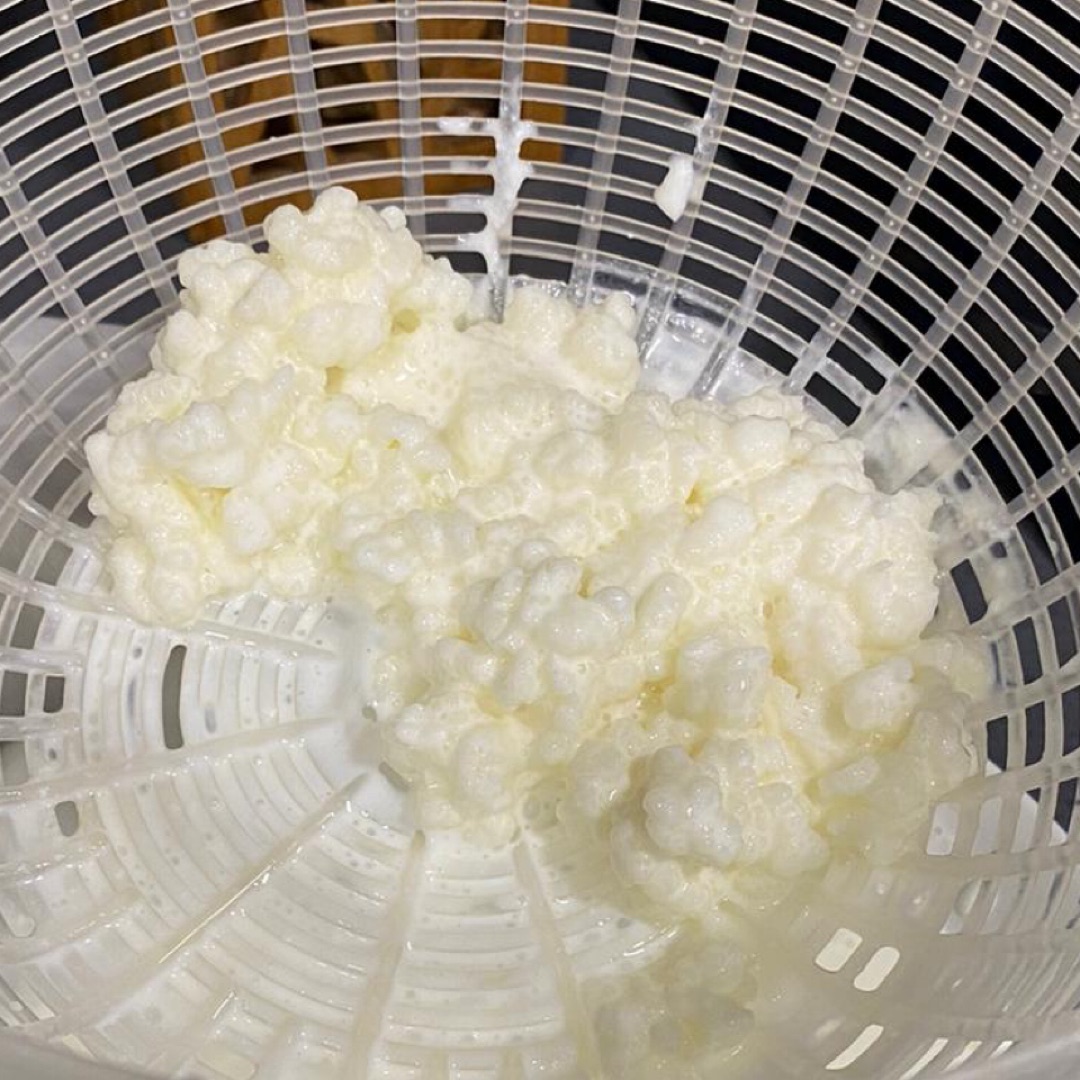
To prepare homemade kefir you will need to get some kefir nodules, it does not matter the quantity because if you preserve them properly they will grow. Put them in a glass jar (they are sold on the internet or if you want to write me privately) it is a fungus.
2
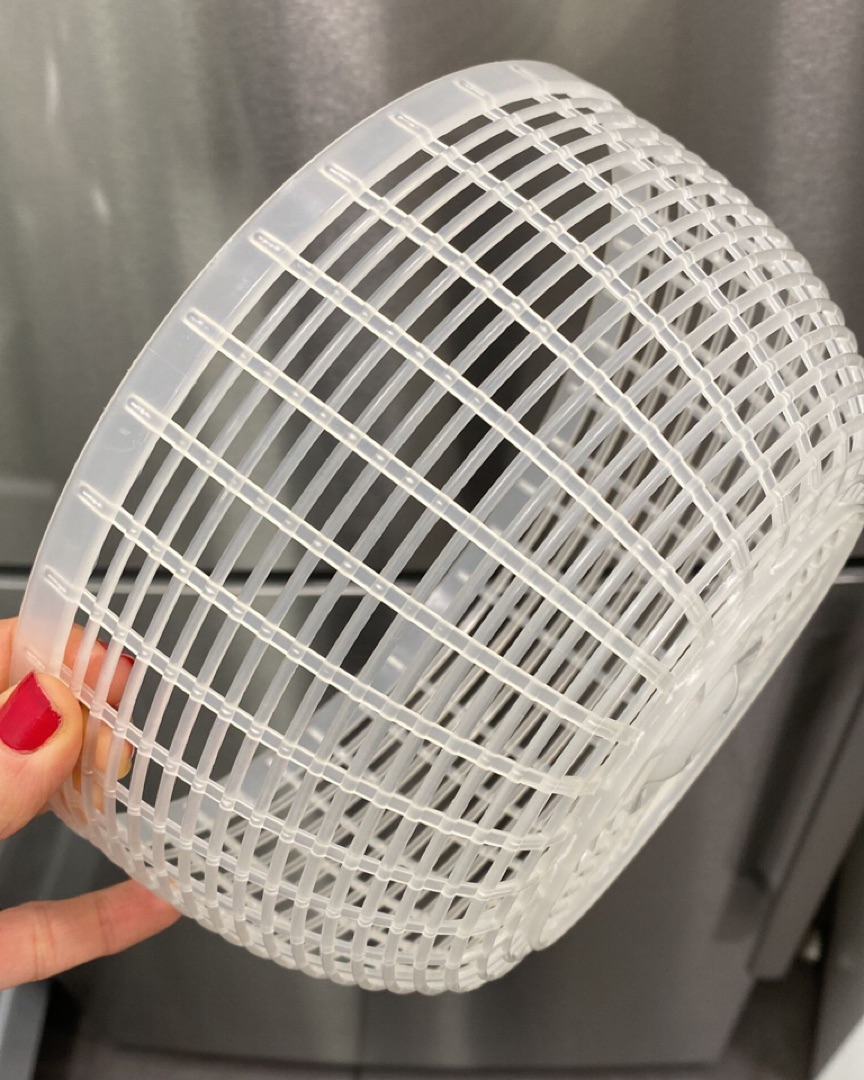
IMPORTANT! The utensils you use to prepare it must be made of plastic or wood!!!!. NEVER metal as it can damage the fungus. Use plastic strainers and wooden or silicone spoons.
3
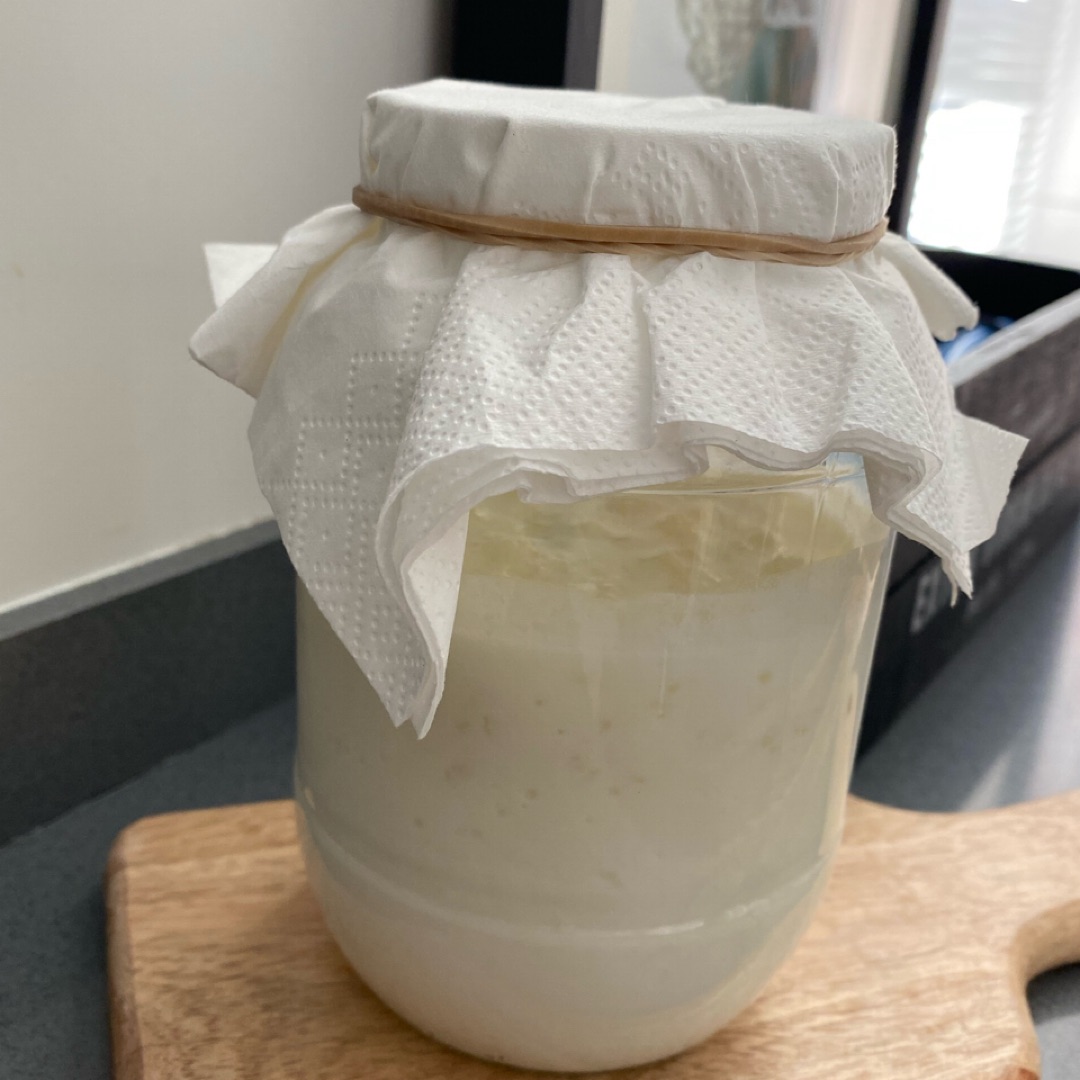
📝 Let's start!!! 📝 Take a glass jar and introduce the mushroom, add whole or semi-skimmed milk. THE BEST IS FRESH MILK, it comes out better!!!! . Depending on the amount of nodules you have added you will have to put more or less milk, but in general, it should be filled up to half or 3/4 of the jar.
4
Then cover our jar with a paper napkin or a clean cloth and fasten with a rubber band. NEVER put a metal lid on the jar as it will not allow air to enter. Store in a cupboard or a dark place.
5
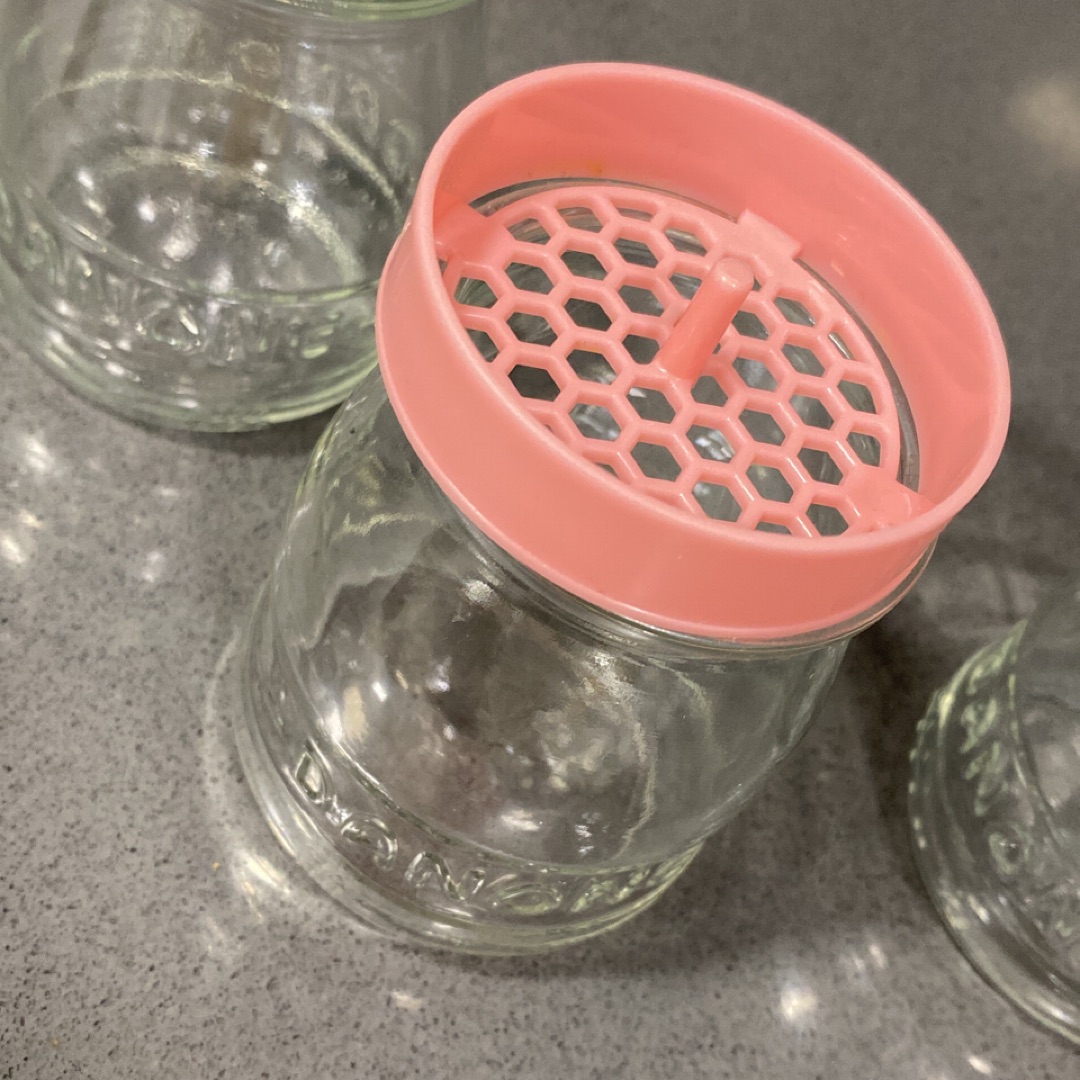
After 24 hours, take the plastic strainer and the jars where you are going to put your kefir. I have used these individual glass jars to serve to the family and also some glass jars with lids (here it is ok if the lid is metal) to keep in the fridge and so you can take it whenever you want.
6
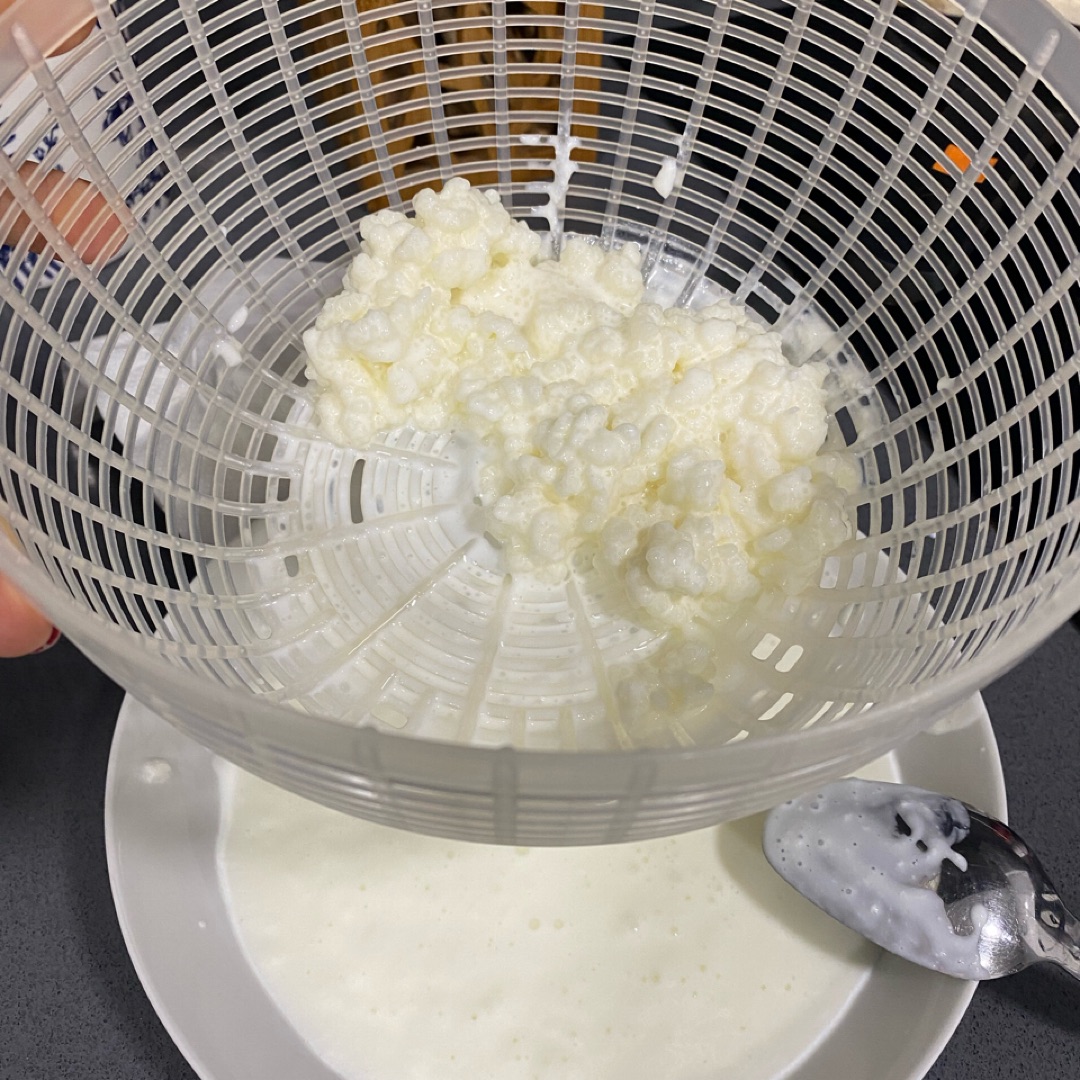
Take the plastic strainer and strain the mixture with a wooden or plastic spoon, separate / strain the fungus from the liquid, and what comes out at the bottom is the kefir. !!!! Now put the fungus back into the empty big jar (you have to empty the whole kefir jar), add again whole milk (cow, goat...), close it again with the cloth/napkin and put it back in the dark place (if you are leaving for the weekend or you will not be able to make kefir again in 24h or 48h you can put it in the fridge so it ferments slower).
7
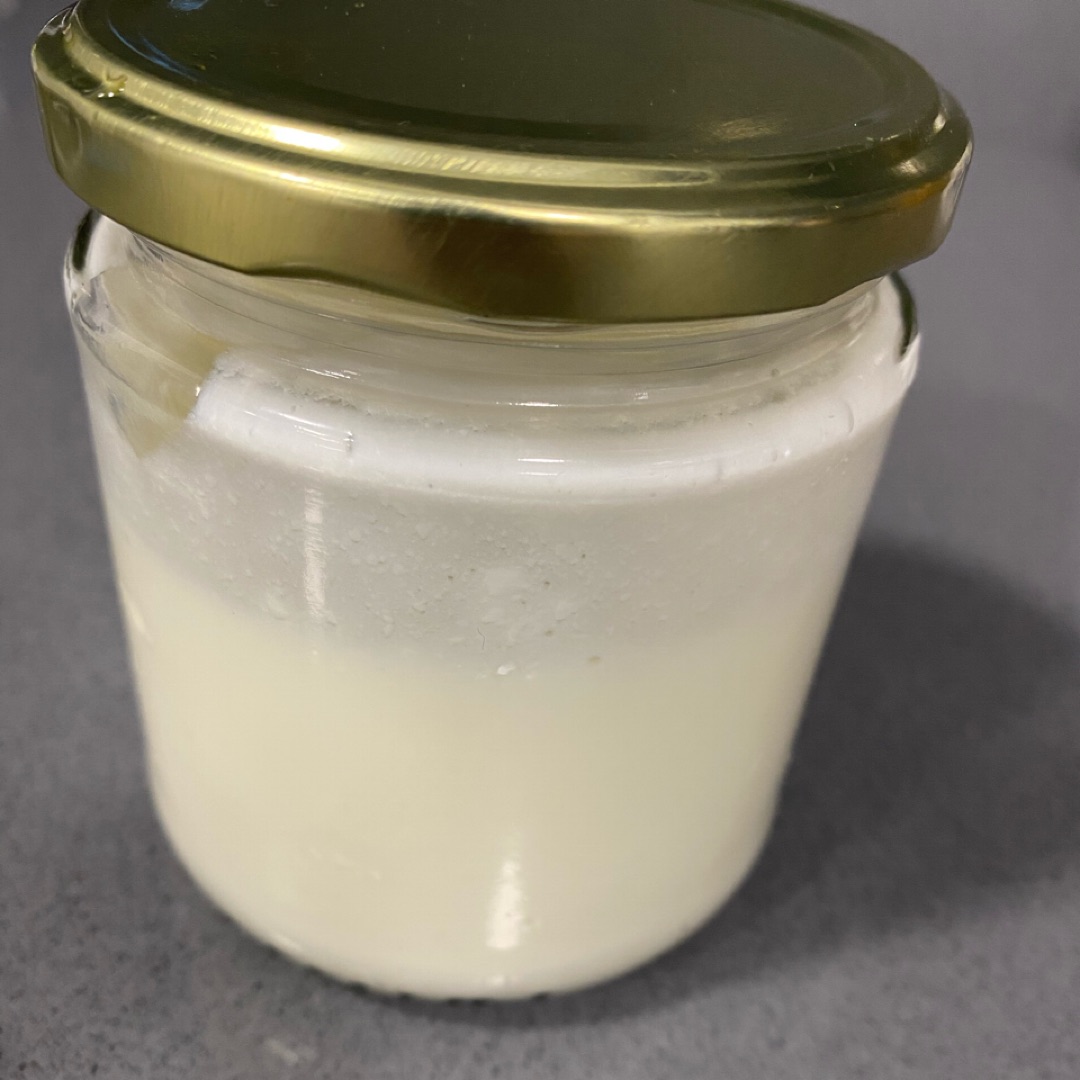
Now we have our kefir, put it in the glass jars and put it in the fridge to be consumed fresh.
8
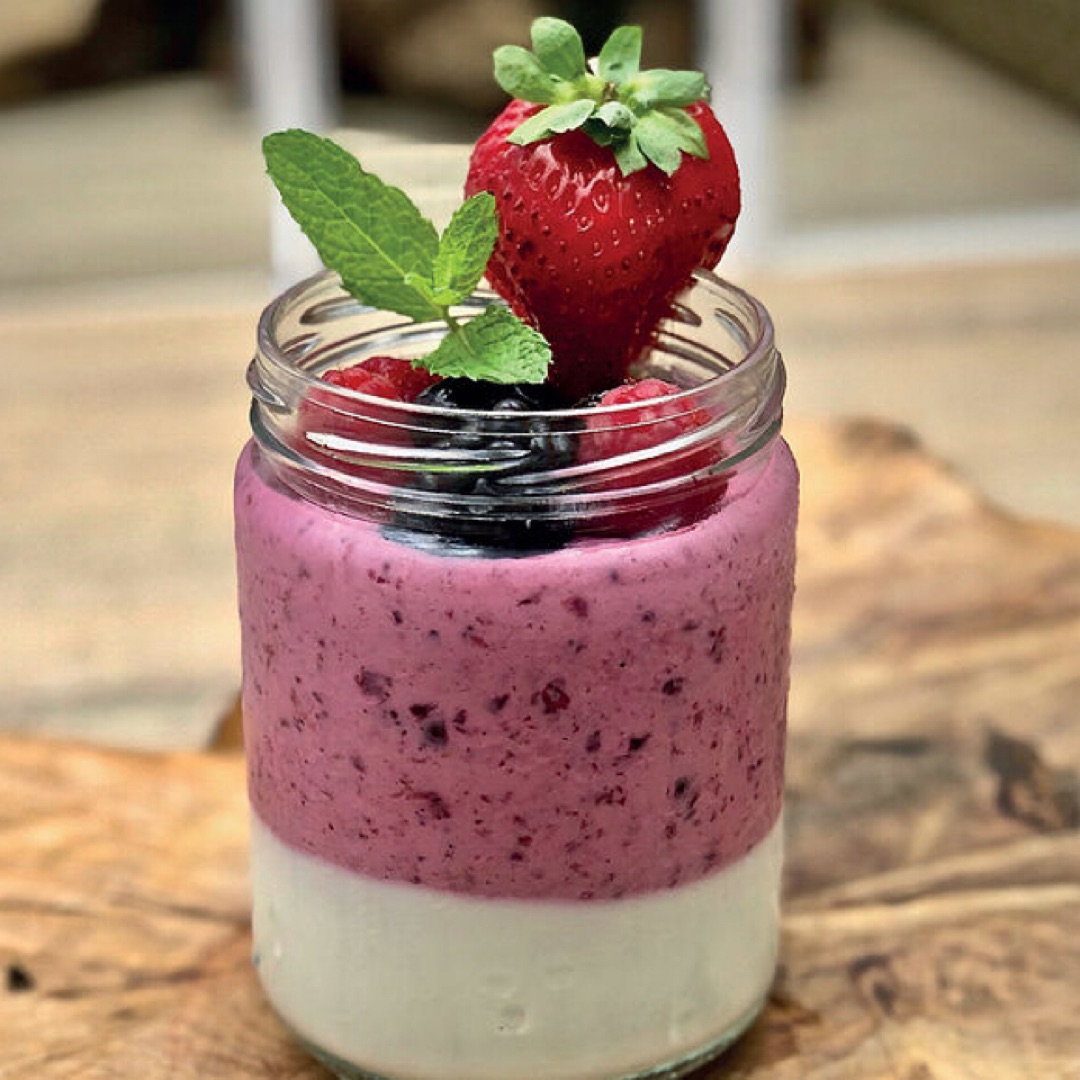
Ideal for breakfasts and snacks, mix your bowl 🥣 with fruits, smoothies and even recipes such as biscuits....
Ingredientes
1 ración
1 ración
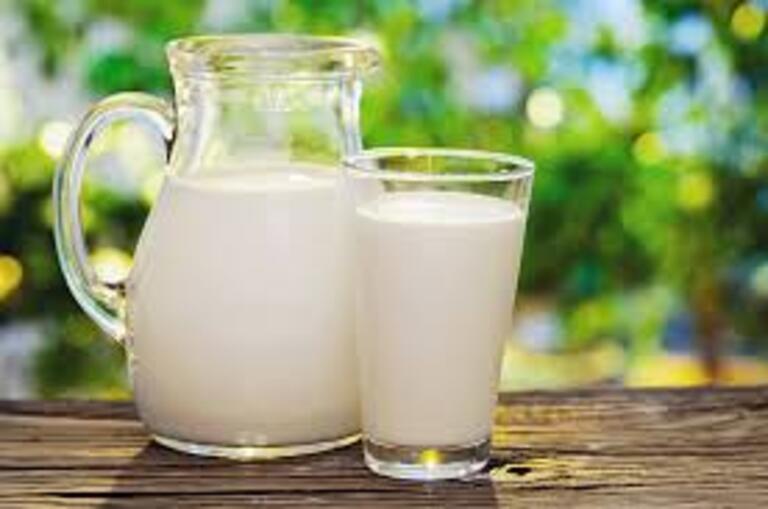
Whole cow's milk
200 gramos (aprox. 1 vaso)
Kefir
125 gramos (aprox. 1 unidad)
Ingredients
Steps
Calories
Ingredientes
1 ración
1 ración

Whole cow's milk
200 gramos (aprox. 1 vaso)

Kefir
125 gramos (aprox. 1 unidad)
1
To prepare homemade kefir you will need to get some kefir nodules, it does not matter the quantity because if you preserve them properly they will grow. Put them in a glass jar (they are sold on the internet or if you want to write me privately) it is a fungus.

2
IMPORTANT! The utensils you use to prepare it must be made of plastic or wood!!!!. NEVER metal as it can damage the fungus. Use plastic strainers and wooden or silicone spoons.

3
📝 Let's start!!! 📝 Take a glass jar and introduce the mushroom, add whole or semi-skimmed milk. THE BEST IS FRESH MILK, it comes out better!!!! . Depending on the amount of nodules you have added you will have to put more or less milk, but in general, it should be filled up to half or 3/4 of the jar.
4
Then cover our jar with a paper napkin or a clean cloth and fasten with a rubber band. NEVER put a metal lid on the jar as it will not allow air to enter. Store in a cupboard or a dark place.

5
After 24 hours, take the plastic strainer and the jars where you are going to put your kefir. I have used these individual glass jars to serve to the family and also some glass jars with lids (here it is ok if the lid is metal) to keep in the fridge and so you can take it whenever you want.

6
Take the plastic strainer and strain the mixture with a wooden or plastic spoon, separate / strain the fungus from the liquid, and what comes out at the bottom is the kefir. !!!! Now put the fungus back into the empty big jar (you have to empty the whole kefir jar), add again whole milk (cow, goat...), close it again with the cloth/napkin and put it back in the dark place (if you are leaving for the weekend or you will not be able to make kefir again in 24h or 48h you can put it in the fridge so it ferments slower).

7
Now we have our kefir, put it in the glass jars and put it in the fridge to be consumed fresh.

8
Ideal for breakfasts and snacks, mix your bowl 🥣 with fruits, smoothies and even recipes such as biscuits....

Calories
Per 100g
Calories
carbohydrates
carbohydrates
proteins
proteins
fats
fats
salt
salt
Sugars
Sugars
Saturated fats
Saturated fats
Desbloquear información nutricional
Hazte PLUS para ver la información nutricional de las recetas, y desbloquear muchas más funcionalidades PLUS.
Información nutricional
Calories
Per 100g
Calories
carbohydrates
carbohydrates
proteins
proteins
fats
fats
salt
salt
Sugars
Sugars
Saturated fats
Saturated fats
Desbloquear información nutricional
Hazte PLUS para ver la información nutricional de las recetas, y desbloquear muchas más funcionalidades PLUS.
Valoraciones
Etiquetas
Snack
Smoothies
Dairy
Gluten free
Desserts
Vegetarian
All
Breakfast
Accompaniment
¡Libera todo tu potencial con un Plan nutricional!
Planes nutricionales adaptados a tu objetivo 🎯 ¡Desbloquea todas las funcionalidades PLUS!
Se el primero en valorar esta receta...