26
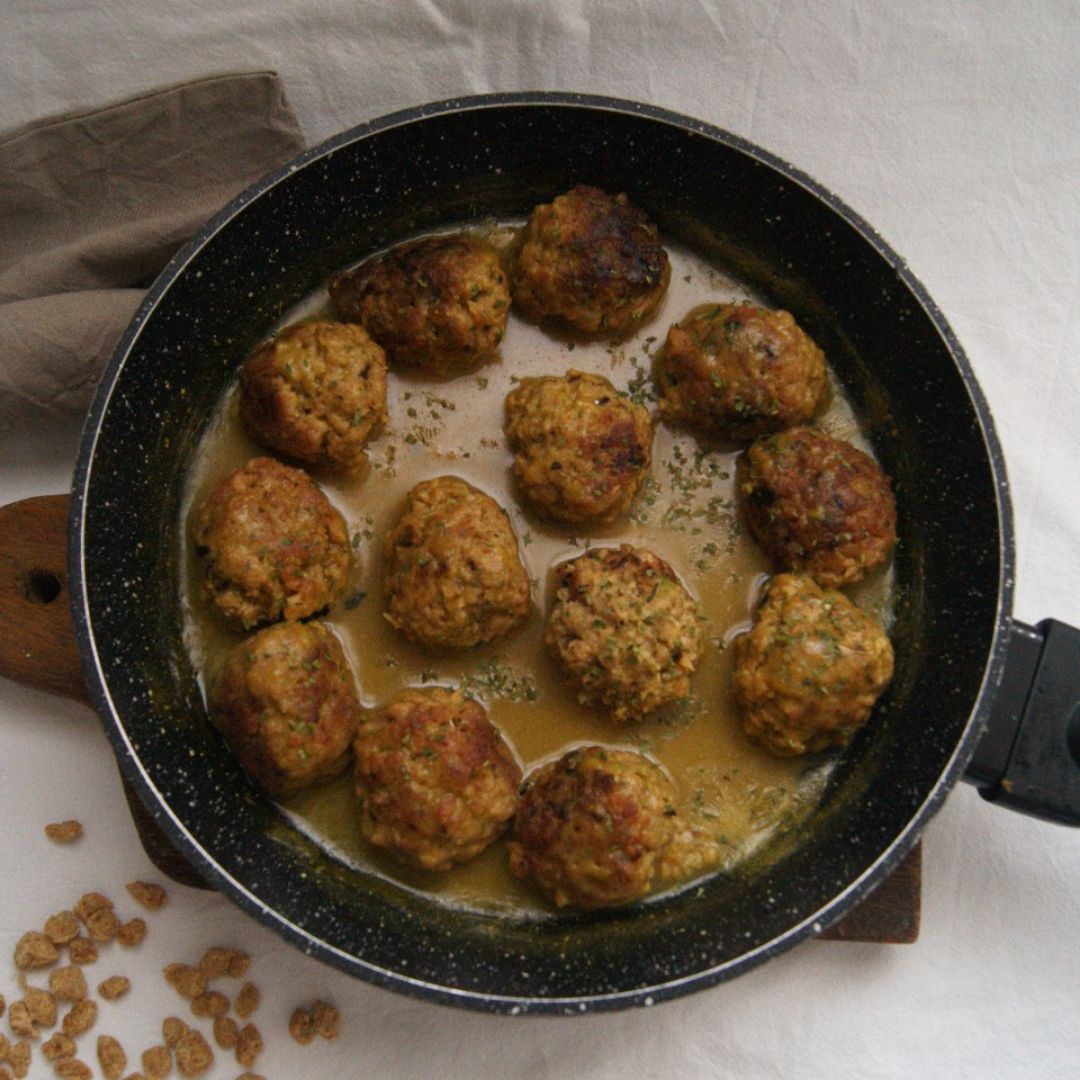
Textured soy meatballs
3
(27)
0 kcal
Preparación de la receta
1
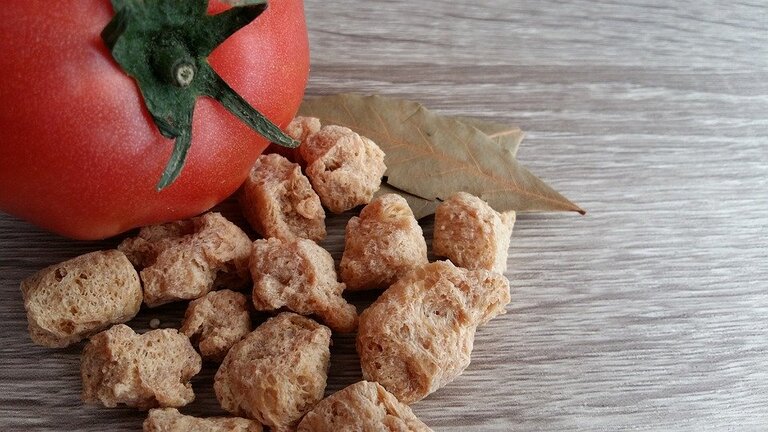
First, place the textured soy in a bowl and cover it with vegetable broth. cover it with vegetable broth. Let it hydrate for half an hour. After half an hour of hydration, we drain the texturized soybeans with our hands until we have removed the broth almost completely. We reserve the broth.
2
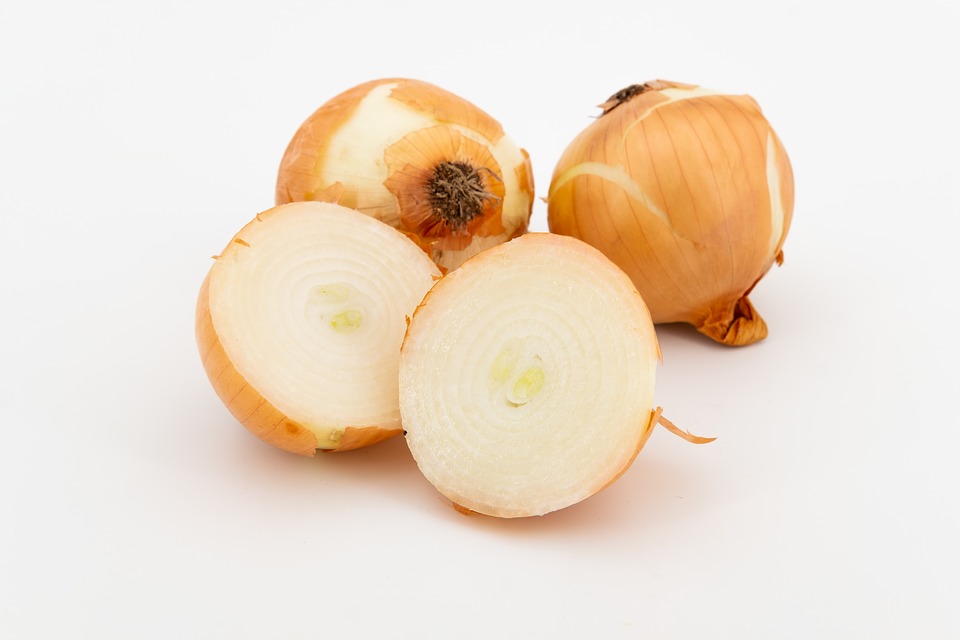
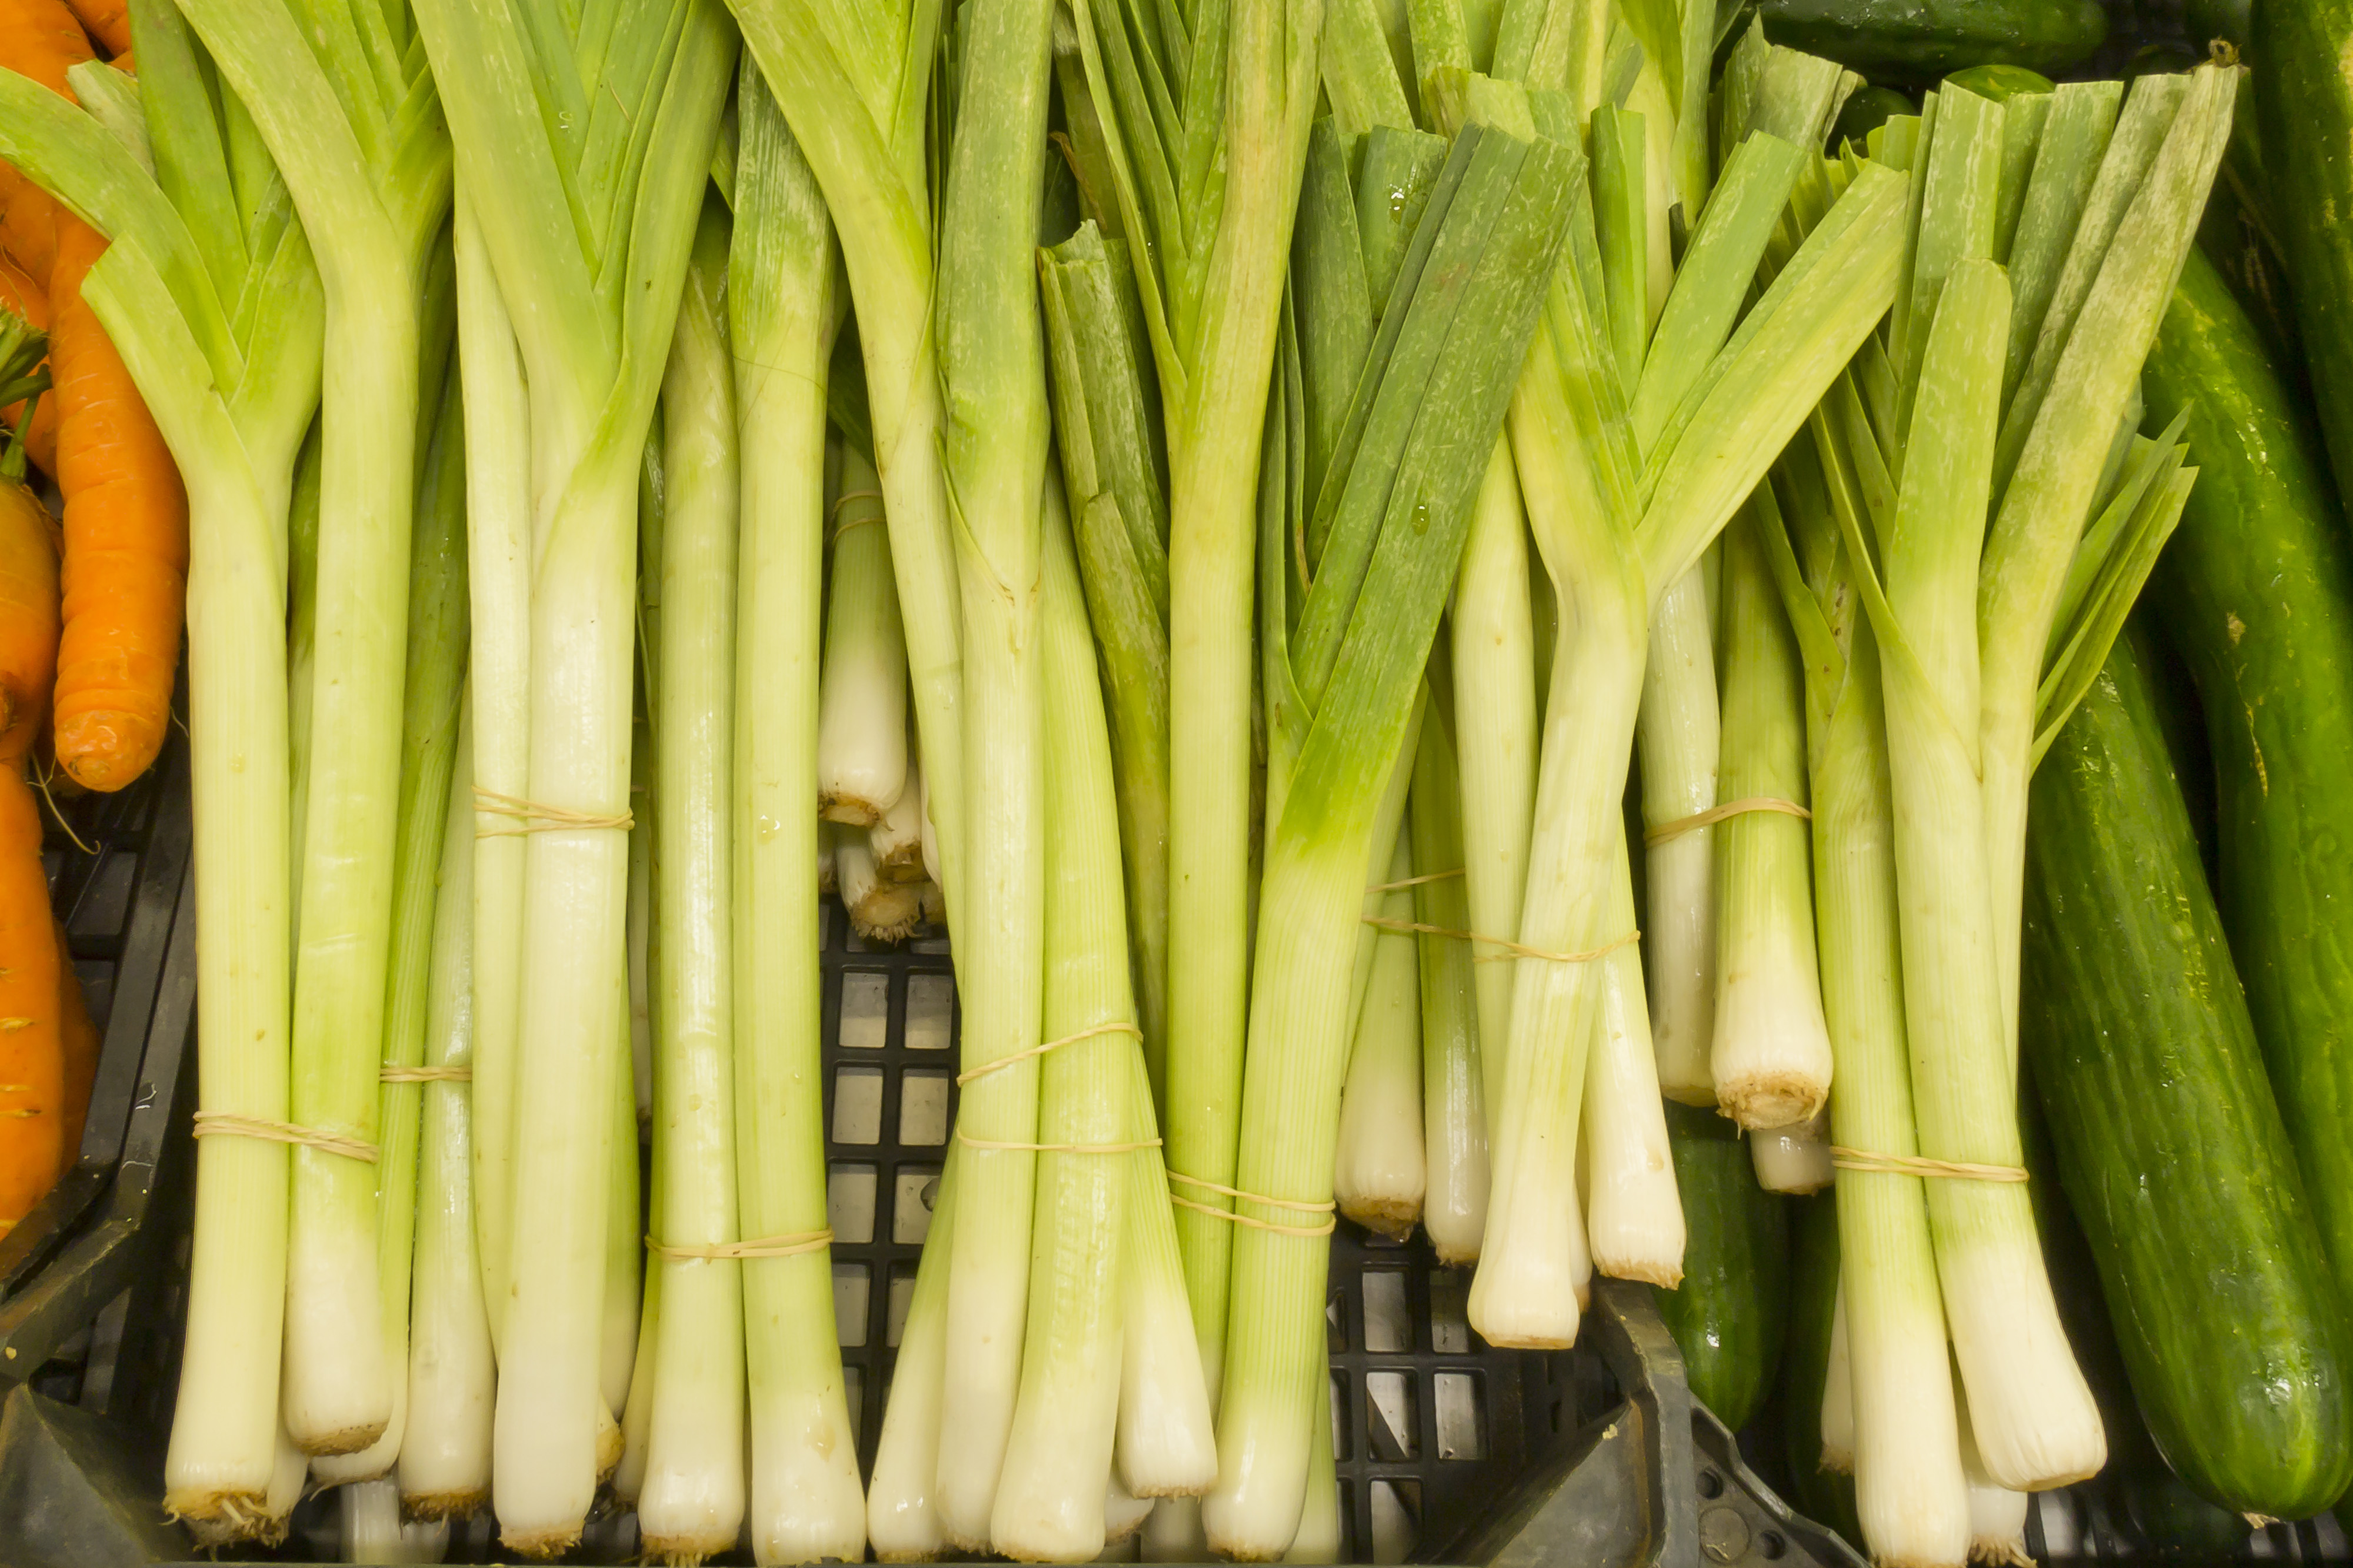
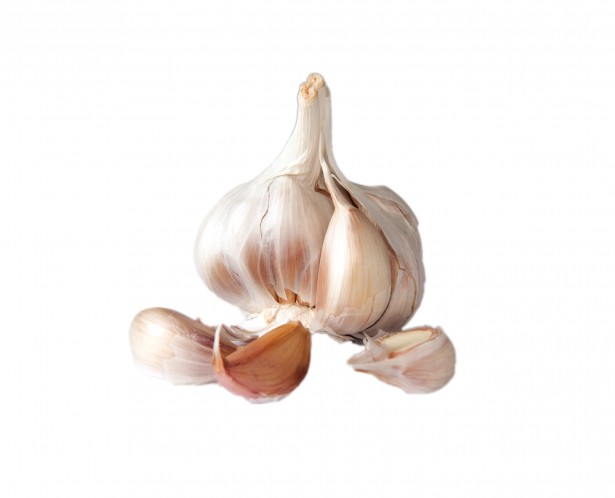
We start by peeling the onion and the leek and cutting them into small into small pieces. We can use a mincer. Sauté them in a frying pan together with the chopped garlic clove with a little oil. Let them brown for a few minutes.
3
With the help of a mincer, chop the drained texturized soybeans together with the previous sauté. The key is to obtain a moldable mixture, similar to minced meat.
4
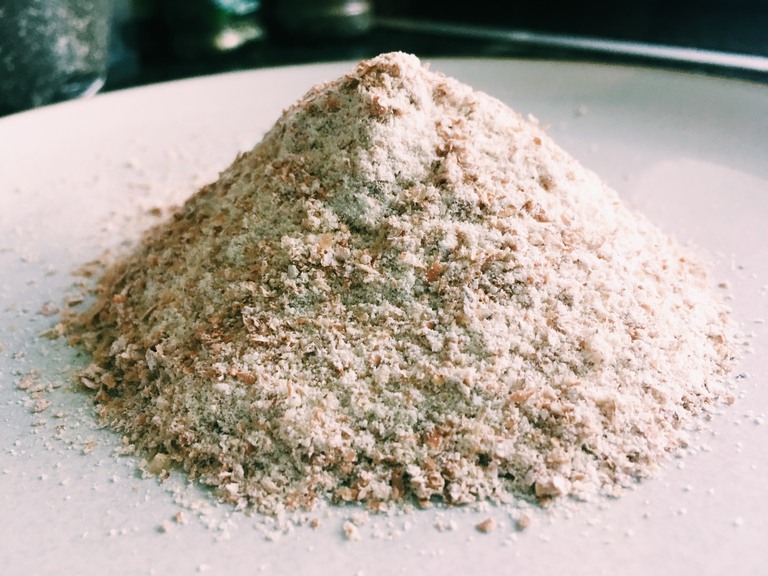
Take the soy and onion mixture and shape it into a ball to make the meatballs. If necessary, add a little flour to the mixture to make it bind better.
5
Once we have made the meatballs, we coat them in flour and place them in a frying pan with a little oil so that they begin to brown.
6
To make the sauce for the meatballs, we take the broth left over from hydrating the soy. We start by browning some flour in a frying pan with a little oil. Stir constantly to try to eliminate the lumps. Little by little, we add the vegetable stock, stirring constantly. The broth will start to thicken. We can add more curry at this point, if we want.
7
Add the meatballs to the vegetable sauce that we have made and let it cook on low heat for a few minutes, so that all the let cook over low heat for a few minutes, so that all the flavors are integrated. If we want, we add a little more curry at this point.
Ingredients
Steps
Calories
1
First, place the textured soy in a bowl and cover it with vegetable broth. cover it with vegetable broth. Let it hydrate for half an hour. After half an hour of hydration, we drain the texturized soybeans with our hands until we have removed the broth almost completely. We reserve the broth.
2
We start by peeling the onion and the leek and cutting them into small into small pieces. We can use a mincer. Sauté them in a frying pan together with the chopped garlic clove with a little oil. Let them brown for a few minutes.
3
With the help of a mincer, chop the drained texturized soybeans together with the previous sauté. The key is to obtain a moldable mixture, similar to minced meat.
4
Take the soy and onion mixture and shape it into a ball to make the meatballs. If necessary, add a little flour to the mixture to make it bind better.
5
Once we have made the meatballs, we coat them in flour and place them in a frying pan with a little oil so that they begin to brown.
6
To make the sauce for the meatballs, we take the broth left over from hydrating the soy. We start by browning some flour in a frying pan with a little oil. Stir constantly to try to eliminate the lumps. Little by little, we add the vegetable stock, stirring constantly. The broth will start to thicken. We can add more curry at this point, if we want.
7
Add the meatballs to the vegetable sauce that we have made and let it cook on low heat for a few minutes, so that all the let cook over low heat for a few minutes, so that all the flavors are integrated. If we want, we add a little more curry at this point.
Calories
Per 100g
Calories
carbohydrates
carbohydrates
proteins
proteins
fats
fats
salt
salt
Sugars
Sugars
Saturated fats
Saturated fats
Desbloquear información nutricional
Hazte PLUS para ver la información nutricional de las recetas, y desbloquear muchas más funcionalidades PLUS.
Información nutricional
Calories
Per 100g
Calories
carbohydrates
carbohydrates
proteins
proteins
fats
fats
salt
salt
Sugars
Sugars
Saturated fats
Saturated fats
Desbloquear información nutricional
Hazte PLUS para ver la información nutricional de las recetas, y desbloquear muchas más funcionalidades PLUS.
Valoraciones
Etiquetas
Vegetable protein
Dinner
Vegan
Vegetarian
All
Meals
Vegetables
Lactose free
Legumes
¡Libera todo tu potencial con un Plan nutricional!
Planes nutricionales adaptados a tu objetivo 🎯 ¡Desbloquea todas las funcionalidades PLUS!

Se el primero en valorar esta receta...