1537
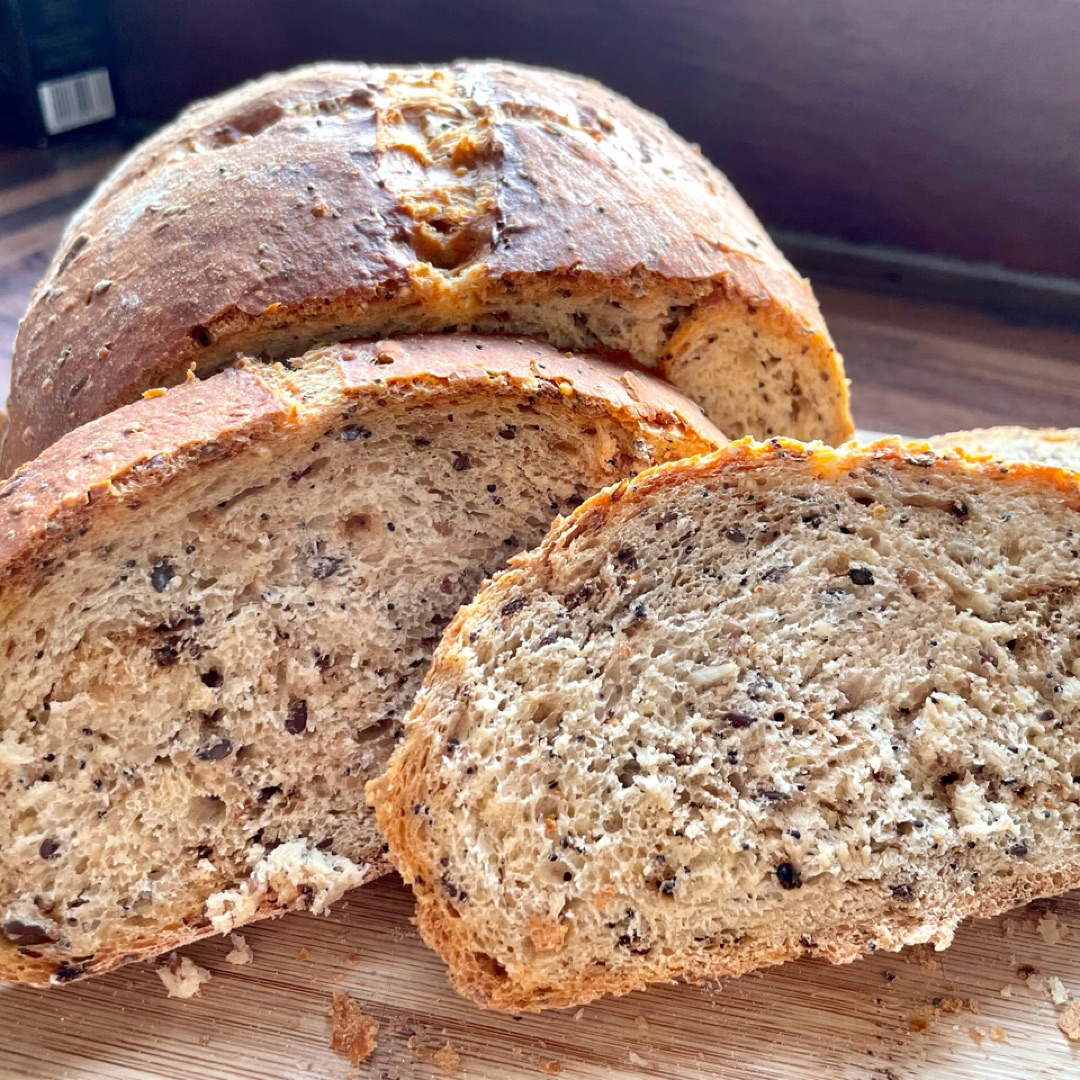
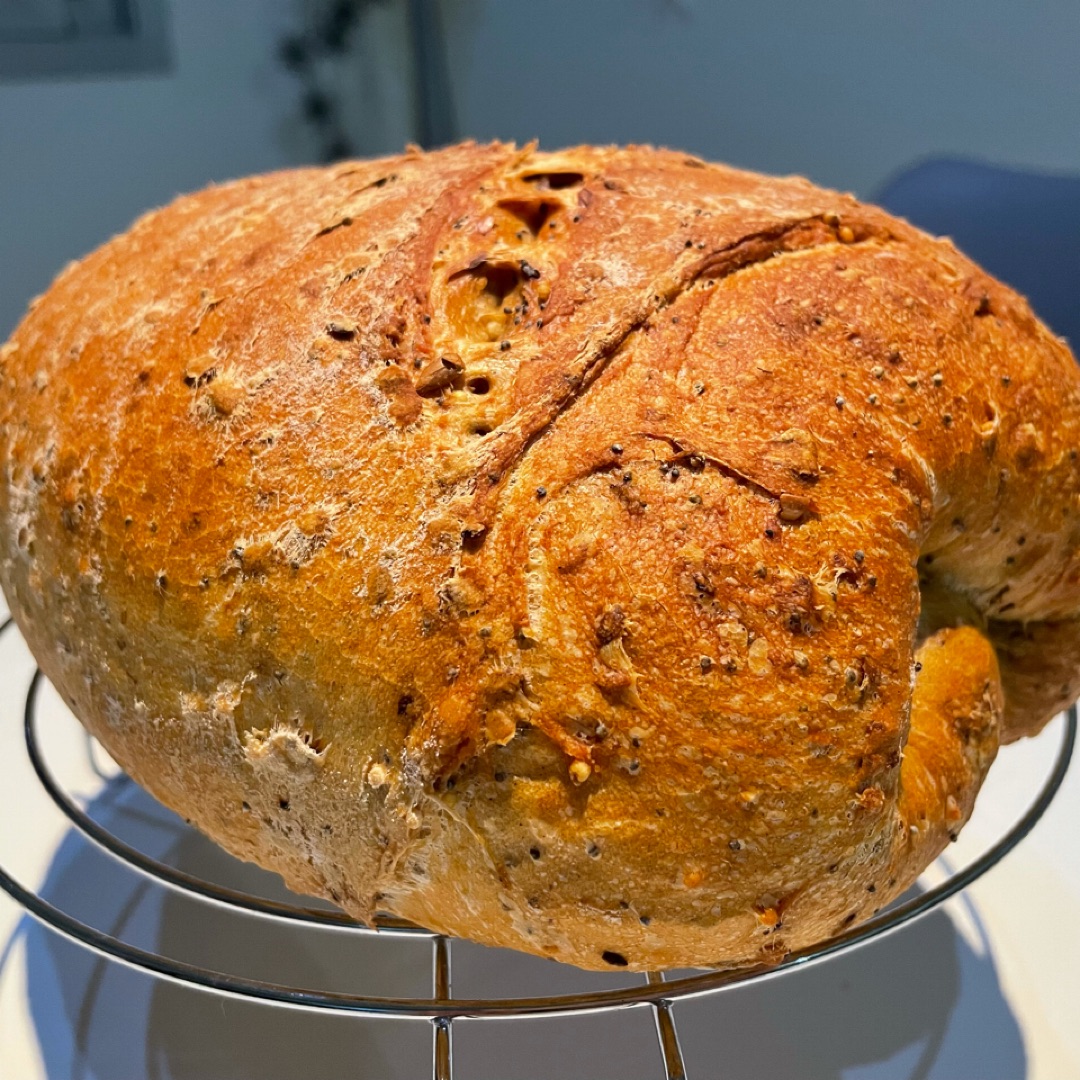
Homemade whole wheat bread 🥖.
5
(1629)
0 kcal
Preparación de la receta
1
Heat the water in the micro for a few seconds until it is lukewarm. On the kitchen counter, mix the flour in a volcano with the sachet of yeast (I use baker's yeast powder) and the salt. Add the water little by little and mix until you get a dough. Now comes the hard kneading process. *I suppose you can use a mixer but I don't have one so I do it with my hands.
2
We will combine kneading with resting, in this way the dough will develop the gluten without the need to work it excessively. Knead 2-3 minutes and let it rest for 5-6 minutes. We alternate short and soft kneading with resting. In total the kneading (not counting the rests) will be about 20 min. At the beginning the dough will be doughy, then of harder consistency and at the end of the kneading totally manageable and easy to take off.
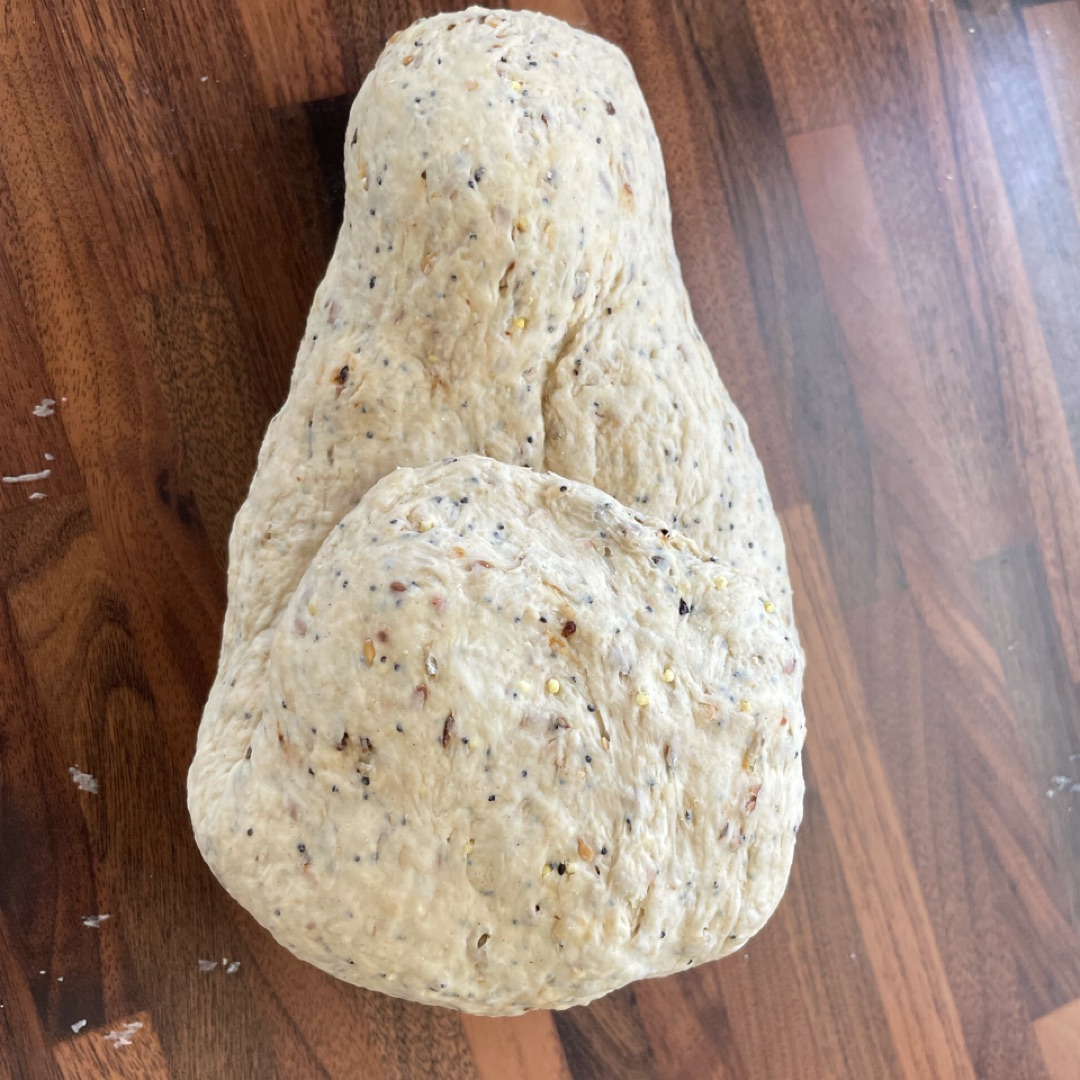
3
Second folding
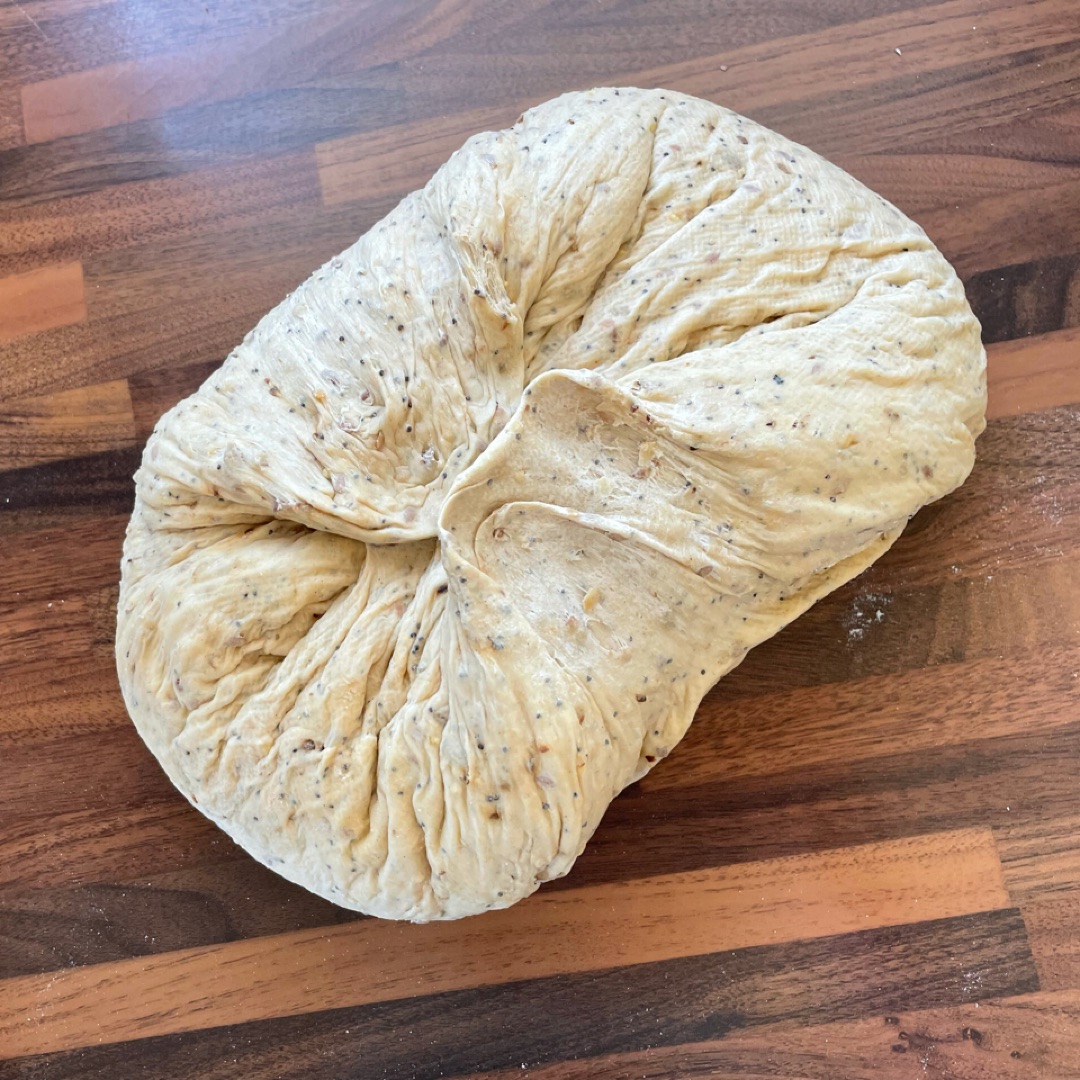
4
Third
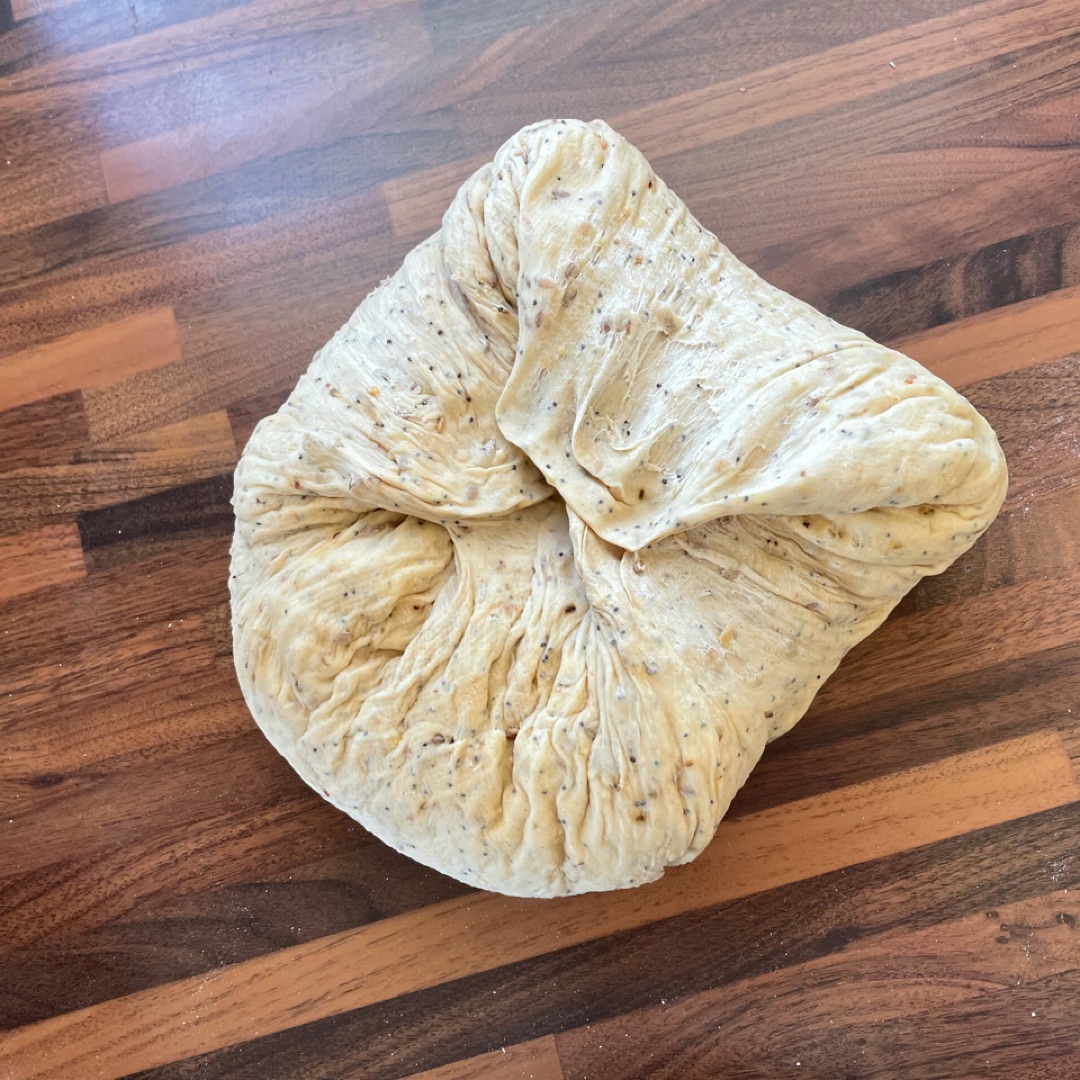
5
And the fourth is turned around
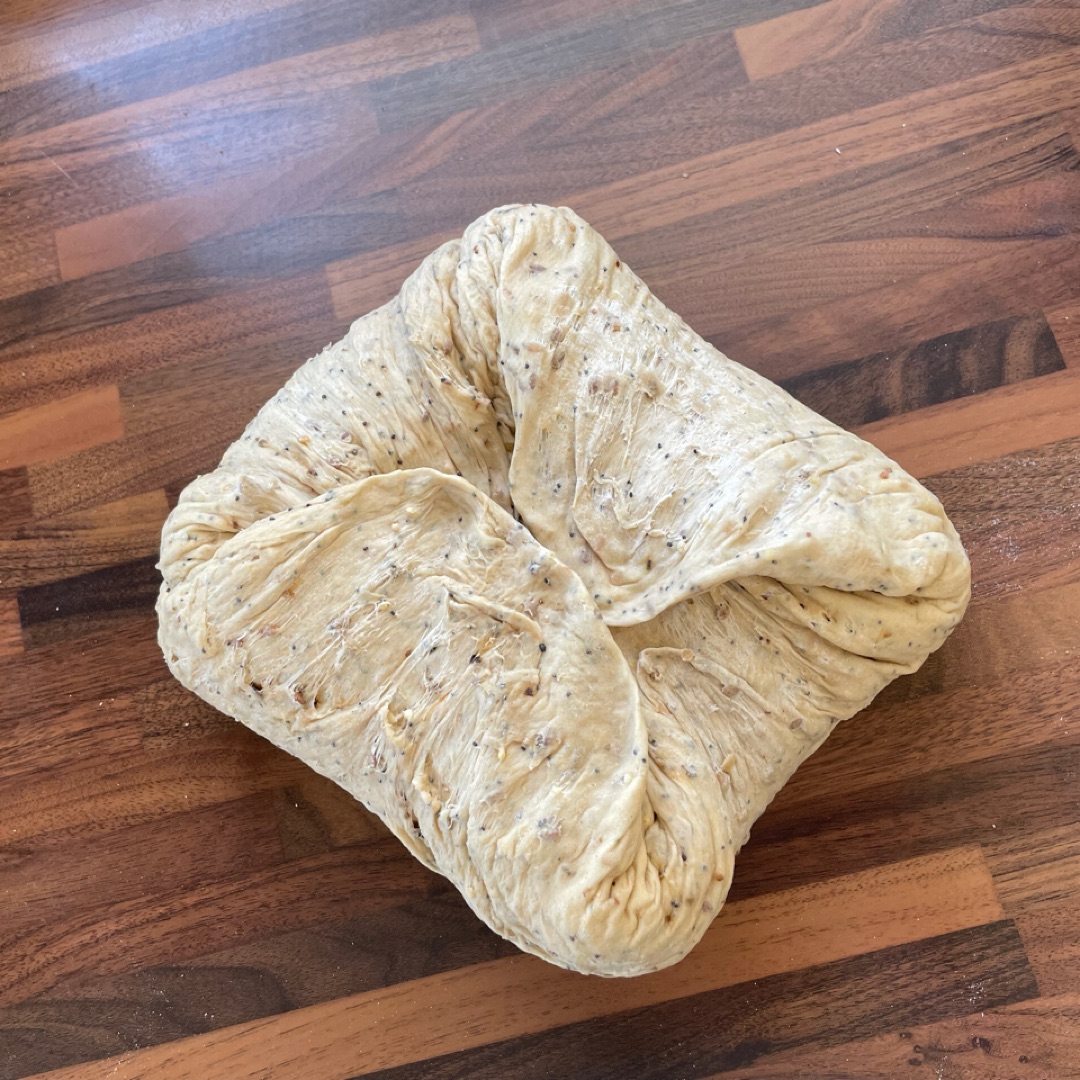
6
The return
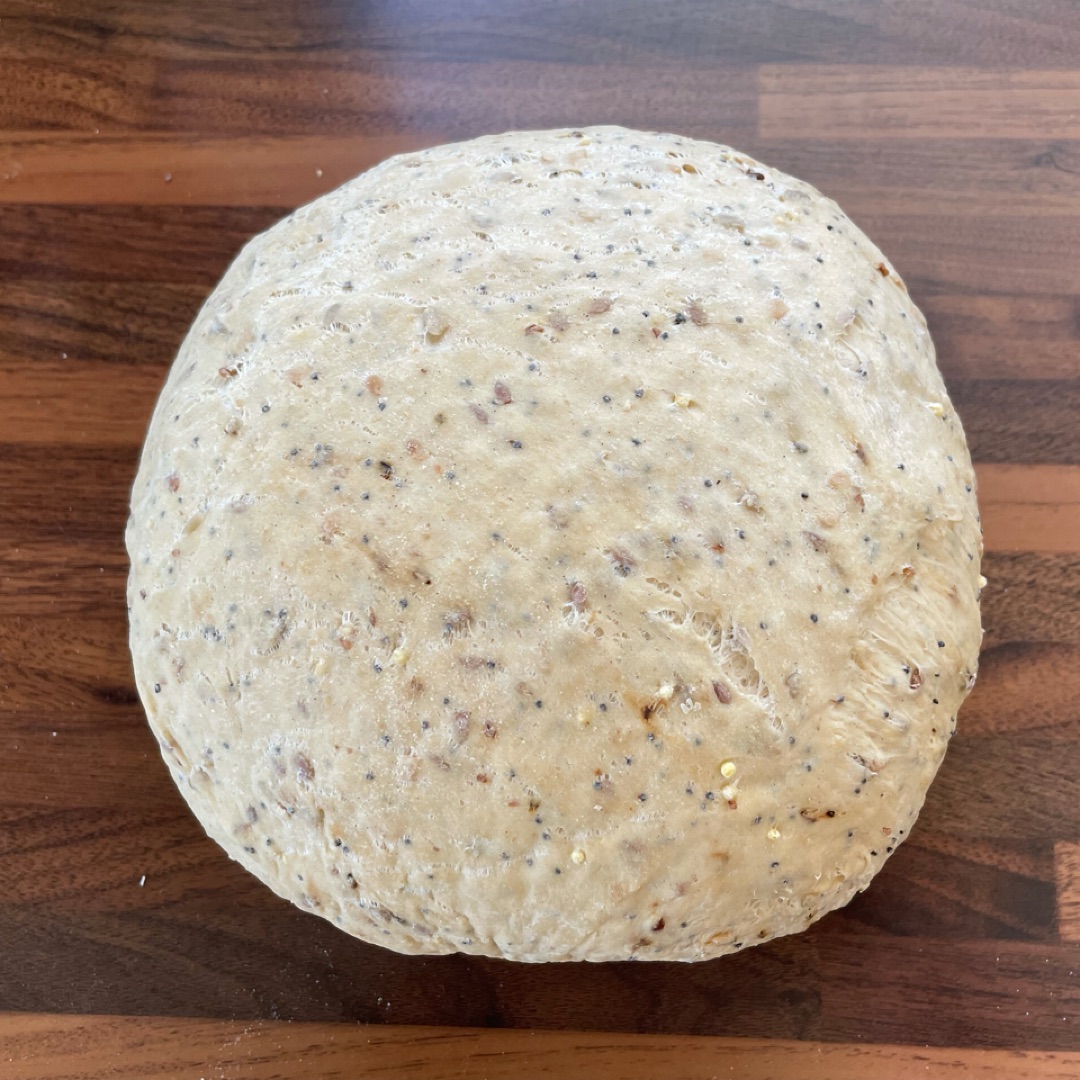
7
Put it back in the container with the cloth and let it rest for another 2 hours.
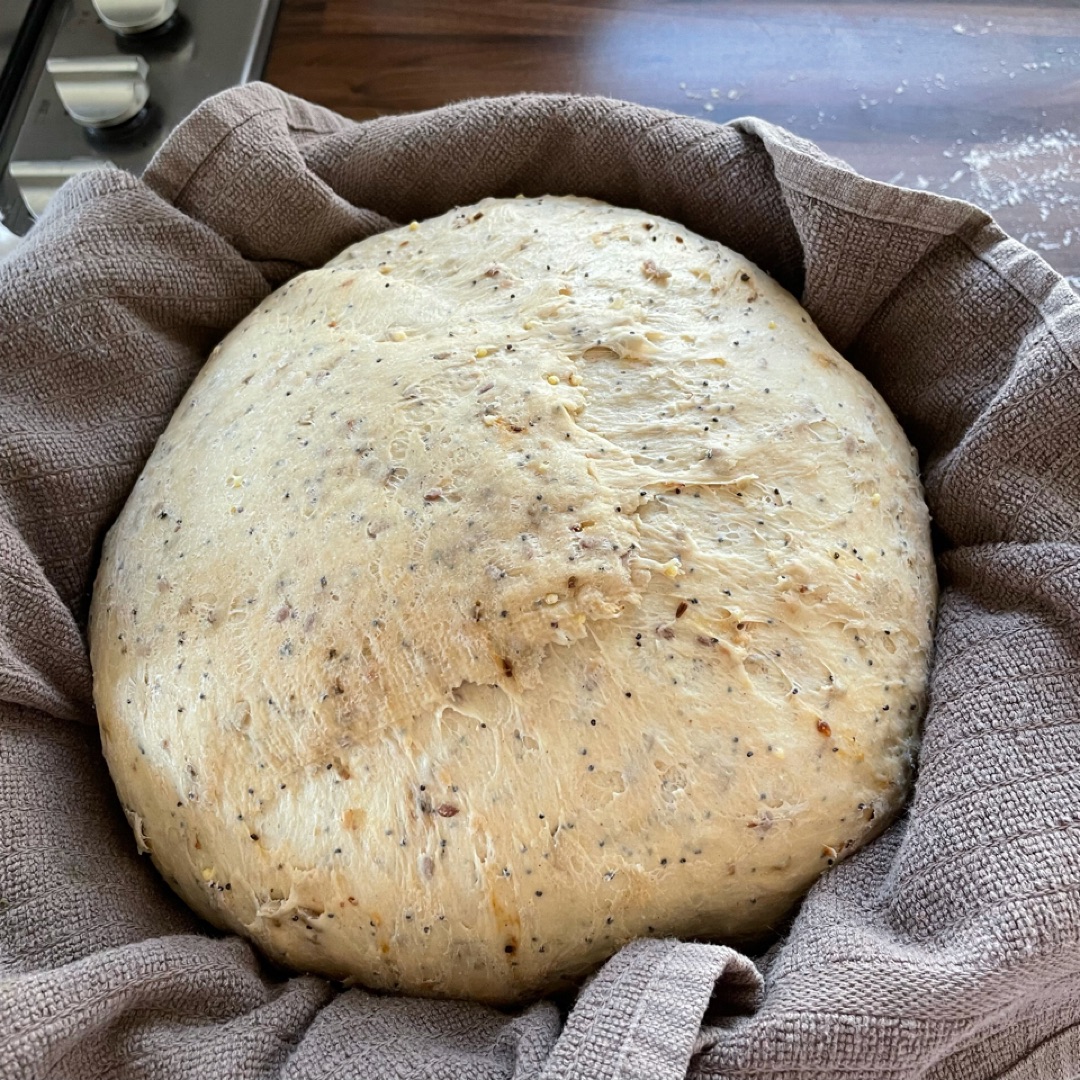
8
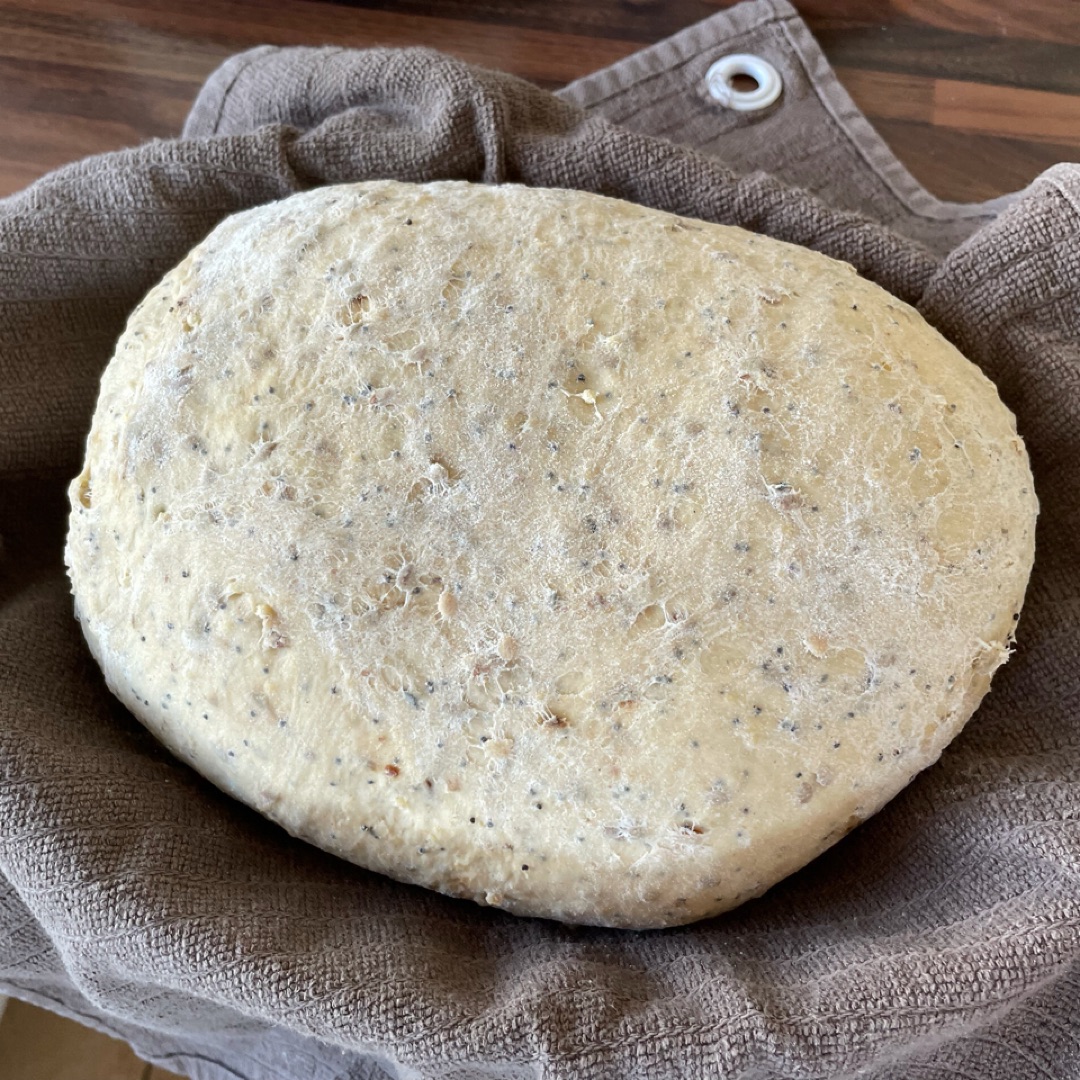
When these 2 hours have passed you can either leave it as it is or you can make a batard as in the photo. I saw this in a video, if you put it on the internet you will see it: it consists of stretching the dough a little and making folded corners and a roll. Turn it over. Put it in a baking dish and cover it with a cloth for 30 minutes.
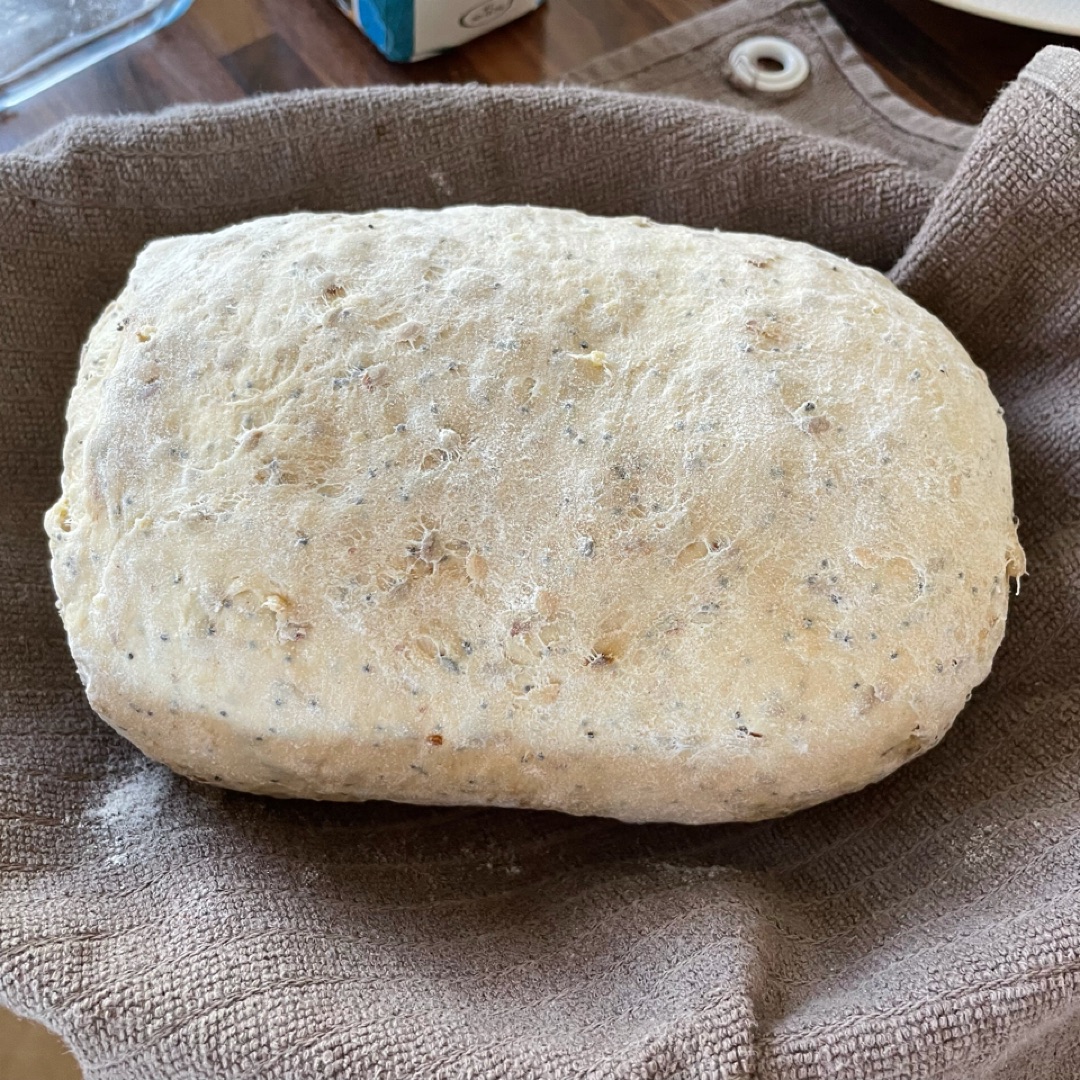
9
This time can be used to preheat the oven to 230 degrees with heat up and down. Photo of the batard after 30 min
10
Carefully remove the cloth and place it back on the tray or glass container suitable for oven (put a little flour or oil on the base of the mold so that it does not stick). *The shape of the container will determine the shape of the bread, the wider it is, the more it will grow in width and the more elongated the toast will be. The higher it is, the more it will grow upwards and the toast will be shaped like sliced bread.
11
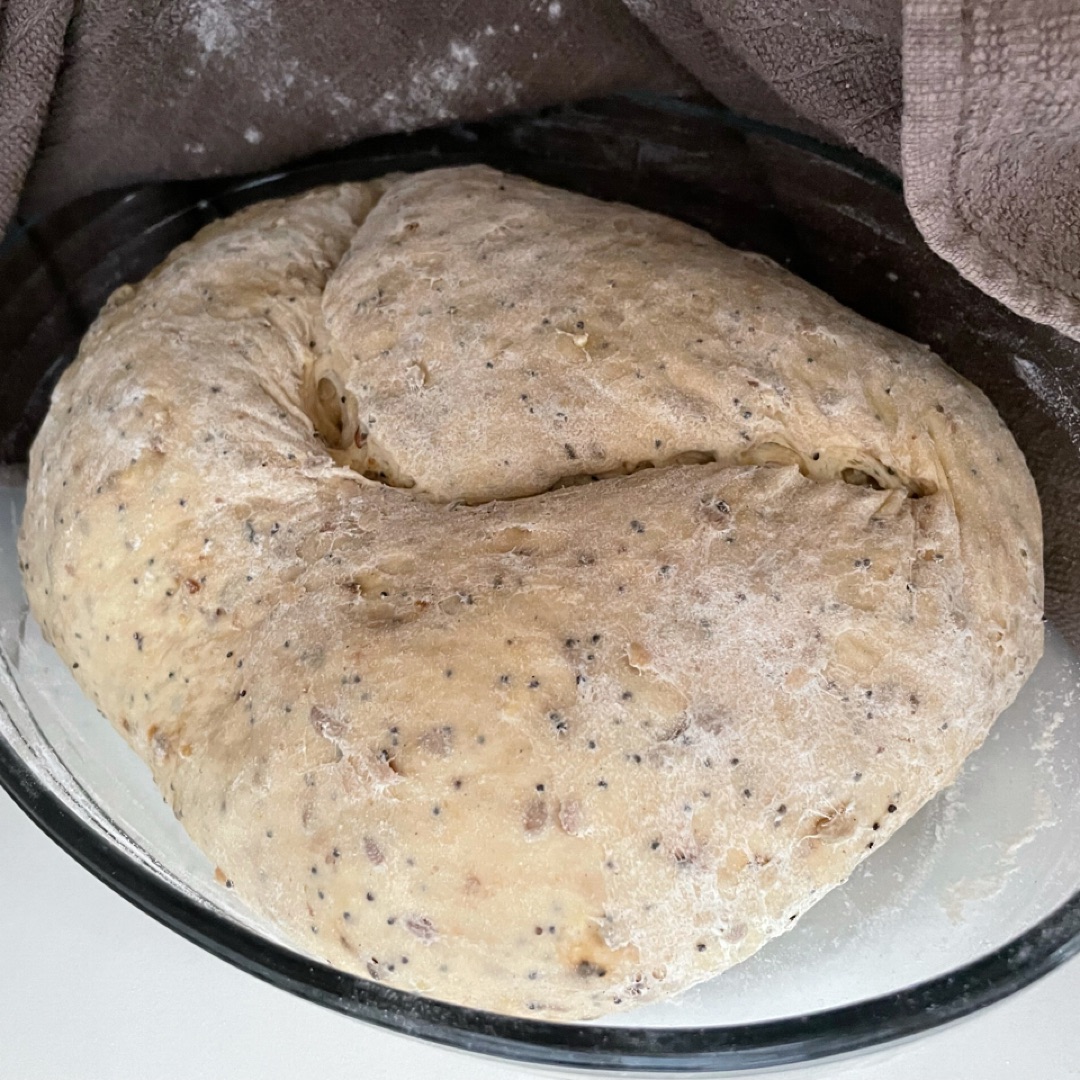
Place the oven tray in the lowest part of the oven, touching the bottom of the oven, and 5 minutes before introducing the bread, heat water in the microwave and pour it over the tray so that it begins to boil and release steam. Meanwhile, with the help of a knife or a good knife wet with water, we make a simple cut on the bread dough. It is necessary to be careful when doing it because we can crush the bread.
12
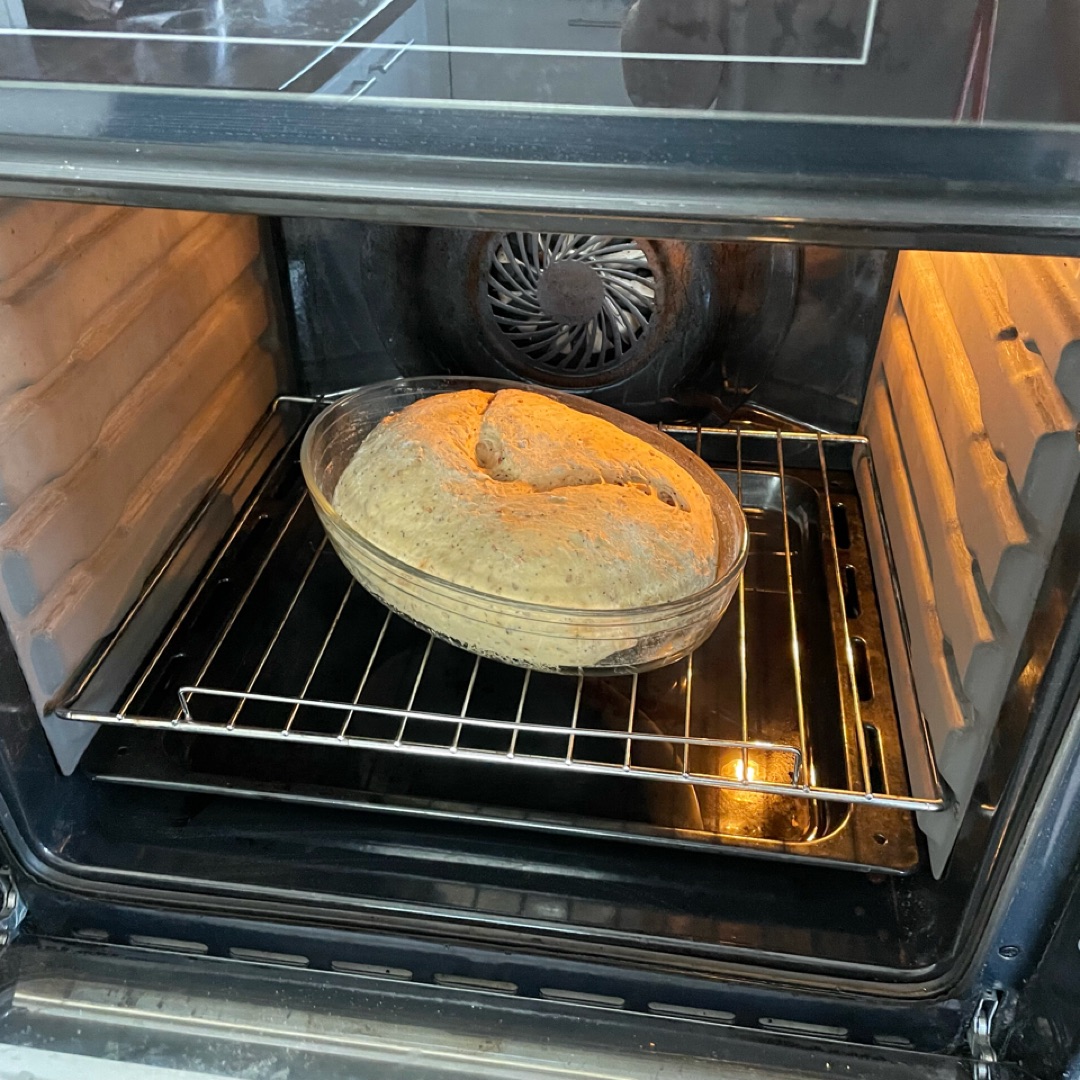
We put the bread in the oven quickly to prevent the steam that has formed inside from escaping and close the oven door.
13
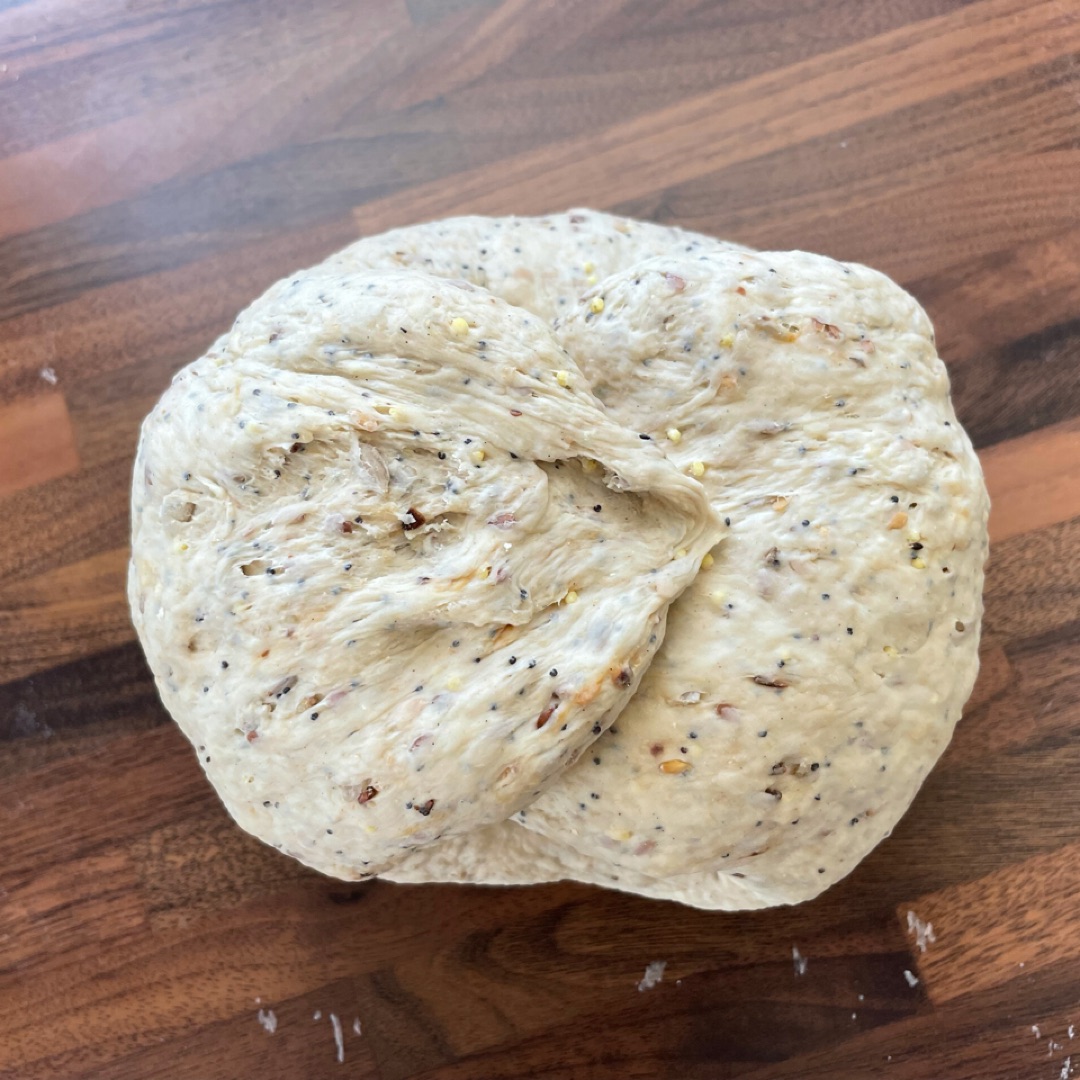
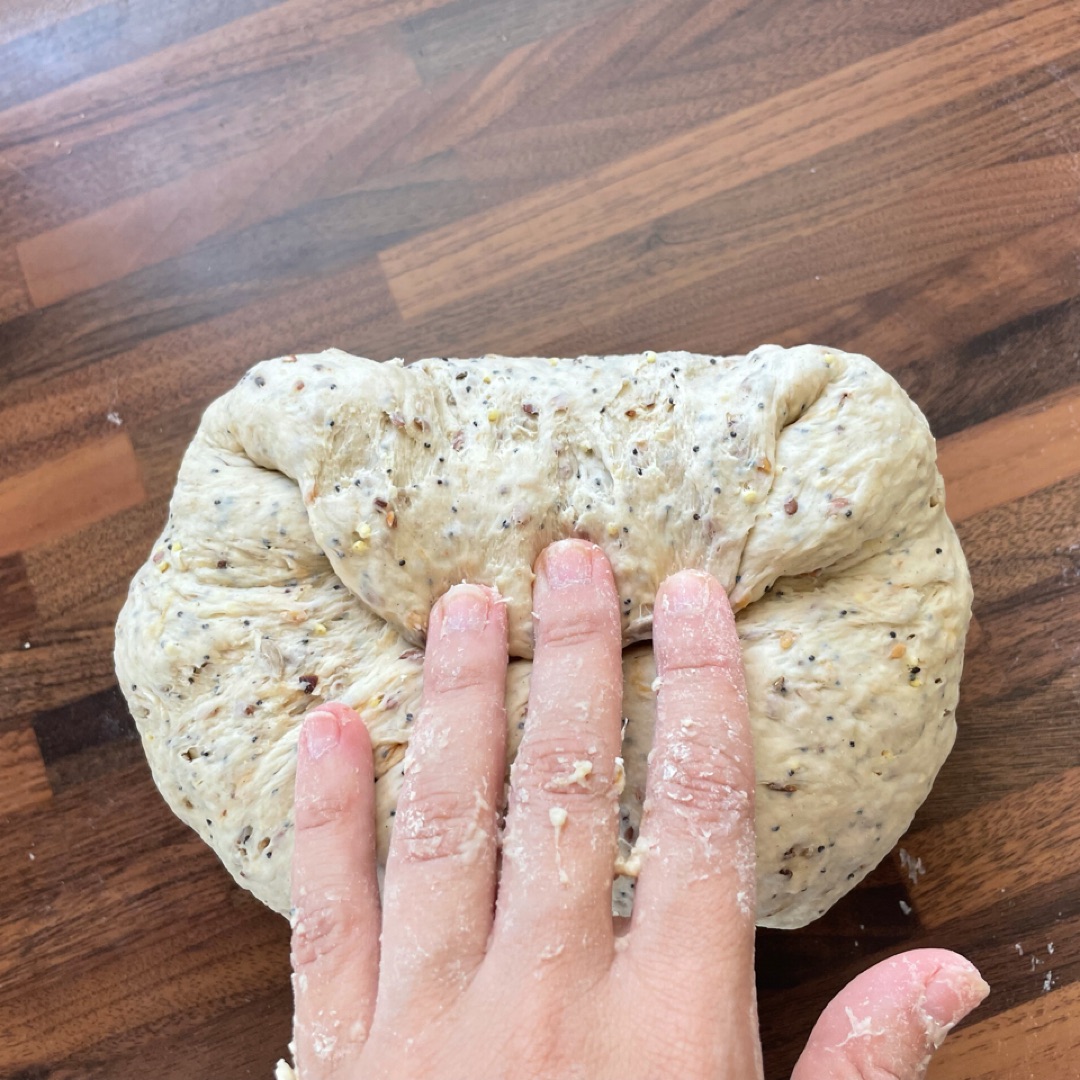
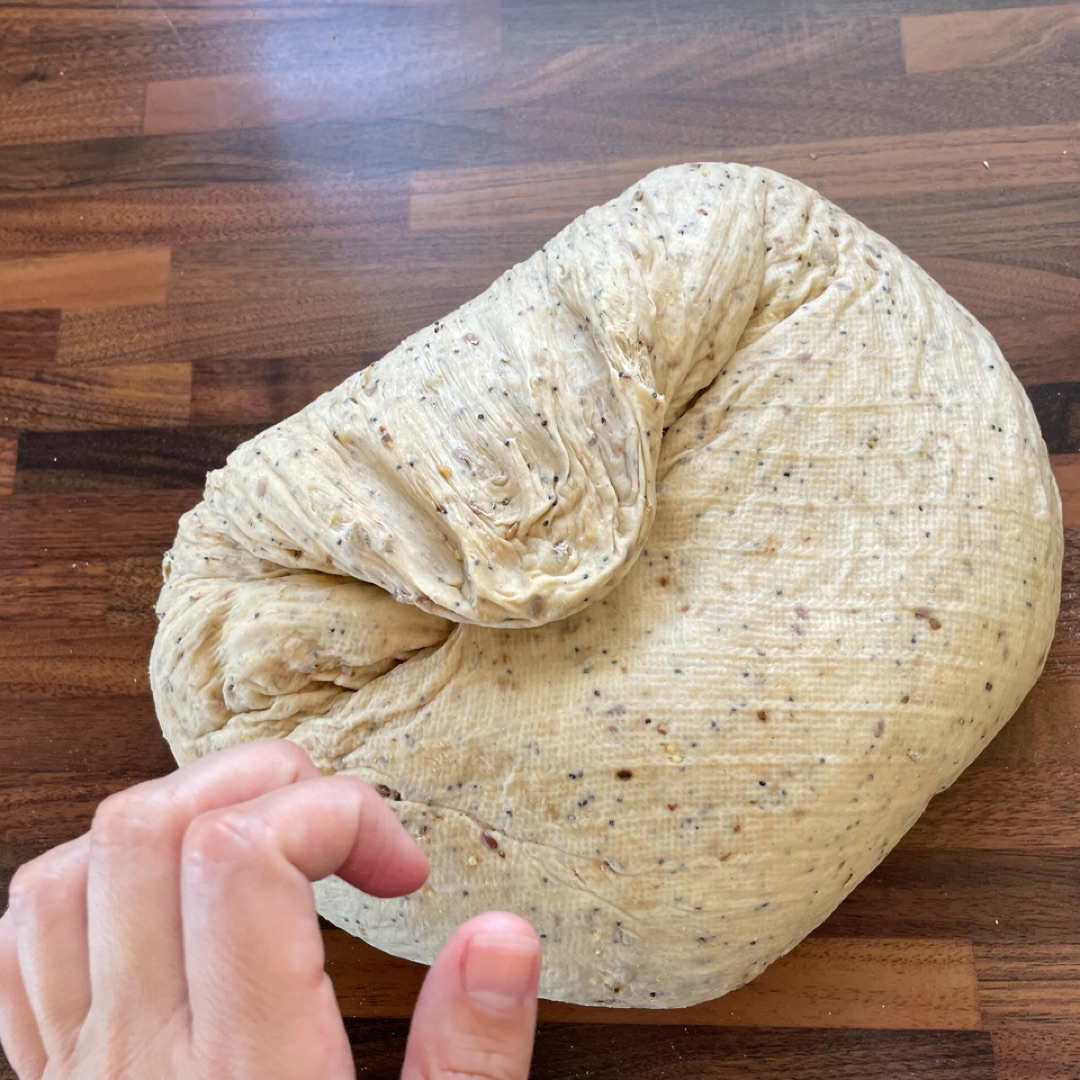
Now comes the resting of the dough. Form a ball with the dough following a "folding" process. That is, the corners of the dough are taken and folded in the opposite direction as if we were closing a package. In total 4 folds
14
Bake for 20 minutes at 220ºC (we lower the temperature by 10ºC to improve the expansion of the bread and prevent the base from taking too much color) with heat only at the bottom, turn off the upper plate*. By turning off the top heat, we favor the expansion of the bread and prevent the crust from sealing prematurely. We will obtain a bread with great volume. *If your oven does not allow you to turn off the upper plate, the ideal is that during the first 15 minutes you turn off the oven completely and do not open the door during that time. After these minutes, remove the container from the steam. We turn on the oven and continue baking with the guidelines that I give you from here onwards
15
After the first 20 minutes, open the door slightly to release all the steam inside, being careful not to burn yourself, remove the pan from the water and close the door again.
16
Lower the temperature to 210ºC and turn on the upper plate. Reduce the heat to 190ºC and leave for another 10 minutes.
17
Finally we turn on the air at 190ºC and finish with 10 minutes. In this way we will favor the drying of the bread and improve the crust. The total baking time is 50 minutes. *It is very important not to put the fan at the beginning because otherwise the crust is sealed and the bread cannot expand!!! It was one of the mistakes I used to make when baking bread.
18
Once cooked, turn off the oven and leave it in the oven for a few minutes with the door ajar to help the crust form, about 15 minutes, then remove and let it cool completely on a rack before opening it.
19
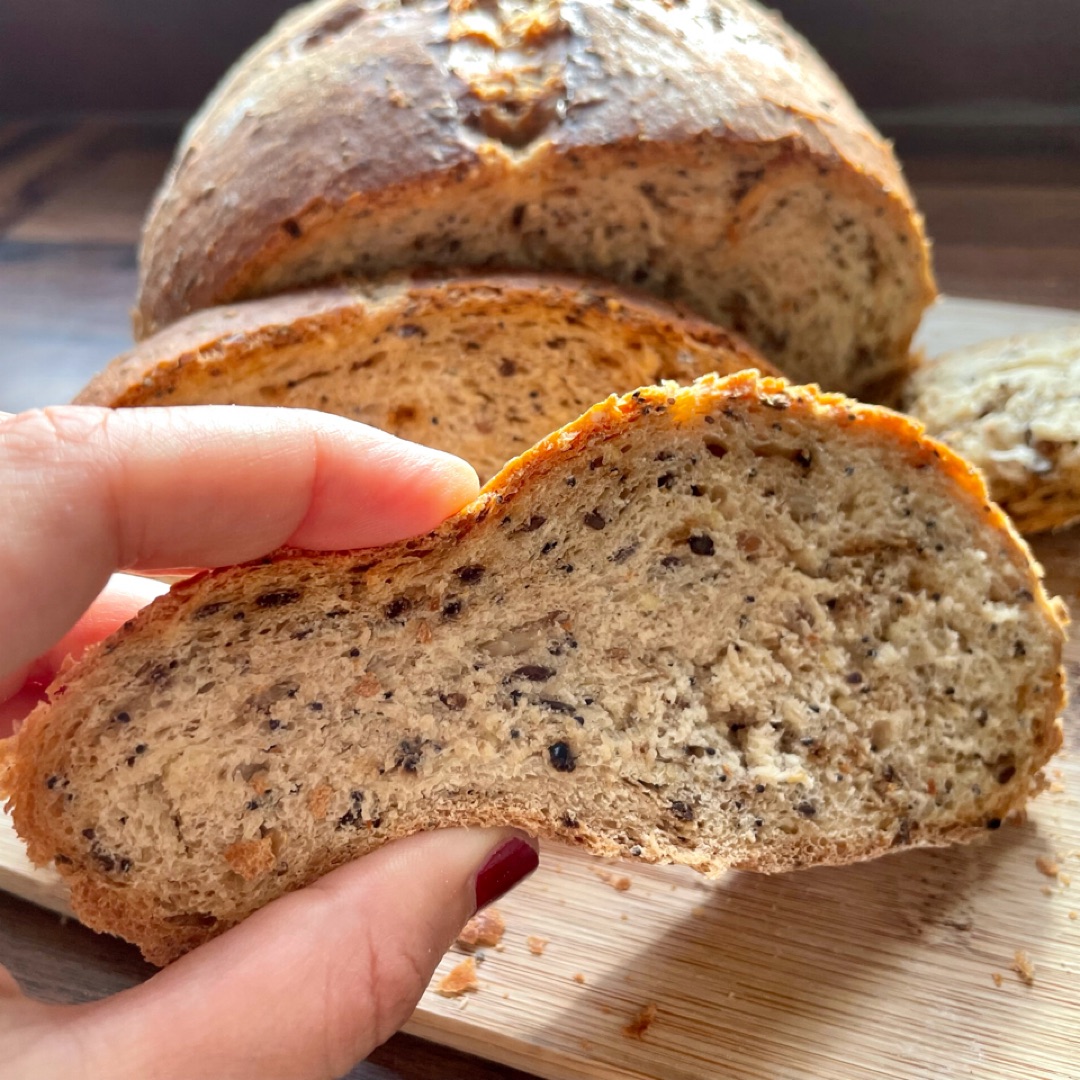
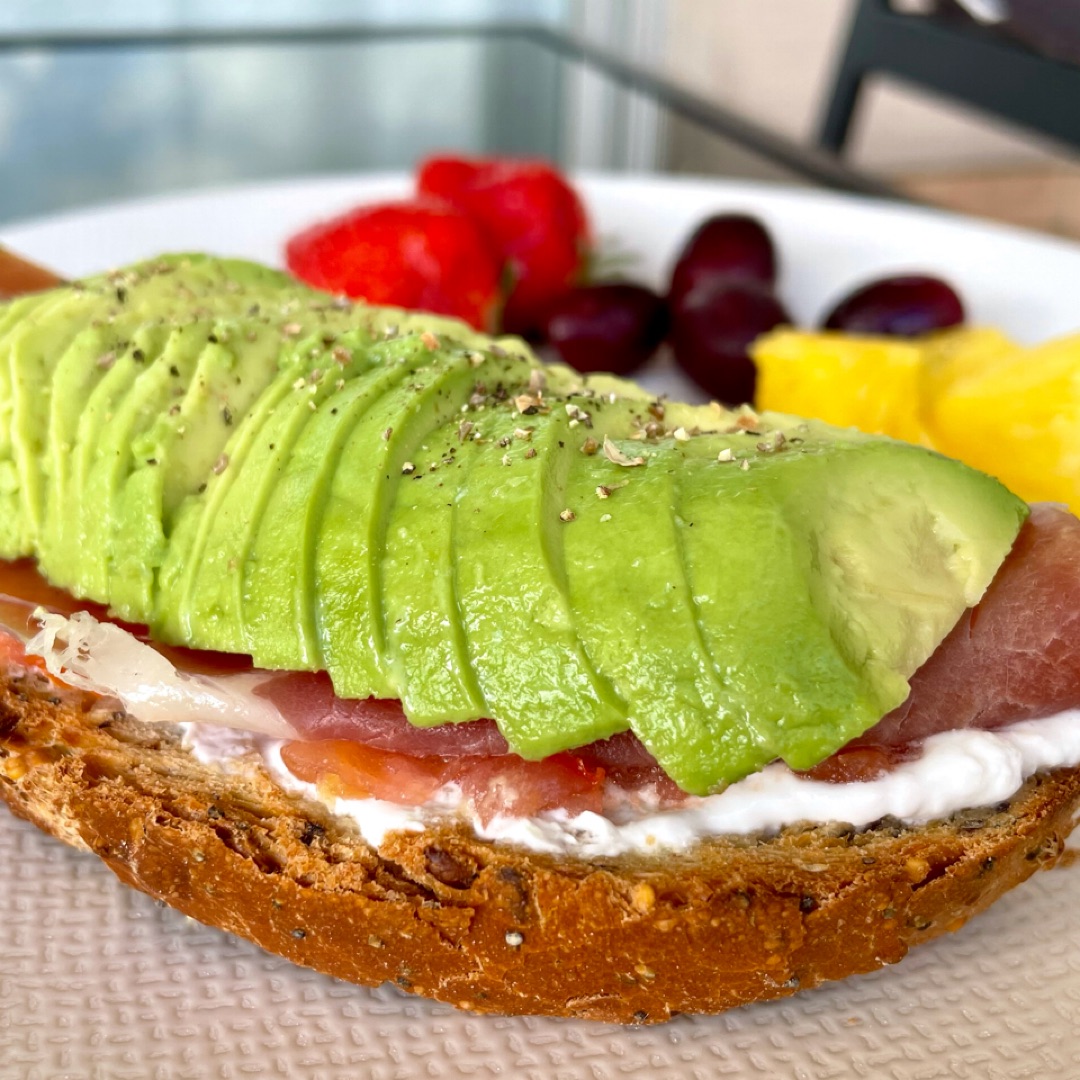
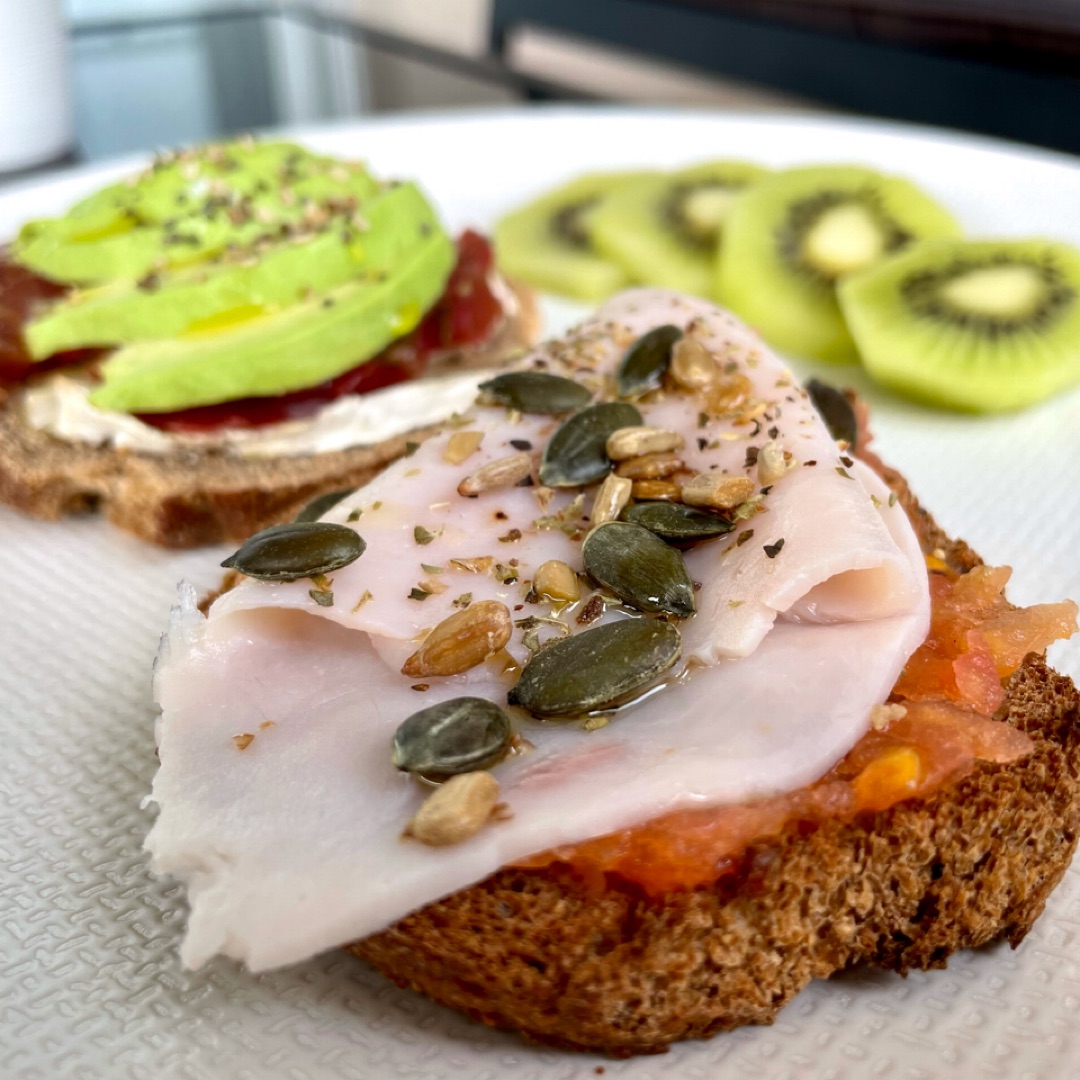
A good serrated knife and make slices for breakfast!
20
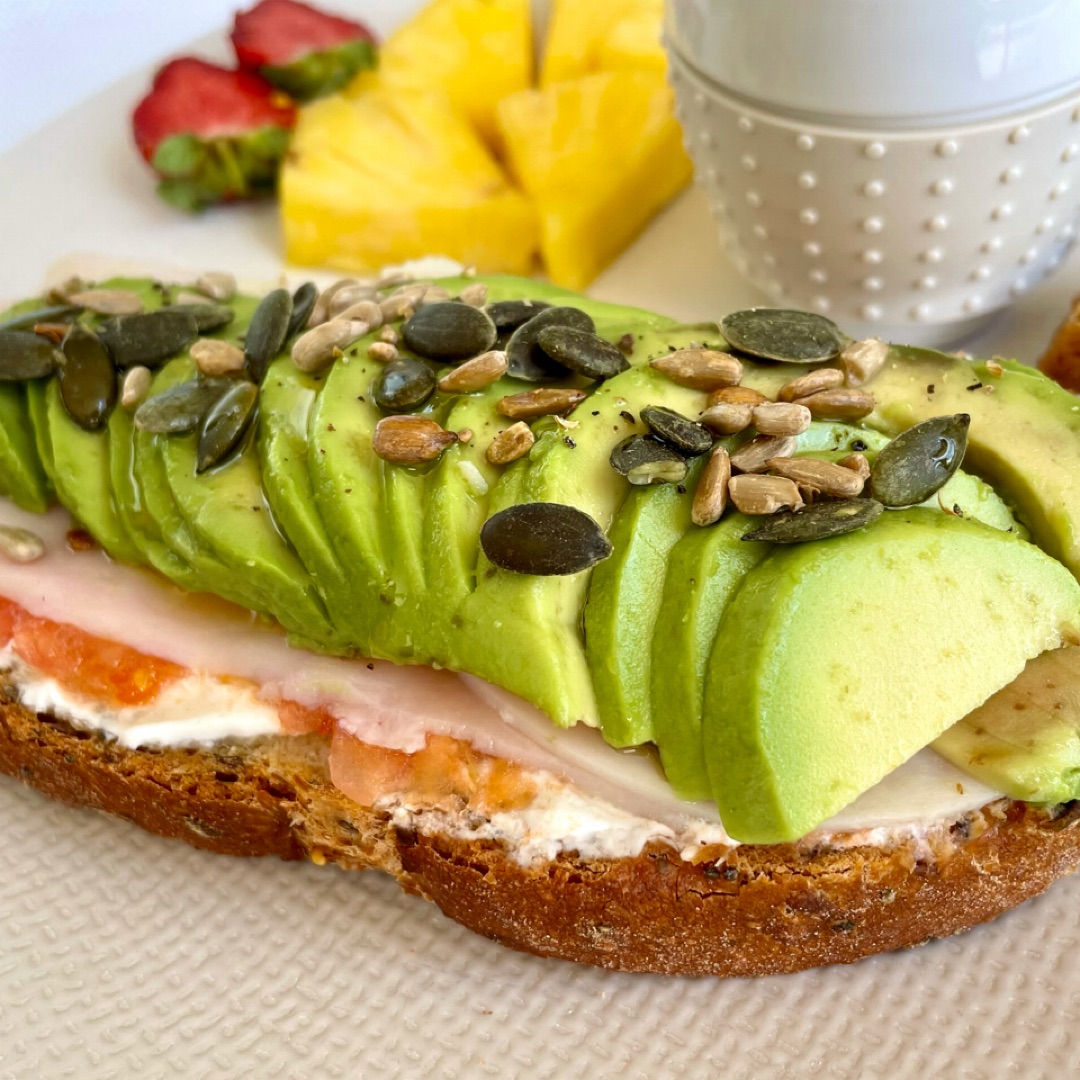
The best
21
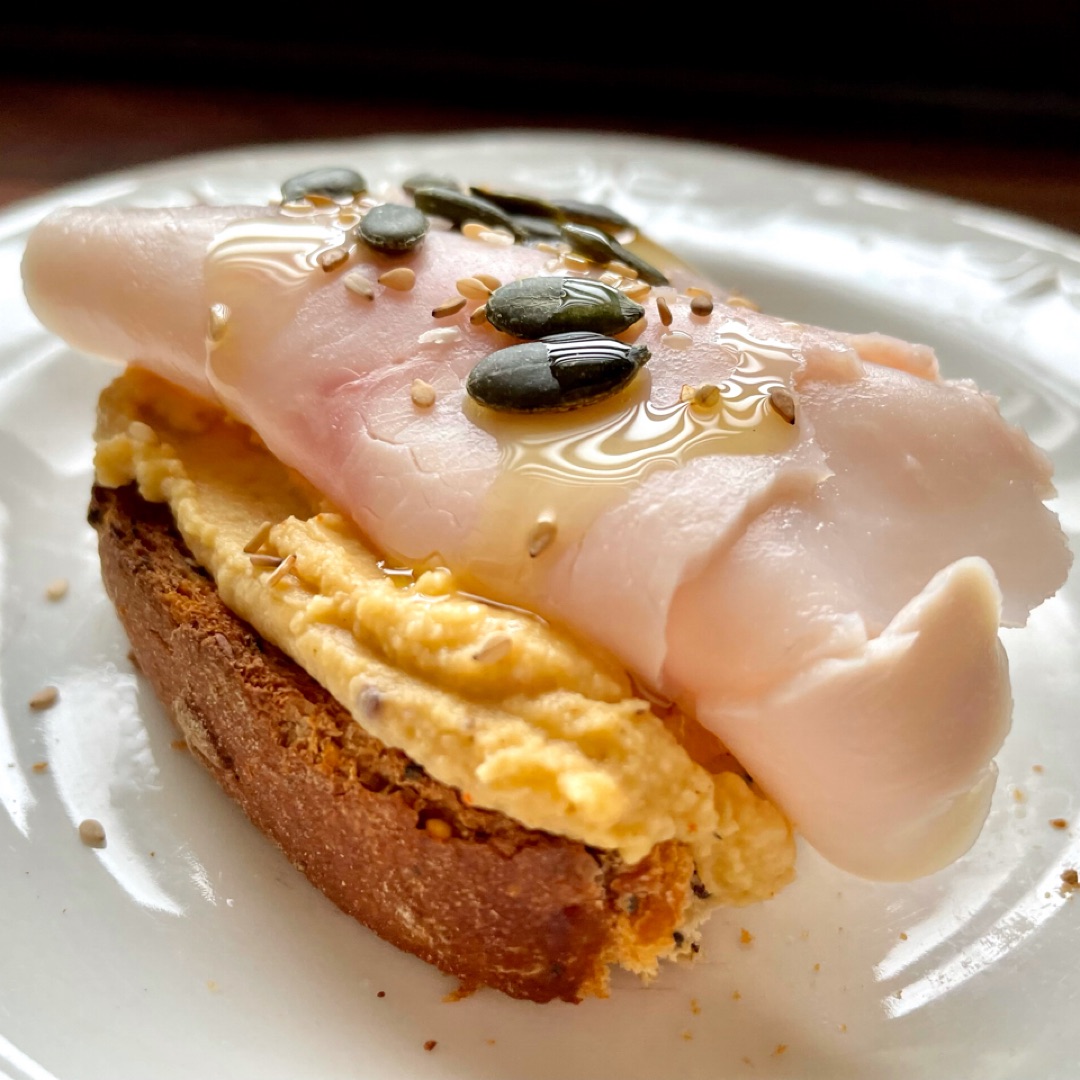
Toast
22
From the world
23
Entero!!!!
24
Second fold
25
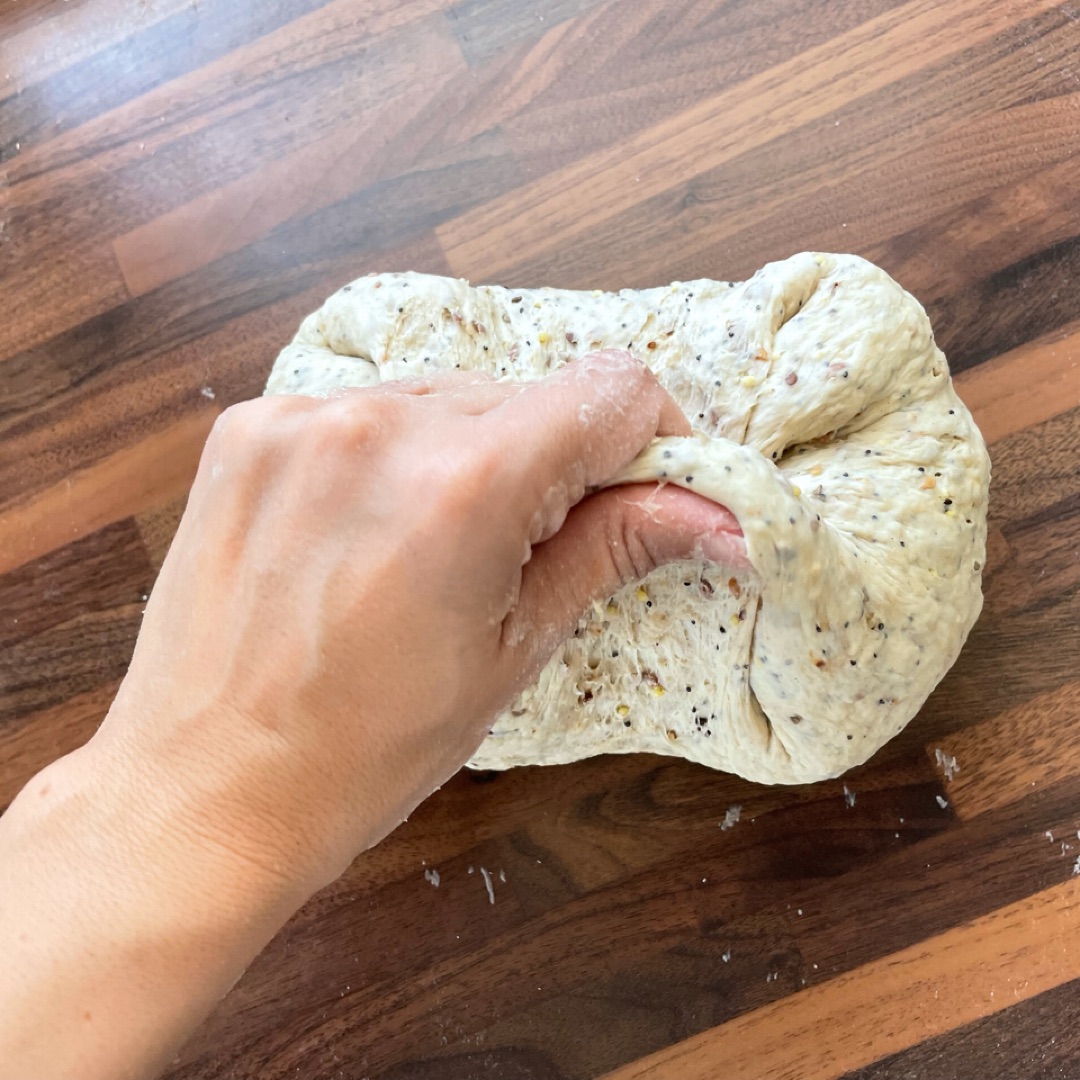
Third
26
And in the fourth we turn it around
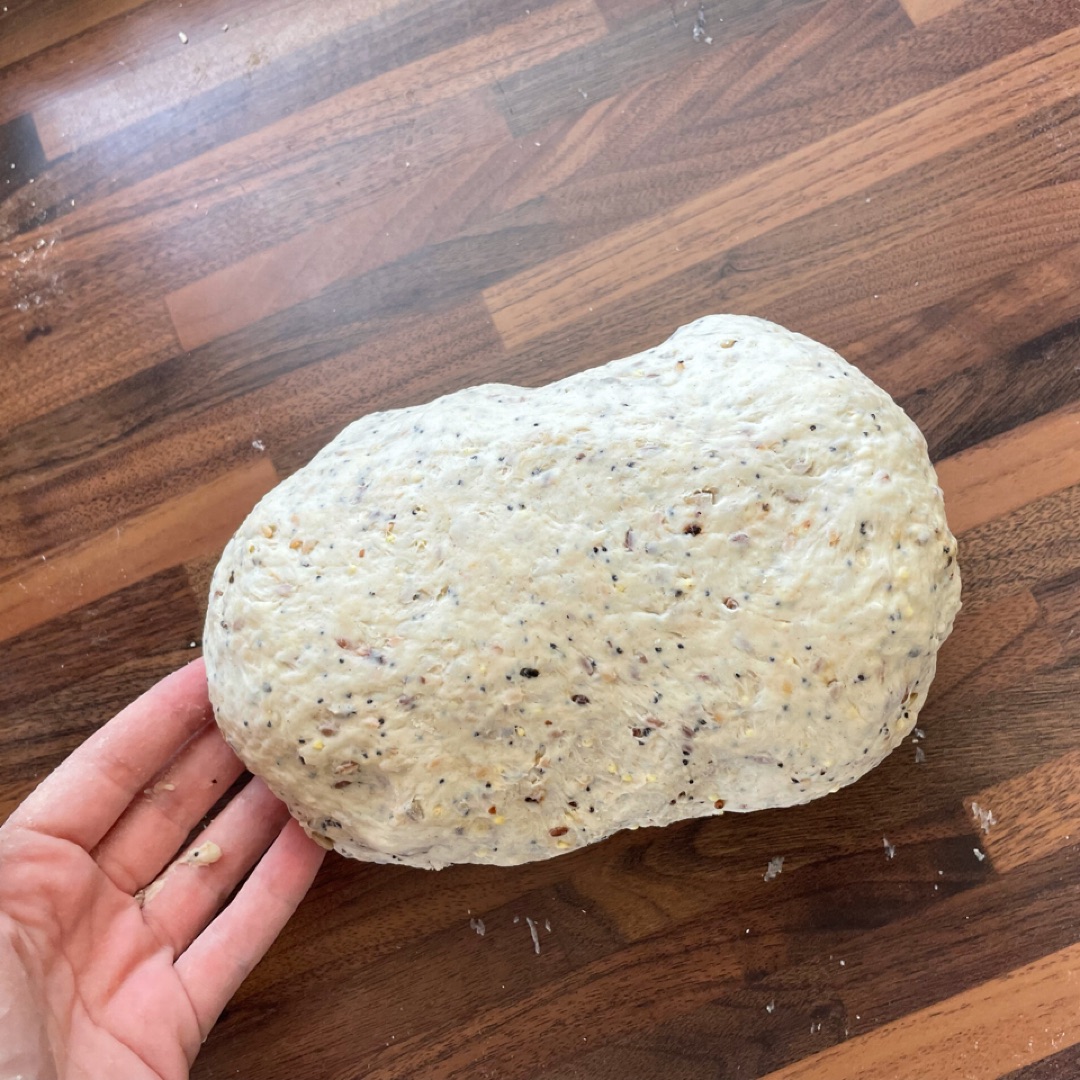
27
Place the dough ball inside a kitchen towel in a deep bowl.
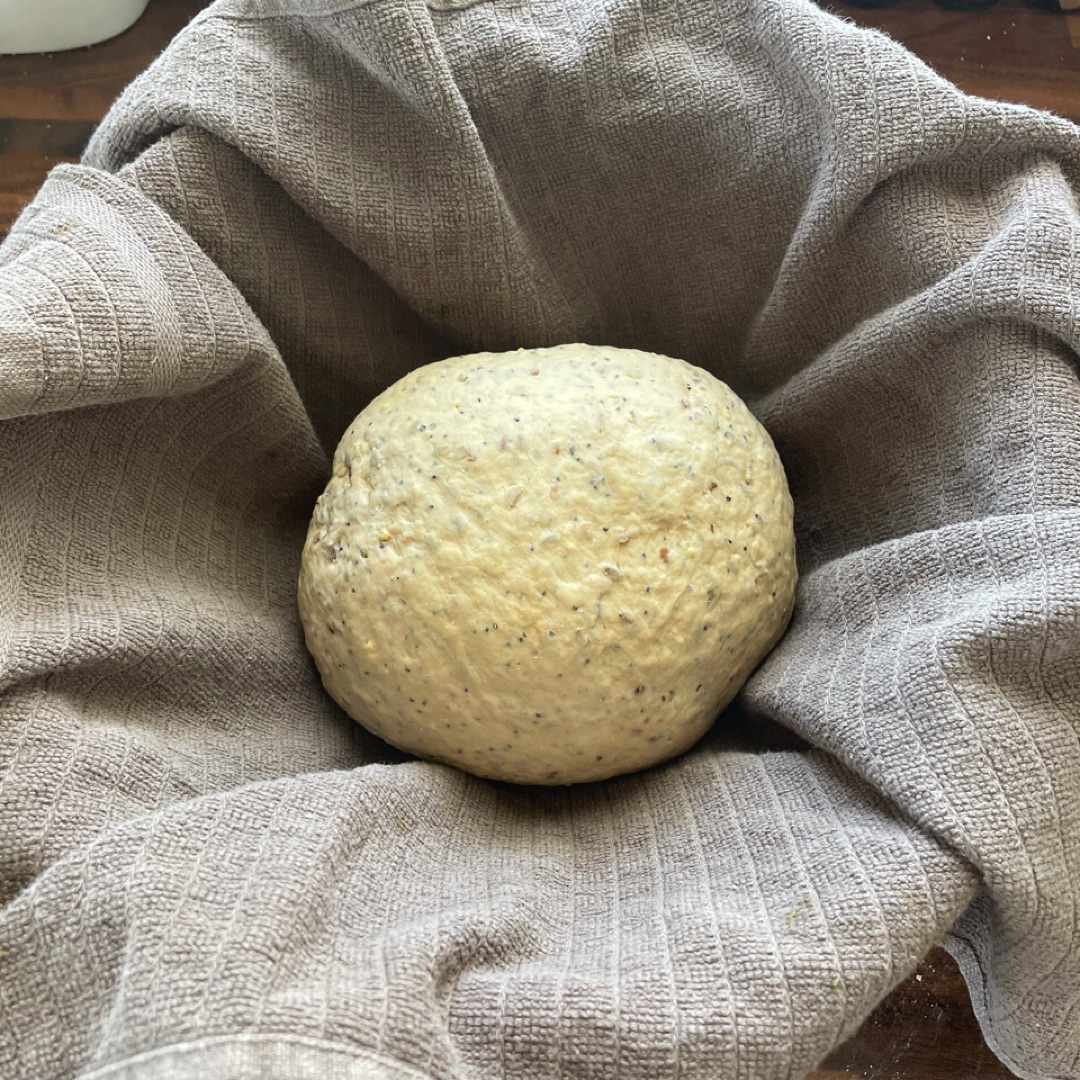
28
And let it rest for 2h like this
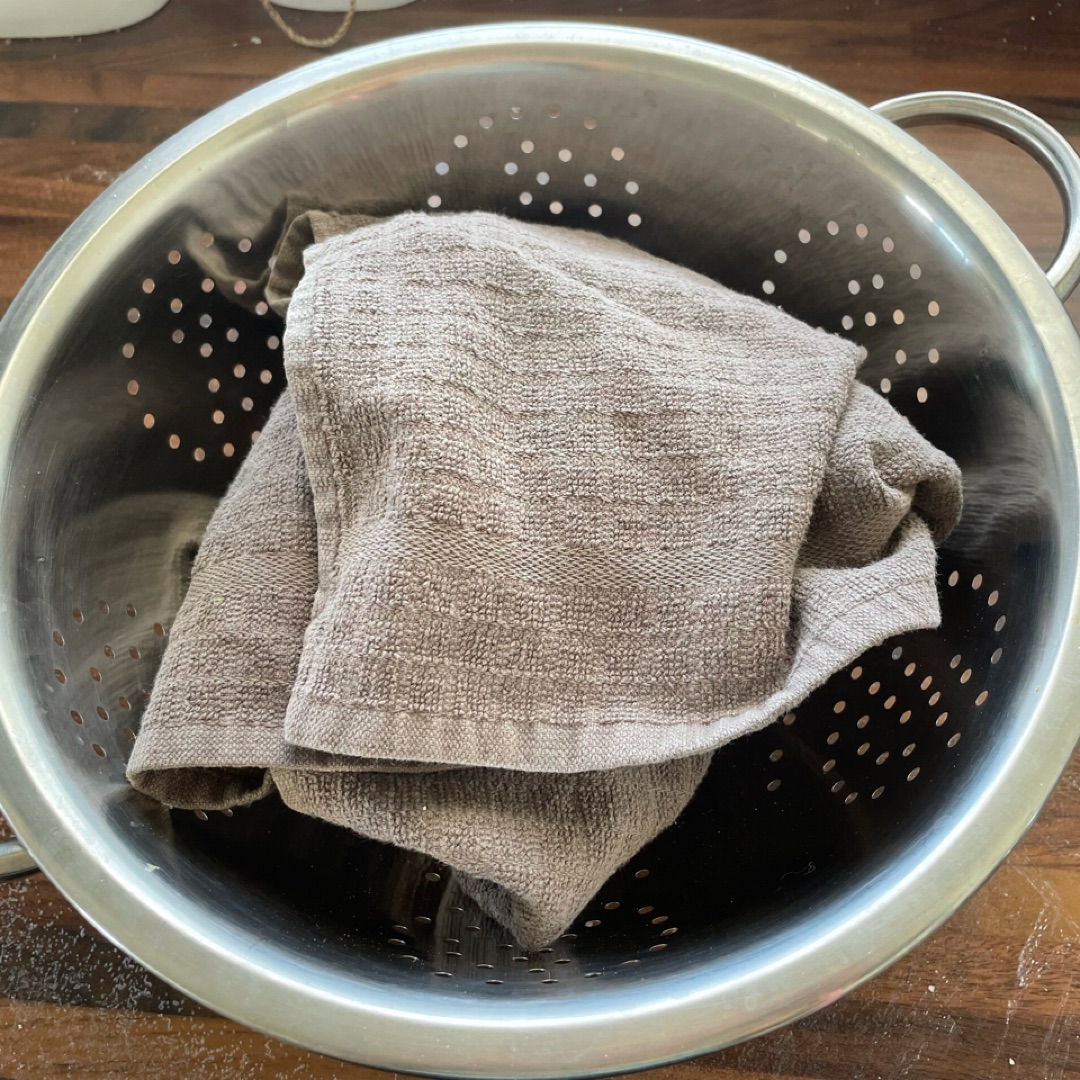
29
After 2h the dough will have doubled in size.
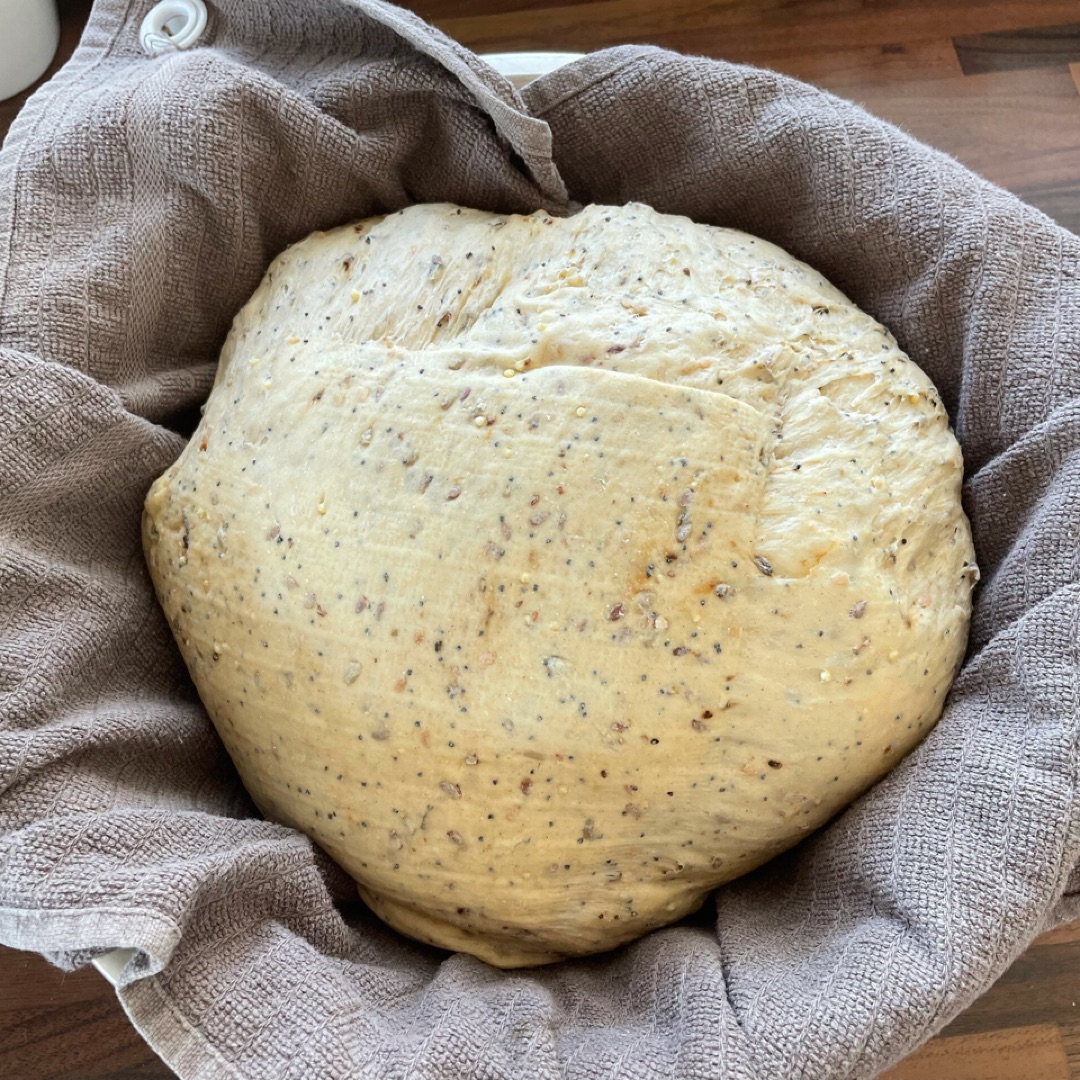
30
We make another folding in 4 as before
Ingredients
Steps
Calories
1
Heat the water in the micro for a few seconds until it is lukewarm. On the kitchen counter, mix the flour in a volcano with the sachet of yeast (I use baker's yeast powder) and the salt. Add the water little by little and mix until you get a dough. Now comes the hard kneading process. *I suppose you can use a mixer but I don't have one so I do it with my hands.
2
We will combine kneading with resting, in this way the dough will develop the gluten without the need to work it excessively. Knead 2-3 minutes and let it rest for 5-6 minutes. We alternate short and soft kneading with resting. In total the kneading (not counting the rests) will be about 20 min. At the beginning the dough will be doughy, then of harder consistency and at the end of the kneading totally manageable and easy to take off.

3
Second folding

4
Third

5
And the fourth is turned around

6
The return

7
Put it back in the container with the cloth and let it rest for another 2 hours.

8
When these 2 hours have passed you can either leave it as it is or you can make a batard as in the photo. I saw this in a video, if you put it on the internet you will see it: it consists of stretching the dough a little and making folded corners and a roll. Turn it over. Put it in a baking dish and cover it with a cloth for 30 minutes.

9
This time can be used to preheat the oven to 230 degrees with heat up and down. Photo of the batard after 30 min

10
Carefully remove the cloth and place it back on the tray or glass container suitable for oven (put a little flour or oil on the base of the mold so that it does not stick). *The shape of the container will determine the shape of the bread, the wider it is, the more it will grow in width and the more elongated the toast will be. The higher it is, the more it will grow upwards and the toast will be shaped like sliced bread.
11
Place the oven tray in the lowest part of the oven, touching the bottom of the oven, and 5 minutes before introducing the bread, heat water in the microwave and pour it over the tray so that it begins to boil and release steam. Meanwhile, with the help of a knife or a good knife wet with water, we make a simple cut on the bread dough. It is necessary to be careful when doing it because we can crush the bread.

12
We put the bread in the oven quickly to prevent the steam that has formed inside from escaping and close the oven door.

13
Now comes the resting of the dough. Form a ball with the dough following a "folding" process. That is, the corners of the dough are taken and folded in the opposite direction as if we were closing a package. In total 4 folds

14
Bake for 20 minutes at 220ºC (we lower the temperature by 10ºC to improve the expansion of the bread and prevent the base from taking too much color) with heat only at the bottom, turn off the upper plate*. By turning off the top heat, we favor the expansion of the bread and prevent the crust from sealing prematurely. We will obtain a bread with great volume. *If your oven does not allow you to turn off the upper plate, the ideal is that during the first 15 minutes you turn off the oven completely and do not open the door during that time. After these minutes, remove the container from the steam. We turn on the oven and continue baking with the guidelines that I give you from here onwards
15
After the first 20 minutes, open the door slightly to release all the steam inside, being careful not to burn yourself, remove the pan from the water and close the door again.
16
Lower the temperature to 210ºC and turn on the upper plate. Reduce the heat to 190ºC and leave for another 10 minutes.
17
Finally we turn on the air at 190ºC and finish with 10 minutes. In this way we will favor the drying of the bread and improve the crust. The total baking time is 50 minutes. *It is very important not to put the fan at the beginning because otherwise the crust is sealed and the bread cannot expand!!! It was one of the mistakes I used to make when baking bread.
18
Once cooked, turn off the oven and leave it in the oven for a few minutes with the door ajar to help the crust form, about 15 minutes, then remove and let it cool completely on a rack before opening it.

19
A good serrated knife and make slices for breakfast!

20
The best

21
Toast

22
From the world

23
Entero!!!!

24
Second fold

25
Third

26
And in the fourth we turn it around

27
Place the dough ball inside a kitchen towel in a deep bowl.

28
And let it rest for 2h like this

29
After 2h the dough will have doubled in size.

30
We make another folding in 4 as before

Calories
Per 100g
Calories
carbohydrates
carbohydrates
proteins
proteins
fats
fats
salt
salt
Sugars
Sugars
Saturated fats
Saturated fats
Desbloquear información nutricional
Hazte PLUS para ver la información nutricional de las recetas, y desbloquear muchas más funcionalidades PLUS.
Información nutricional
Calories
Per 100g
Calories
carbohydrates
carbohydrates
proteins
proteins
fats
fats
salt
salt
Sugars
Sugars
Saturated fats
Saturated fats
Desbloquear información nutricional
Hazte PLUS para ver la información nutricional de las recetas, y desbloquear muchas más funcionalidades PLUS.
Valoraciones
Etiquetas
Cereals
Occasional use
Doughs and breads
Toast
Breakfast
¡Libera todo tu potencial con un Plan nutricional!
Planes nutricionales adaptados a tu objetivo 🎯 ¡Desbloquea todas las funcionalidades PLUS!




Se el primero en valorar esta receta...